Posts with «retro gaming» label

Use all your old-school game controllers with the turn of a dial

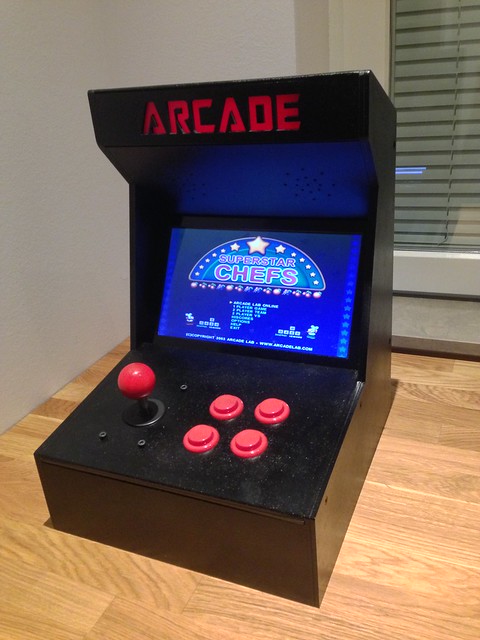
IT professional (and Arduino cap fan) John Milner had a minor problem. While his retro gaming setup could emulate a wide variety of systems and games, it was still missing the tactile feedback of the original controllers. Rather than “submit” to playing with only an Xbox 360 controller, he developed the Multijoy Retro Gaming System that can change gamepads with the turn of a knob using an Arduino Micro.

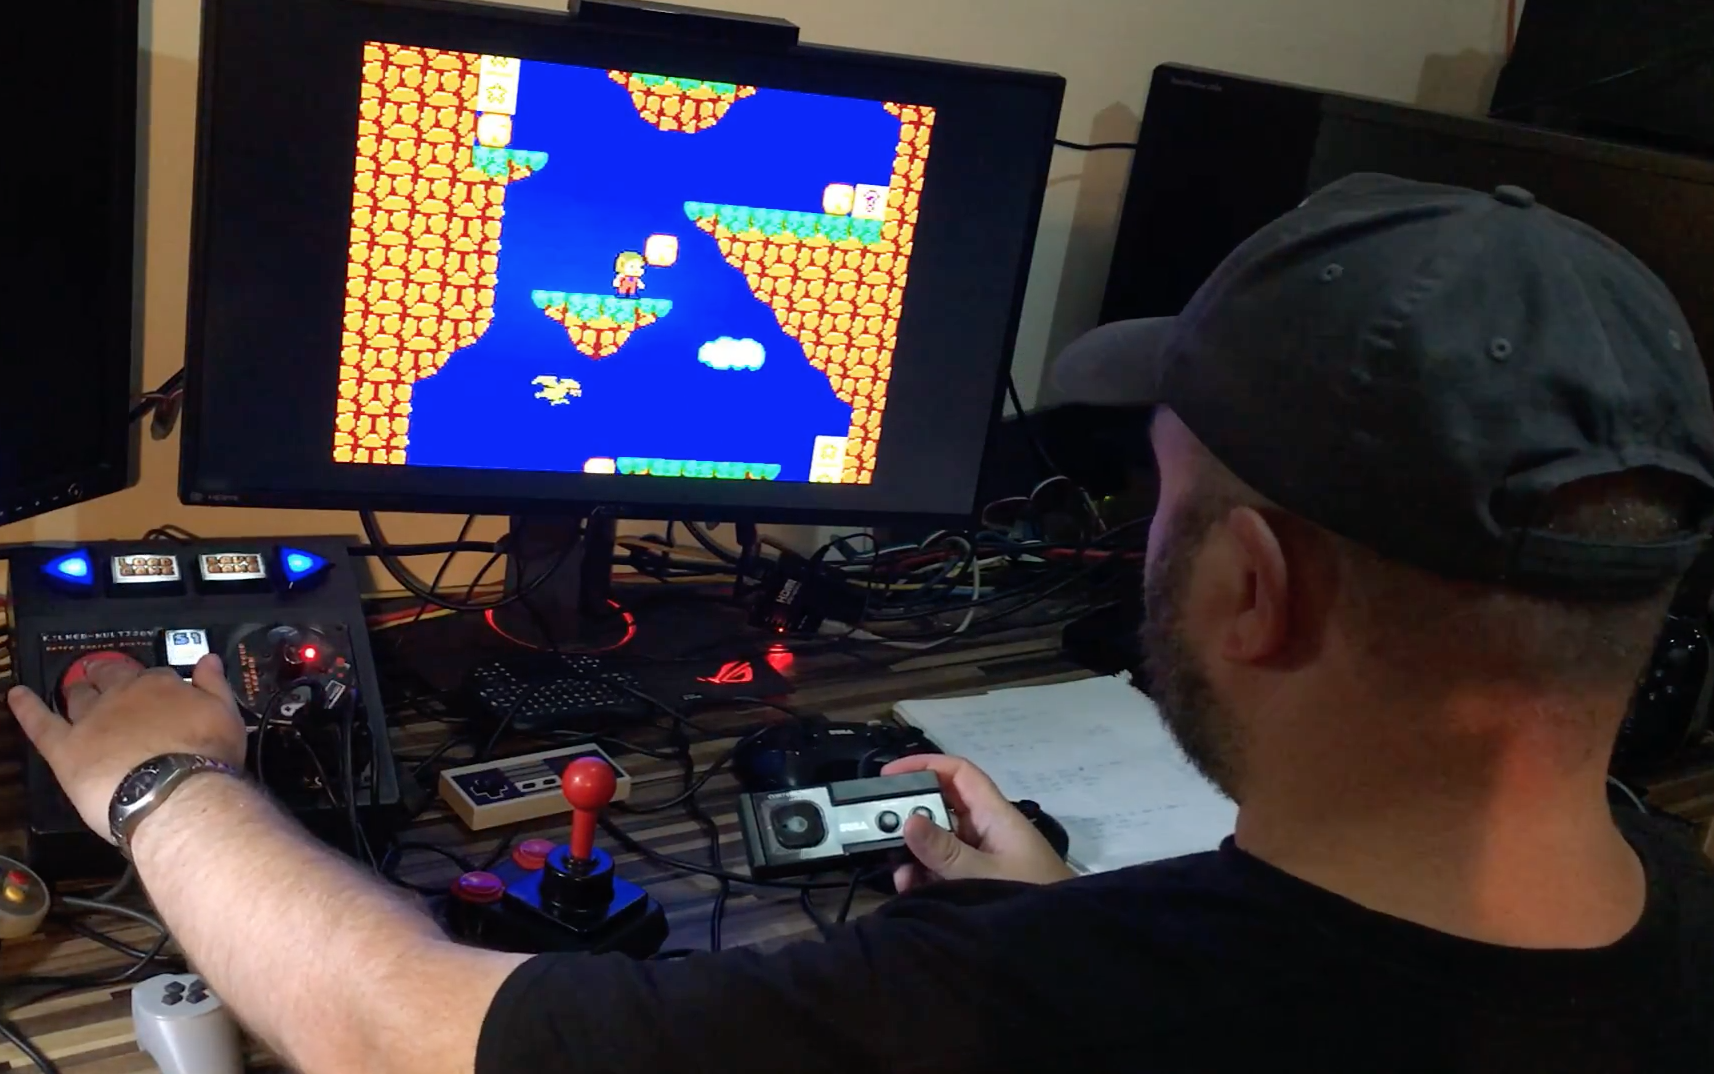
The resulting system lets him not only choose the original controller for each game, but if you want to mix things up and see how Super Mario Bros. would feel on a PlayStation 1, or even a Genesis controller, you can do that too! It also features shortcut buttons on the new console.

The Arduino presents itself as two joypads with native plug-and-play support for Microsoft Windows 7+ and Linux/RetroPie. The selector is simply a ring of LEDs with a potentiometer in the center, using the knob will move the lit LED to the desired controller pictured in that position, a simple system with an unexpected bonus of being a little retro in its appearance.

You can check it out in the video below, and see more of the project on his blog and on GitHub.

The Most Immersive Pinball Machine: Project Supernova

Over at [Truthlabs], a 30 year old pinball machine was diagnosed with a major flaw in its game design: It could only entertain one person at a time. [Dan] and his colleagues set out to change this, transforming the ol’ pinball legend “Firepower” into a spectacular, immersive gaming experience worthy of the 21st century.

A major limitation they wanted to overcome was screen size. A projector mounted to the ceiling should turn the entire wall behind the machine into a massive 15-foot playfield for anyone in the room to enjoy.


With so much space to fill, the team assembled a visual concept tailored to blend seamlessly with the original storyline of the arcade classic, studying the machine’s artwork and digging deep into the sci-fi archives. They then translated their ideas into 3D graphics utilizing Cinema4D and WebGL along with the usual designer’s toolbox. Lasers and explosions were added, ready to be triggered by game interactions on the machine.

To hook the augmentation into the pinball machine’s own game progress, they elaborated an elegant solution, incorporating OpenCV and OCR, to read all five of the machine’s 7 segment displays from a single webcam. An Arduino inside the machine taps into the numerous mechanical switches and indicator lamps, keeping a Node.js server updated about pressed buttons, hits, the “Lange Change” and plunged balls.

The result is the impressive demonstration of both passion and skill you can see in the video below. We really like the custom shader effects. How could we ever play pinball without them?


Filed under: classic hacks, video hacks

Coin-op Sega Rally used to race RC cars

Head to head video game action can’t even compare to this use of a coin-op Sega Rally game to race actual RC vehicles. Take a close look at those screens and you’ll see there are no computer graphics, just a feed for a camera on each of the toy cars.

The project was conceived for the Sapo Codebits VI conference in Portugal. The arcade cabinets had their controls connected to an Arduino, but getting video up and running wasn’t nearly as easy. After fruitless attempts to get the original CRTs to work the team ended up replacing them with functioning CRT units of the same size. The cars themselves have two camera, one on top of the vehicle’s cab and one mounted on a boom for a perspective that was above and behind the vehicle. The drivers can switch between either view. The cars were set loose in the room serving as the event’s retro gaming area and players were free to race each other wherever they pleased. Don’t miss the video clip after the break which shows off all of the fun.


Filed under: cons, toy hacks
Hack a Day 30 Nov 11:01
arcade  arduino  c car  coin-op  cons  r  rally  retro gaming  sega  toy hacks  

The Arcade Machine, by Timothy (15)

[Timothy], a 15 years old Arduino enthusiast has sent us his first Arduino Project, an arcade interface based on Arduino Leonardo.

The cabinet is made of 4mm HDF and were laser cut at “Fabriken” in Malmö. The red arcade sign in the top is produced in 5mm translucent acrylic. All design and construction drawings were made in Illustrator. I used an Arduino Leonardo to connect the joystick, buttons and the LED light.  The game installed, Superstar Chefs, is an old game developed by my dad’s cousins. My prototype board was made with Fritzing.

It includes:

- 6 green 3mm LED’s,

- 11 resistors (6 330 ohm, 4 10K ohm and one 100 ohm),

-1 dip8 socket with an ATtiny45,

- 1 potentiometer,

- 4 pushbutton and header sockets.

I created this prototype board to easily get started with Arduino.

Timonthy, welcome on board!