Posts with «nano» label

Motorize a manual standing desk

Martin Mihálek took the leap into standing desks, and purchased a SKARSTA table from IKEA. Although being able to adjust things by hand is useful, who wants to do that nowadays? Instead of manually cranking it every time, he—with help from iLLiac4—decided to augment it with a motor in order to lower and raise things as needed.

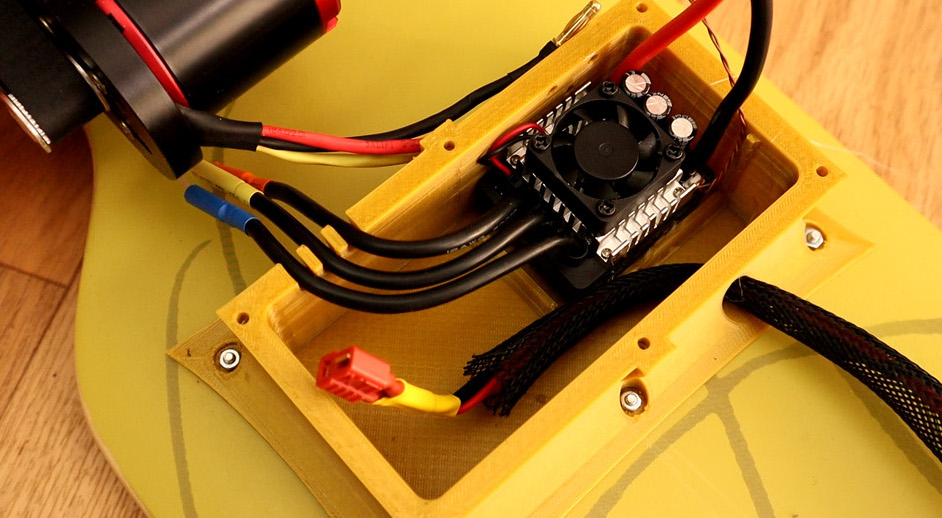
Initial experiments used a FIXA electric screwdriver (also from IKEA) to power the SKARSTA, but he eventually settled on a DC gearmotor, attached to the desk via a 3D-printed assembly

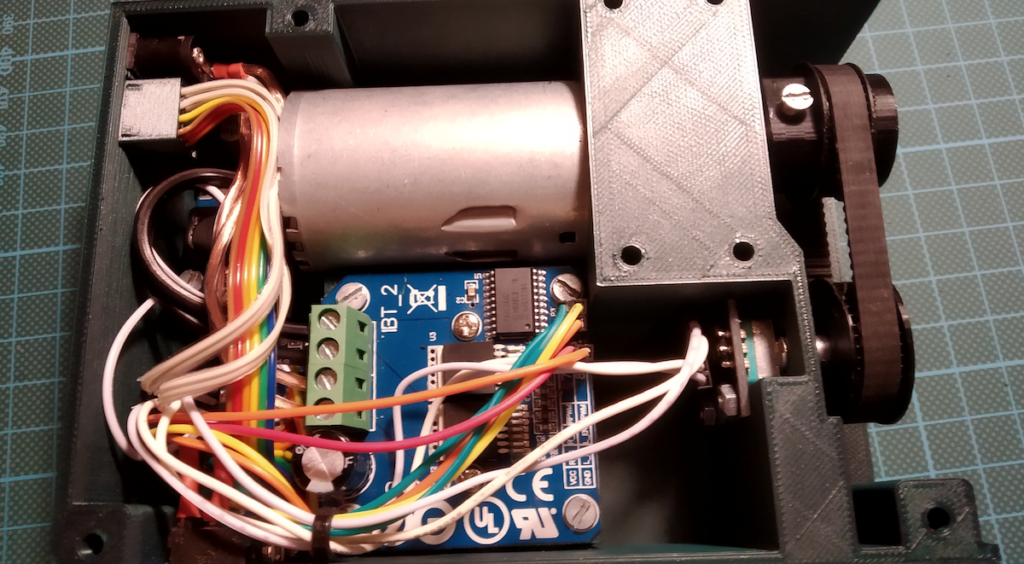
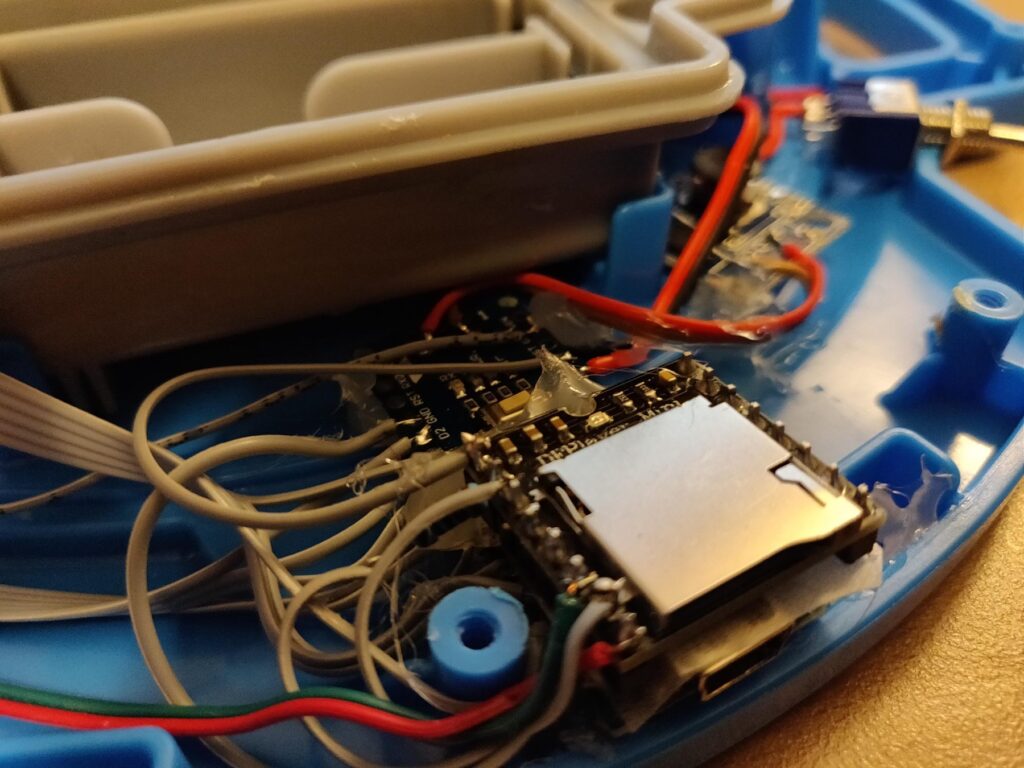
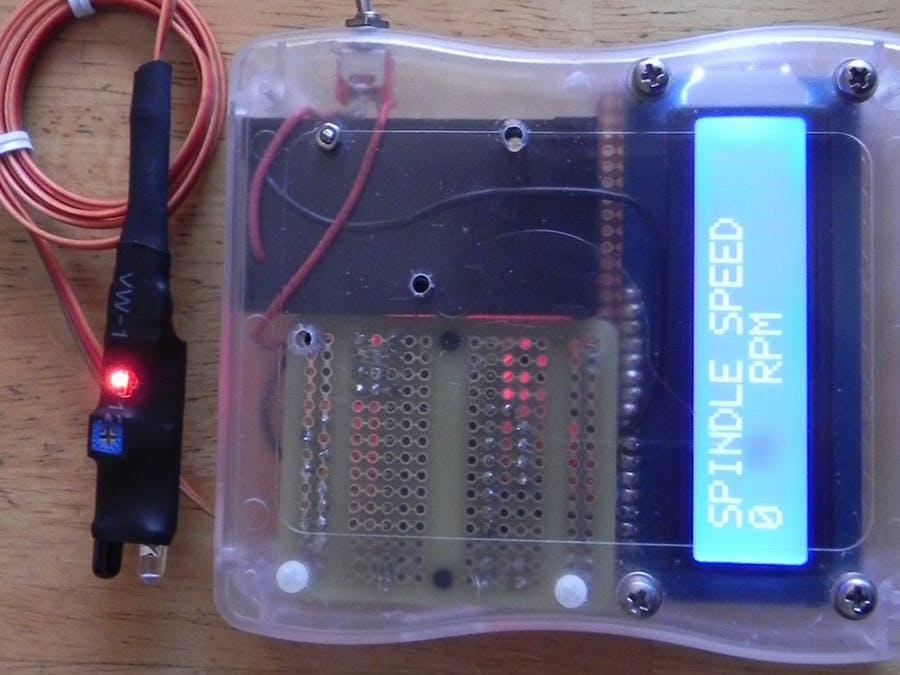
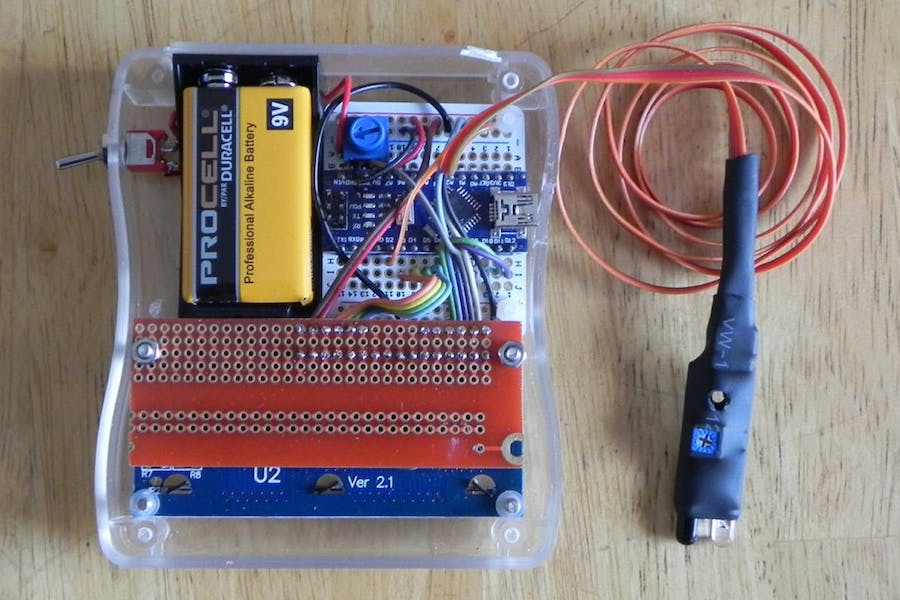
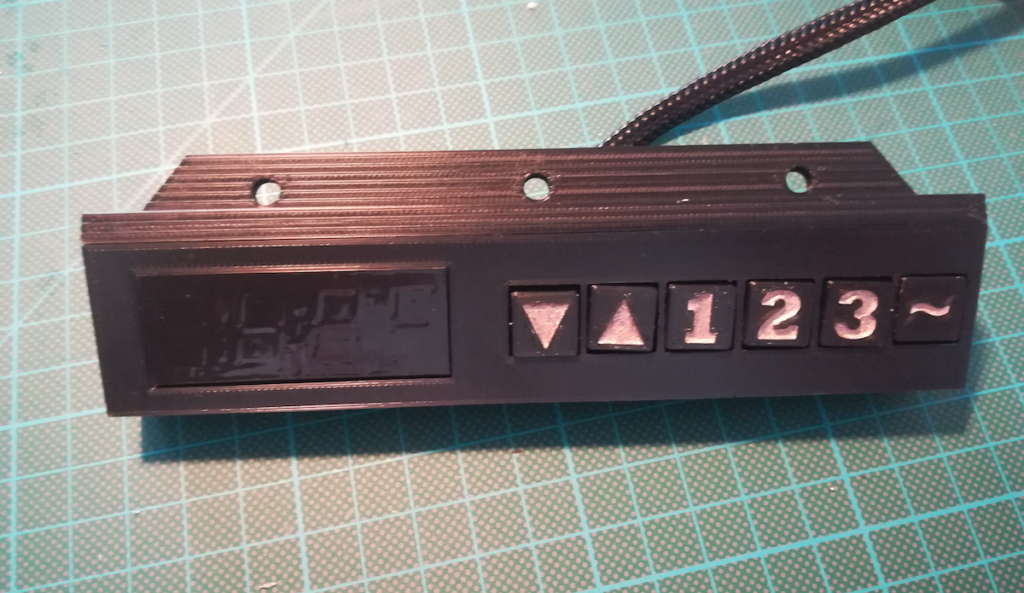
Two versions are described in the project’s GitHub write-up; one employs an H-bridge board for control, the other uses relays. Both are controlled by an Arduino Nano. A keypad allows for calibration and three stored heights, while current position and feedback are shown on a TM1637 4-digit 7-segment display.

See ‘n Say toy hacked with Arduino

The See ‘n Say is an educational toy that originated in the 1960s, speaking out whatever the child pointed to on a dial. The device has evolved over the years from a mechanical sound mechanism to one that uses electronics in its design, which inspired Andrei Aldea to convert one of them into an EEV Blog catchphrase machine!

Aldea replaced most of the electronics with an Arduino Nano, plus an MP3 module to power the speaker. Internal buttons that normally trigger sounds based on the dial rotation, along with a “page” switch, are wired into the Arduino. The hacked toy can now select from a library of over 300 audio clips of host Dave Jones and other “bonus” material for hours of entertainment!

While binging some The Ben Heck Show videos I ran across and old episode titled Speak & Dave Jones in which Ben hacks a Fisher Price See N’Say toy to play a sound for each of Dave Jones’ catchphrases.

The video itself (and especially the idea) is quite fun, but he used a custom PCB for the button matrix and a Propeller(? I think it was) micro, which make the whole project a lot more tedious than it needed to be, not to mention he never posted any of the code/graphics/design files he used.

Since this seemed like an easy enough project to tackle in an afternoon, and I had all the parts (minus the toy itself) lying around, I decided to give it a go while adding some of my own features.

Make a mini CNC drawing machine

For an easy plotter design that you can build with only simple hand tools, be sure to check out this tiny project from Mr Innovative. The machine features a pair of stepper and lead screw assemblies to maneuver a pen in an X/Y plane, along with a clever string and servo setup to handle retraction.

An Arduino Nano and two L293D ICs mounted to a custom PCB are used to control the device, though a breadboard could certainly substitute for the PCB in a pinch. Drawings are translated into the proper format via Inkscape and Processing. 

More details on the miniature machine, including code, can be found in Mr Innovative’s write-up.

Making an LED matrix out of glue sticks

Glue sticks are great for attaching electronics and other bits to projects, but as Jon Bumstead shows in his latest work, they can also make pretty cool light diffusers. 

His project takes the form of a wooden box with plexiglass panels, allowing observers to see 64 vertical illuminated glue sticks inside. Hidden within the cube are 128 WS2811 LED modules, melted into the top and bottom of each stick. 

Everything is built around an Arduino Nano, using only a pair of its outputs to control each LED. User interface is provided by a button and knob to adjust speed, color, and patterns.

In this project, I created a “fiber optic” LED matrix using WS2801 LED strip and glue sticks. The light displays have a different look than similar LED cubes and a few advantages. First, you can’t see the actual LEDs in the display because the glue sticks guide the light away from the LEDs. Second, the device requires much fewer LEDs to make up the volume. Because the top and bottom have different LED strips, the fiber optic cables can take on two different colors that mix in the center. There are tons of different color displays that can be achieved with the device. I also added a button and knob for controlling the speed, color, and type of light display.

Monitor radioactivity levels with this low-cost Geiger counter

While you may not have a graduate degree in nuclear physics, you likely have some inkling that large amounts of radiation should be avoided. In order to monitor local levels, AdNovea has come up with a DIY Geiger-Müller counter, which displays radiation stats on a 20×4 LCD display.

The device uses an SBM-20 or STS-5 tube to measure radioactivity, with an Arduino Nano to process this input. It can be employed as a standalone unit, or transmit readings wirelessly via an Ethernet interface. Readings can then be tracked over time with a web app, or even shared with the wider world over the Internet.

This DIY low-cost ($50$/€43) C-GM Counter project provides hardware and firmware for building a Geiger-Müller counter device aka G.M. Counter for continuous measurement of the radioactivity level. It is based on an Arduino Nano, a 20 chars x 4 lines LCD display, a W5100 Ethernet card, a 400V power supply and very few components around. The number of components has been kept to minimum for easy assembling and reducing the cost.

The C-GM Counter is able to run as a standalone radioactivity counter or for ensuring long term radioactivity monitoring, the C-GM counter can be used in association with A-GM Manager (in the sequel) that is an open-source web application running on a SOHO server (e.g. QNAP sells Small Office Home Office servers). A-GM Manager is also able to publish the C-GM Counter measures on the worldwide shared map managed by GMC MAP. Finally, there is also a Node-RED version for integration of the C-GM Counter with Node-RED such as the QNAP IoT framework.

Convert an ordinary longboard to electric with the help of Arduino

After going through what not to do when building an electric longboard, Electronoobs is now ready to show us how to control one of these devices. For his project, the YouTuber used a 6S battery pack, an ESC, a brushless motor, and an Arduino Nano, along with a handheld RC transmitter and receiver.

Underneath the deck, he’s broken up the hardware mounting into two parts—a front compartment contains the unit’s ample battery, while a rear enclosure houses the rest of the components.

The Arduino Nano receives PWM signals directly from the receiver, then translates them to ESC inputs, allowing for better handling of how the board starts and stops.

You can find more details on Electronoobs’ page here and in his video below! 

Sam Battle’s Synth Bike 3.0 dissected after months on display

Back in June 2017, Sam Battle (aka LOOK MUM NO COMPUTER) released the Synth Bike 3.0, a stationary bike with handlebars adorned with a functional synthesizer. This was promptly put on display at the Science Gallery Dublin, where it was ridden by approximately 130,000 people over six to eight months. 

In his latest video, Battle decides to open up the control panel to revive it for an upcoming tour. The good news is that the system is still mostly functional, though a couple of the device’s Arduino—it’s run by a dozen Nanos along with four frequency central boards, a SparkFun WAV trigger, and a bunch of stripboard circuits—are missing. 

After deciphering what he was thinking well over a year ago, considering what he might do differently today, reattaching wires, and tinkering, he’s able to get things functional. This is, of course, followed by the requisite solo synth-bike performance.

More details on how Battle’s beat-banging bike can be found here. 

An e-skateboard controller made from scratch with Arduino

Last June, Timo Brinschein bought a Qu4tro electric skateboard with hopes of using it for fun and commuting duties. Unfortunately, while the skateboard itself worked well, the remote had many shortcomings.

Since replacing the skateboard’s controls entirely was out of reach, he instead settled on the “small” job of reverse engineering and swapping out the wireless controller for one of his own designs. 

The resulting build uses an Arduino Nano as the brains of the device, along with the well-known nRF24L0+ module for wireless communication. Everything is housed inside a custom 3D-printed enclosure. 

Code for the project is available on GitHub, and print files for the excellent control handle is on Thingiverse.

Electronoobs creates his own Bluetooth-controlled Daft Punk helmet

If you like electronic music, you’ve certainly admired Daft Punk’s glowing electronic helmets. While the originals are amazing, as shown in this Electronoobs tutorial, you can now make a very good replica for around $20 and 30 hours of print time.

Print files for the helmet itself are based on this Thomas Bangalter build by the Ruiz Brothers, and similar to that one, a good amount of sanding and finishing was needed to give it a metallic look. 

Electronoobs’ helmet features seven WS2812 RGB LED strips, all connected to an Arduino Nano. Everything is controlled over Bluetooth by a custom Android app made with the MIT App Inventor, along with a microphone that allows the visor to react to music.

Build a tachometer for your metal lathe with Arduino

If you manage to get a small lathe in your home shop, it will likely come with a dial to adjust the speed, but it may not have a tachometer to tell you if it’s actually spinning at your desired setting. Rather than accept this imprecision on his model, hacker Tony Scarpelli designed his own non-contact tachometer using an Arduino Nano.

The build is ingeniously simple, and mounts an infrared proximity sensor near gearing in the back of the lathe’s headstock. White paper is placed on this rotating surface, allowing the sensor to tell between this marker and the otherwise dark surface as it spins. Sensor pulses are recorded by the Arduino, which outputs RPM values on a small 16×2 LCD display.