Posts with «nano» label

A giant tide clock like no otter!

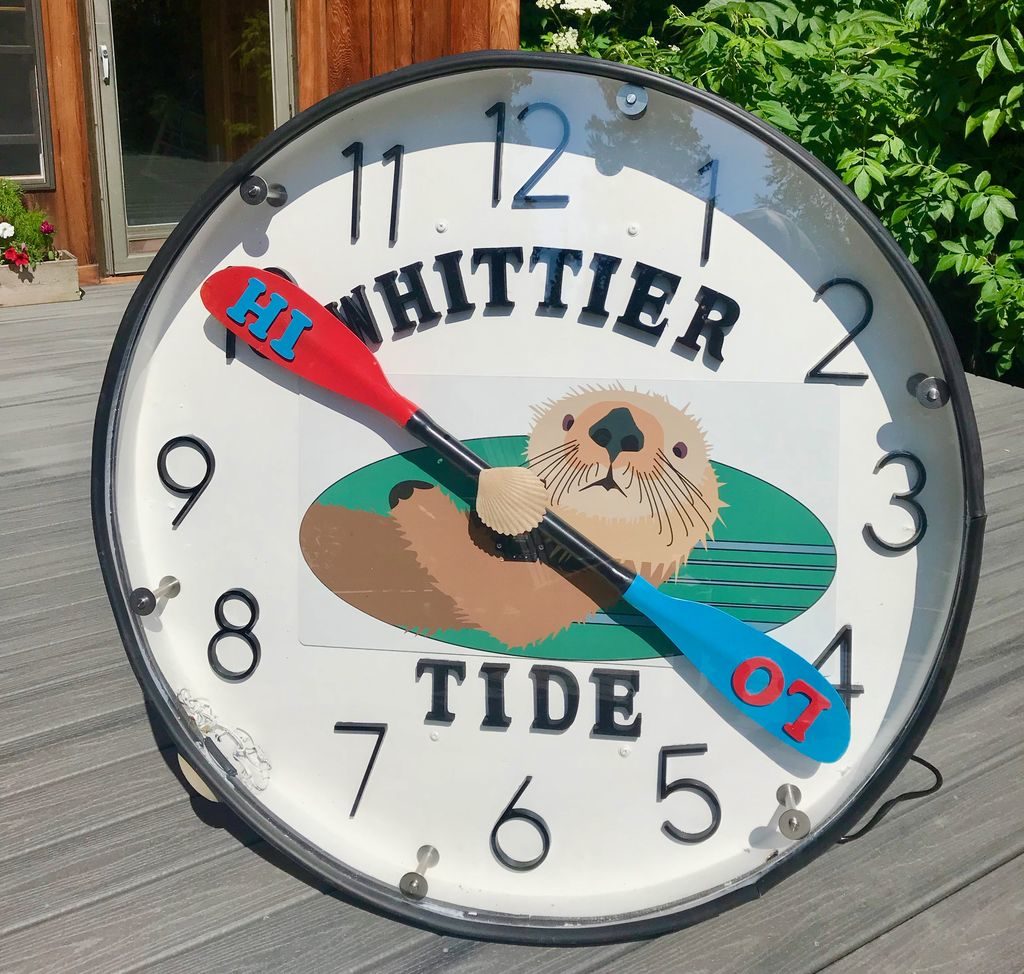
As a gift for friends that operate tours of Prince William Sound in Alaska, maker ‘rabbitcreek’ decided to make a humongous (4’ diameter) tide clock, controlled by dual Arduino Nanos. 

One Nano operates the adorable—though very large—otter on the clock’s face via a servo and gear reduction setup that holds a kayak paddle to indicate high and low tides. The other board handles the unit’s RGB LED lighting, which shines the appropriate color to indicate the vast swings in daylight time of that region.

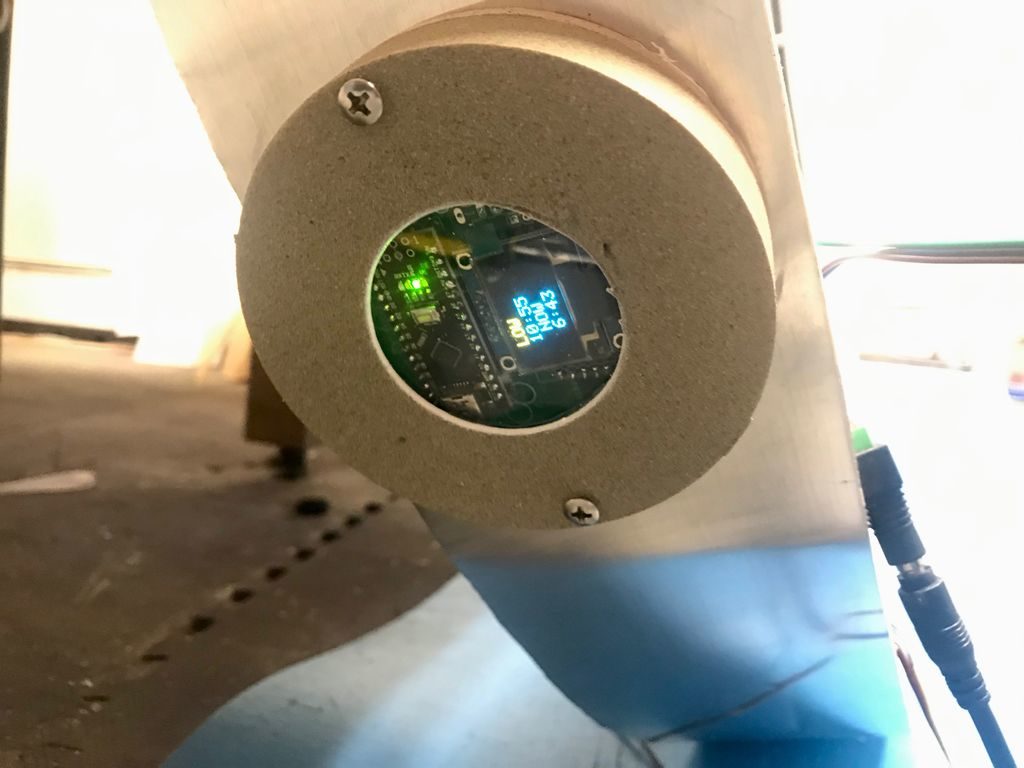
An RTC module for each Nano provides accurate timekeeping—thus proper tide and daylight indications—and a small monitor is used for maintenance tasks. It’s a brilliant build that is certain to delight residents and tourists to the area alike!

This color wheel instrument lets you ‘hear’ the rainbow

How we see colors is an interesting concept, and as a conversation starter about the physics of color and sound, maker Marcin Poblocki created his own ‘Color Instrument.’

Poblocki’s device rotates a wheel of colors around under a TCS3200/TCS230 sensor via a continuous rotation-modded SG90 servo motor. An Arduino Nano then spits out the tone corresponding to the color it senses using a small speaker, allowing for simple songs to be produced according to hue arrangements. 

It’s a neat idea that could be taken in many different directions. At the very least, it would certainly spark conversation, perhaps questioning, as noted in the project write-up, why the color pink isn’t included in the natural light spectrum.

Arduino Blog 10 Jul 19:25

BluePump protects and controls your pool’s filter pump

Most pools feature a powered pump system to help filter out debris, but what if your water level gets too low? Pumps designed for ‘wet’ operation generally don’t work well when water isn’t present, so Luc Brun came up with an innovative monitoring solution dubbed “BluePump.”

His setup uses an Arduino Nano and an ACS712 sensor to observe both voltage and current, detecting the phase shift between the two. If this shift is too large, this indicates dry operation, and shuts down the pump via a relay until things are resolved. 

To complement this ability, BluePump also includes a temperature sensor, an RTC, and a Bluetooth module, allowing it to schedule cleanings as needed, or work under human control via a custom Android app.

Arduino Blog 09 Jul 20:45

Star Trek TOS sickbay display on a breadboard

The future envisioned in the original Star Trek included, among other things, a shipboard sickbay with electronic monitors strangely reminiscent of the machines that medical personnel use today. To recreate a functional mini-replica of these displays, YouTuber Xtronical turned to a 2.8” TFT screen, a breadboard, and an Arduino Nano—noting that an Uno would also work.

The LCD display nails the look of Dr. McCoy’s device, and heartbeat sound can be played along with an onscreen flashing “PULSE” circle. A MAX30100 pulse/oximeter sensor and a temperature sensor take body readings, while a second DS18B20 is implemented to read ambient conditions for increased accuracy. 

It’s a fun Trekkie project, and Xtronical plans to elaborate on how it was made in future videos. 

A build of a working original Star Trek display with real sampled heart beat sound. Uses various sensors to get the readings from your body (via just your fingers) and displays them in the style of the 60’s sick bay screen. This bare “Bones” system could be built into a model unit or even a replica Tricorder.

Arduino Blog 08 Jul 16:19

Smart motorcycle helmet lighting follows your signals

When riding a motorcycle, it’s important to be seen, and if other vehicles can see your brake lights and turn signals as well, all the better. To help with visibility, YouTuber “MechTools” outfitted his helmet with a brake light and turn indicators that activate along with the motorcycle’s built-in signals.

The video below shows off how it was built, using an Arduino Uno onboard the motorcycle, plus a Nano embedded in the helmet. A pair of nRF24L01 transceivers enable the two Arduinos to communicate wirelessly, and three TIP122 transistors controls the lighting directly for sufficient power output.

While a neat concept, be sure that you don’t compromise your helmet’s structural integrity or legality if you try something similar! Code is available in the video’s description.

Portable Arduino Bot lets you test ideas on the go

As you experiment with Arduino boards and programming, you’ll likely have ideas that you want to test right now. Unfortunately, you can’t always have the entire project with you to try out. With that in mind, Khang Nguyen has designed the Portable Arduino Bot.

This sci-fi-inspired device packs an Arduino Nano inside, along with an on/off switch, a microswitch, three LEDs, and a LiPo battery for power. To protect these components, the bot features a nice 3D-printed enclosure, complete with foldable feet that make it look like a small robot or even spaceship. 

While it won’t replace all the tools you have at home, it appears to be a great way to carry out testing, and as shown in the videos below, to play sounds with the addition of a buzzer!

Microscopic gigapixel photography with this X/Y stage setup

Normally the 10-50 gigapixels of a DSLR are good enough for nearly any photo you can imagine, but if you need more—and don’t want to spend many thousands of dollars—then this clever setup by Jon Bumstead may be just the thing.

His contraption uses a Nikon D5000 camera situated above a small photographic subject, which progressively moves in front of the lenses using an X/Y stage setup. Motion is handled by pair of stepper motors, under the control of an Arduino Nano and two L9110 driver boards. The Nano also commands the camera to snap a picture when the subject in position, producing an array of photos that can be stitched together to form an image with extreme detail.

In optical microscopes, there is a fundamental trade-off between field-of-view and resolution: the finer the detail, the smaller the region imaged by the microscope. One way to overcome this limitation is to translate the sample and acquire images over a larger field-of-view. The basic idea is to stitch together many high resolution images to form a large FOV. In these images, you get to see both the full sample, as well as fine detail in any portion of the sample. The result is an image consisting of about a billion pixels, much larger in comparison to the pictures taken by a DSLR or smartphone, which typically have around 10 to 50 million pixels.

In this Instructable, I will go over how to build a microscope capable of imaging a 90mm x 60mm field-of-view with pixels corresponding to 2 micrometer at the sample (although, I think the resolution is probably closer to 15 micrometer). The system uses camera lenses, but the same concept can be applied using microscope objectives to get even finer resolution.

Building gas thruster-controlled drone

In the Earth’s atmosphere, a drone can adjust its heading by varying the speed of the propellers, and thus the thrust output of each. If you wanted to land something on a lunar surface, or maneuver a spaceship, the lack of atmosphere means a different technique must be used.

While not going to space (yet), Tom Stanton decided to create a demonstrator for this technique, similar to how the manned Lunar Landing Research Vehicle (LLRV) operated in the 1960s and ’70s. Stanton’s device employs a central electric ducted fan (EDF) to hold the craft up, while three compressed air nozzles provide most of its directional control. 

In action, an RC flight controller’s signals are modified by an Arduino Nano to accommodate this unique control scheme, pulsing out bursts of air via three solenoid valves.

Check out the build and experimental process in the video below, culminating with untethered tests starting at around 17:30.

Manage household chores with an RFID system

If your kids aren’t thrilled about doing chores, you could resort to a whiteboard, or simply create your own RFID tracking system like maker “alastair-a.” 

His project uses an Arduino Nano, along with an RFID reader and RTC module to track when a job has been completed. The chore is selected using a rotary encoder and displayed on a 16×2 LCD screen. When it’s done, the child who completed it can then scan in with their RFID fob to claim it as his or her own.

While there was initially some cash payment in mind for each task that’s accomplished, the novelty factor of using the system is reportedly so interesting that alastair’s children have entirely forgotten about it. Whether it works this well or not in all cases is an open question, but Arduino code and build info is available here if you’d like to make your own!

Plastic lid becomes Arduino Nano short circuit armor

If you want to keep your Arduino project or other circuit boards safe from exposure, an electrical box is the traditional choice. But what if you want to apply protection directly to the board?

In the video below, “TheRainHarvester” shows us a novel and inexpensive method for hardening a Nano from short circuits and other minor exposure by simply melting plastic on the top. 

The Nano’s new armor is sourced from a lid that you might find on a coffee or oatmeal container, and after cutting it to size, a “plasti-shell” is fused to the board with a heat gun. The procedure couldn’t be simpler, and appears to provide a good amount of protection for the little board!