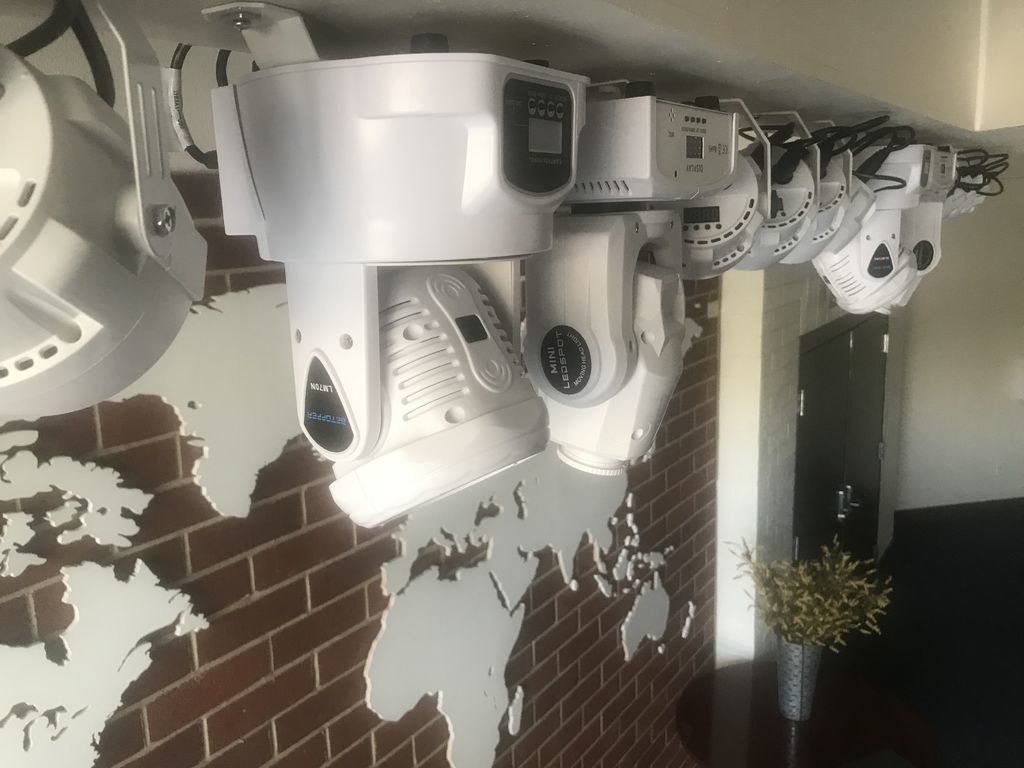
Non-profits can do great work, and in order to help others visualize the needs they serve and what they are doing, Jason Wolin came up with an amazing map for his organization.
The massive map stretches down 14 feet of a brick wall, with the continents cut out of MDF, and a pair of accompanying LCD TVs that show data about different areas.
Three computers are used for control, two of which are used to play videos on each screen. The third handles overhead map lighting controlled via the DMX protocol to illuminate the map in various configurations. Each of the PCs are coordinated using a trio of Arduino Nanos, allowing video and lighting effects to be displayed in perfect sync.
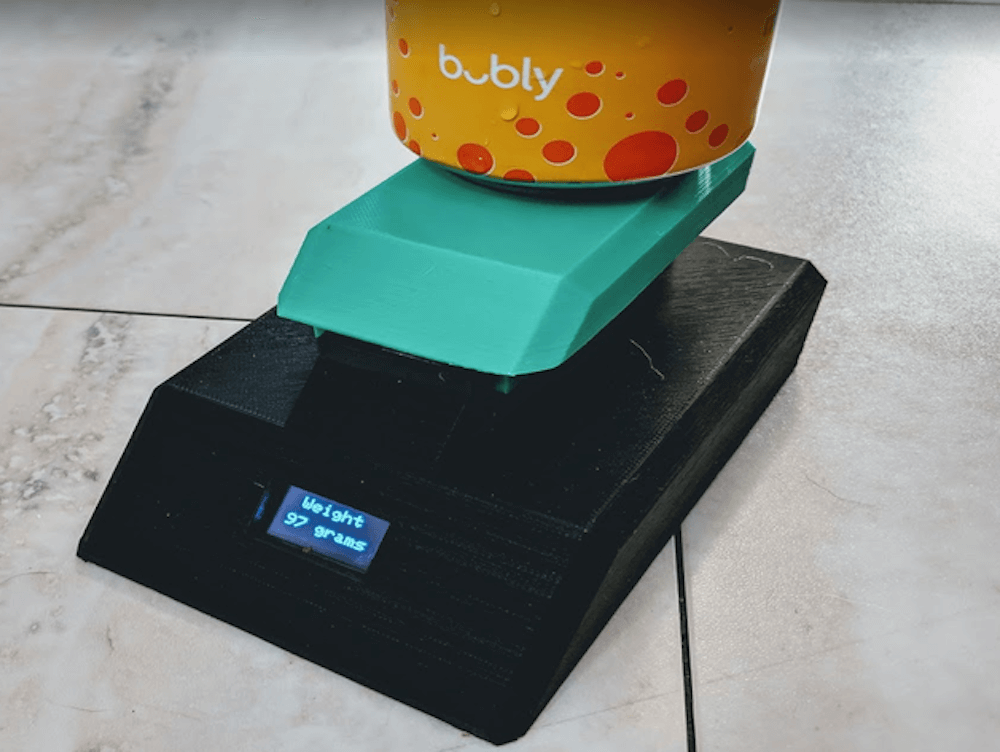
Do you need a small weight scale? You can of course buy one, or you could instead make your own 3D-printed device with a load cell and an Arduino, as shown in the below video by MN Maker.
In his setup, the load cell first sends readings to an HX711 breakout board, which converts this analog signal into a digital output that the Nano can easily interpret. The output is displayed on a 0.96” 128×64 OLED, with a button on the back to switch power on and off, and another to tare the scale to zero.
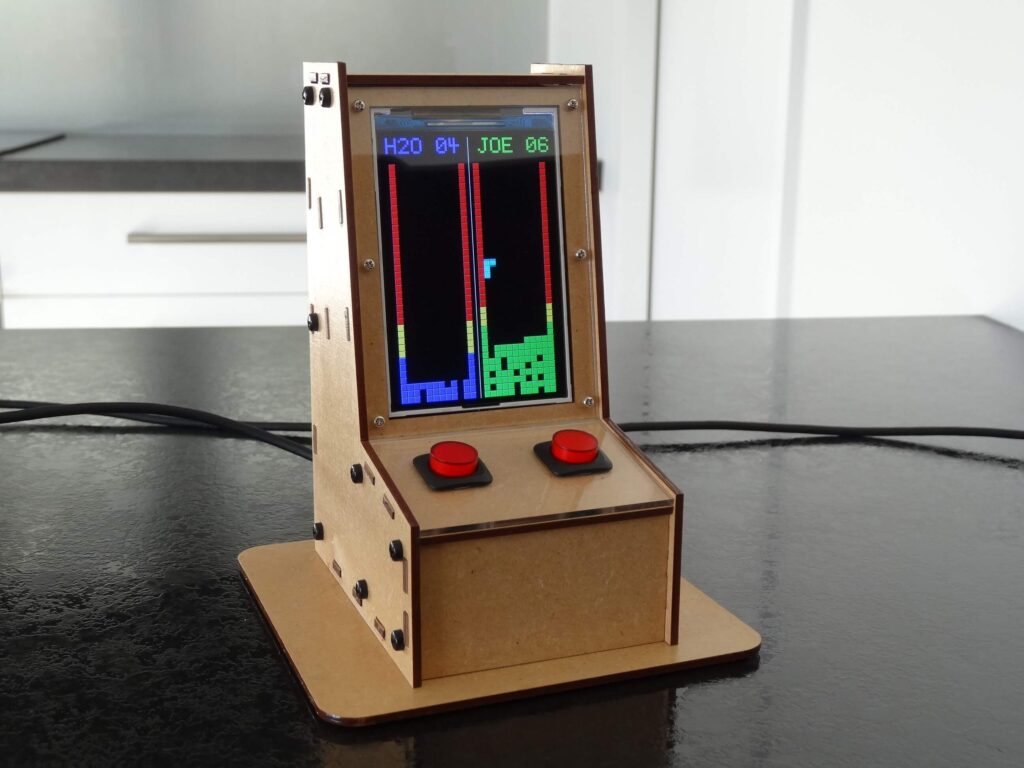
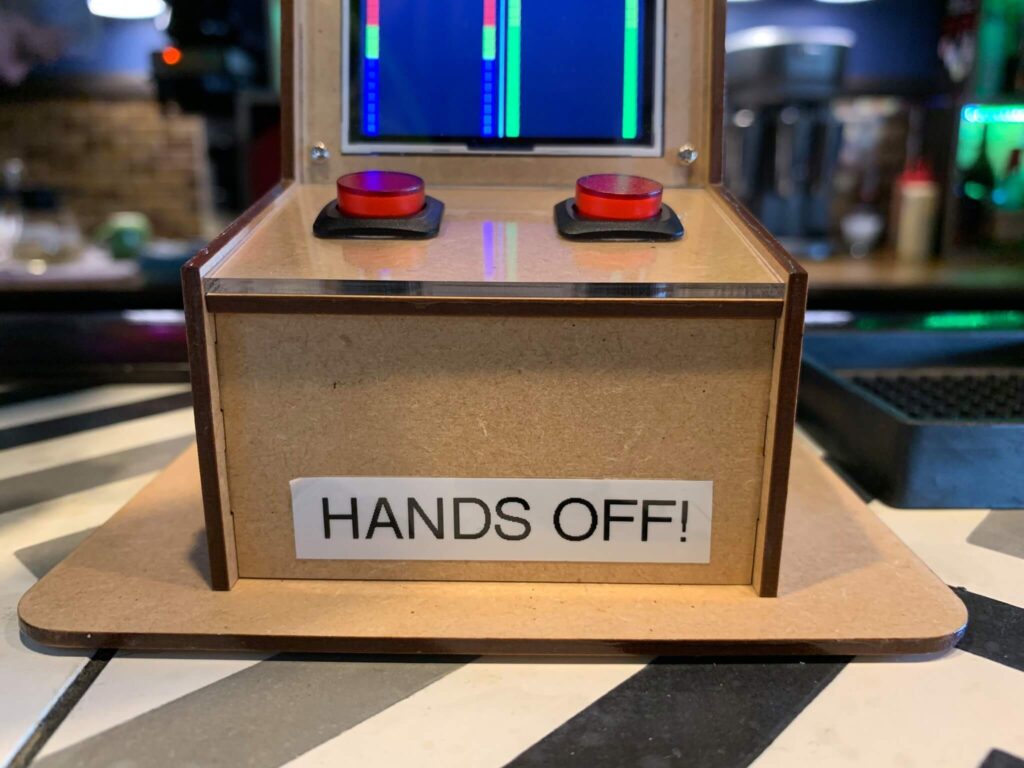
Remembering to refill water and coffee cups at regular intervals certainly has to be a challenge for restaurant waitstaff, but not for servers at one diner thanks to Mark Wilson’s, “TetrisWaterRun” project.
Wilson’s device takes the form of a miniature arcade cabinet, with two “players” named H2O and JOE controlling Tetris playfields.
As each block drops, some complete a line, while others leave spaces, eventually stacking up to a yellow warning level, along with a red section for overdue. Each game/playfield is started with its interface button, which also lights up intermittently to indicate drink warnings. A buzzer is included, so that there’s even less of an excuse for unfilled drinks. The build was prototyped on an Arduino Uno and now runs on a Nano for space savings, with a 320×480 LCD screen displaying the game.
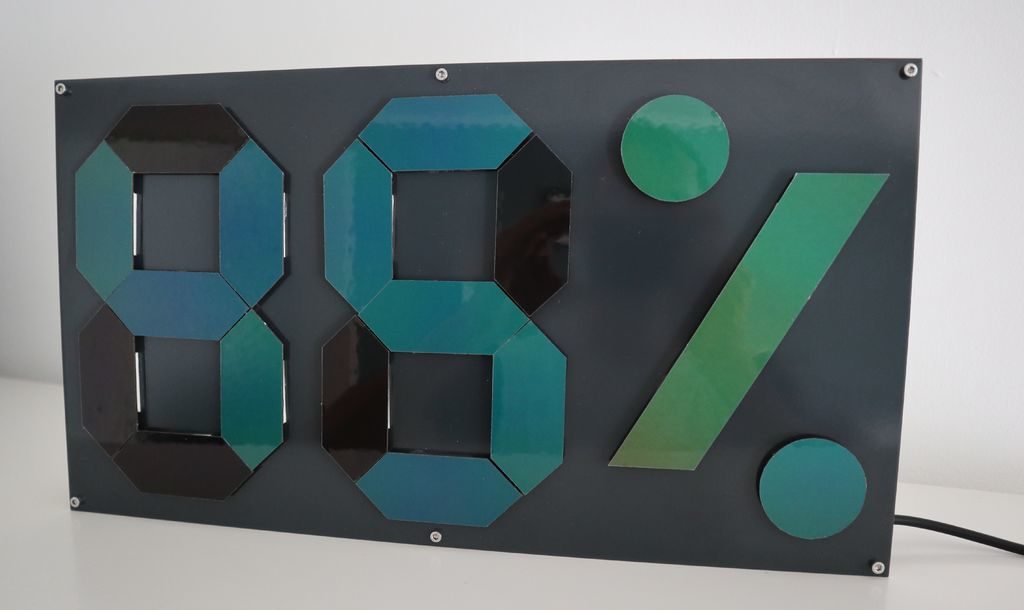
Instead of controlling his temperature and humidity display directly, maker Zaphunk did things a bit differently, driving the temperature of each segment with a Peltier element, or thermo-electric cooler (TEC), to change its color.
Each segment is made out of a thermochromic material, cycling from a black off state to a greenish hue when on, for a device that can—somewhat ironically—show the temperature by changing its temperature.
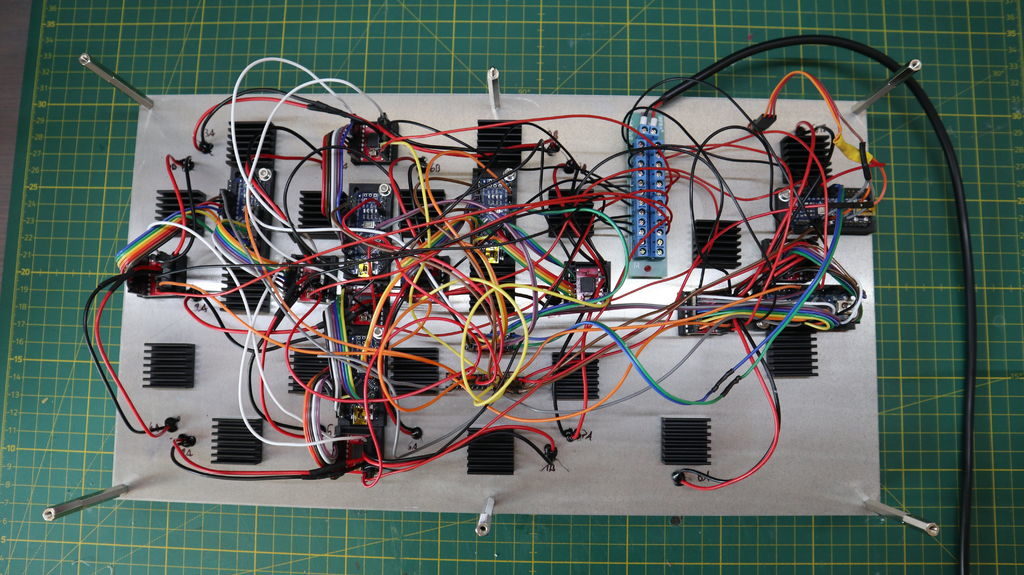
Ambient conditions are read via a DHT22 sensor, and everything is controlled by a half-dozen Arduino Nanos. This number boards were needed in order to power the nine dual motor drivers that handle the Peltier elements, each of which require two PWM outputs, along with 5 IO pins.
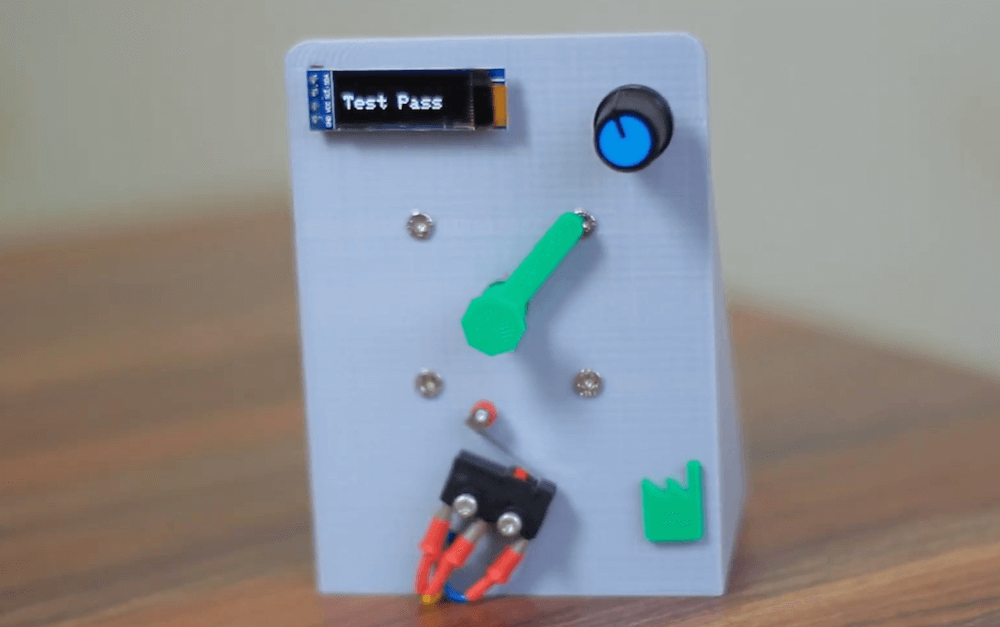
When you buy—or even salvage—limit switches for electronics projects, you expect them to work again and again, producing normally open (NO) and normally closed (NC) signals as needed. Generally, they do work quite well, but if you want to test this functionality for extra assurance, you might want to check out this project by Mr Innovative.
The automated device spins a NEMA17 stepper motor however many times you choose with a rotary encoder, registering the NO and NC signals that are sent to its Arduino Nano controller in response. The unit then gives a pass or fail output via a small OLED screen to let you know if things are operating properly.
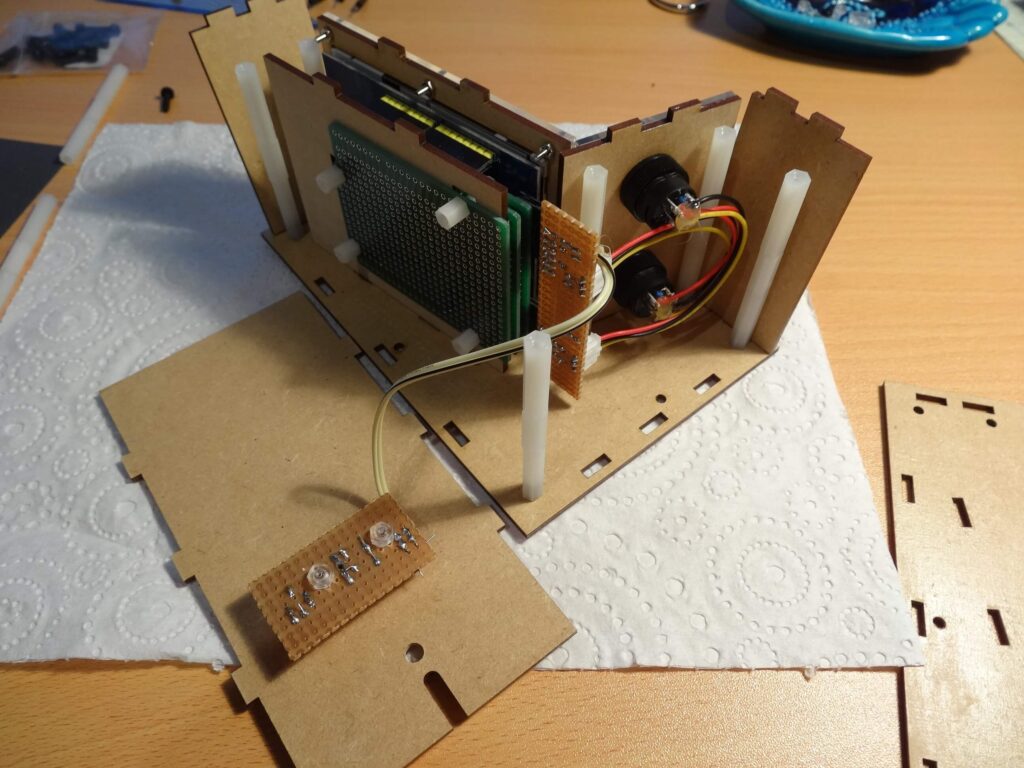
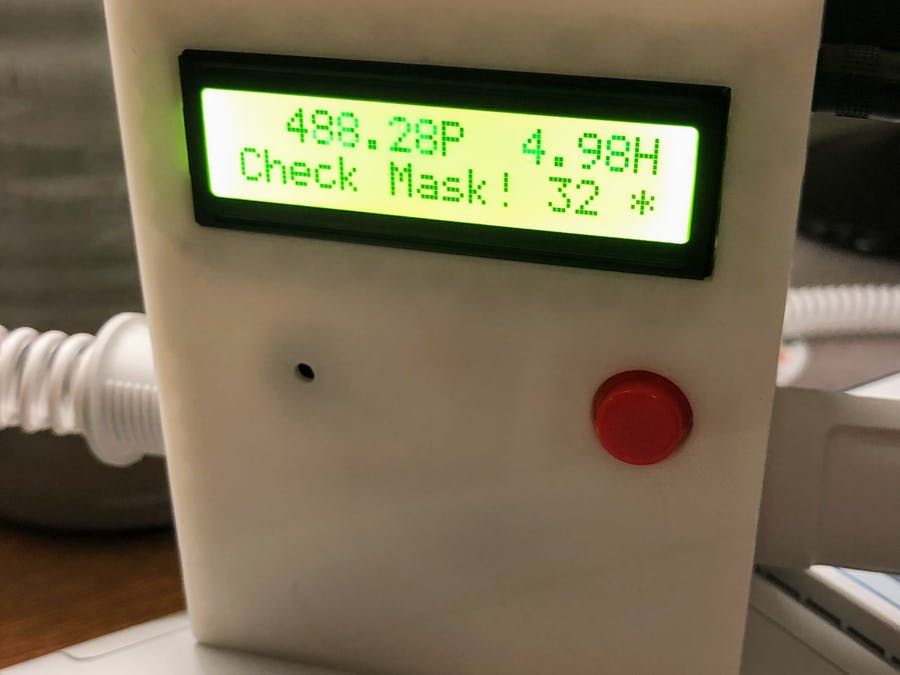
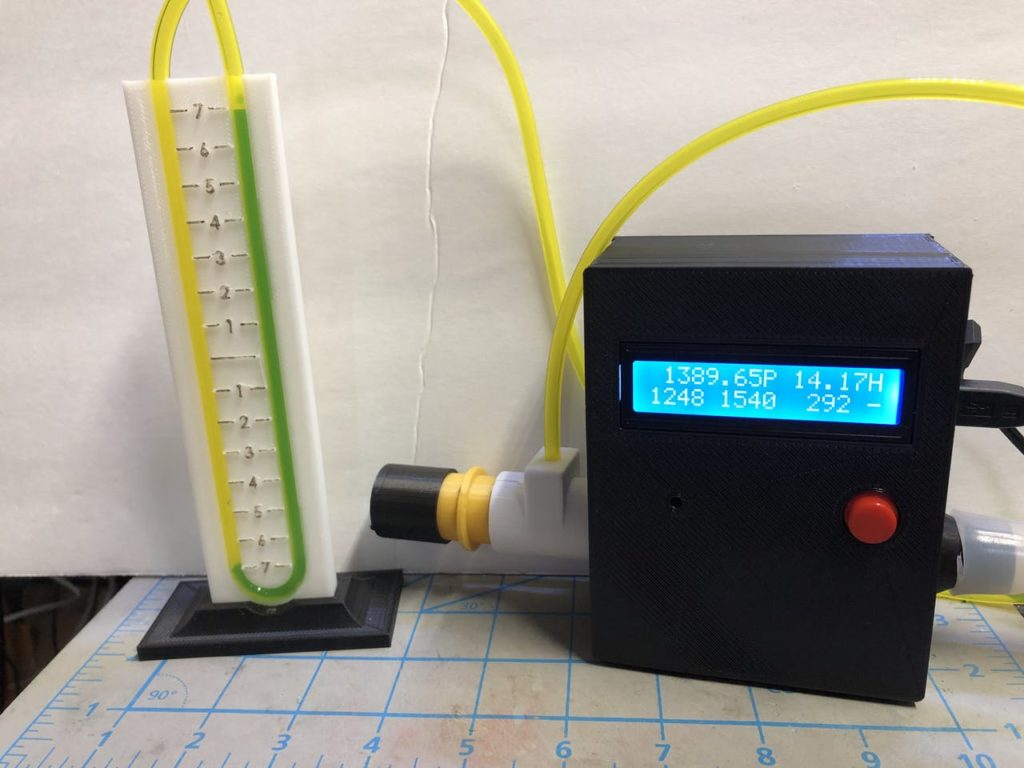
If you wear a CPAP (Continuous Positive Airway Pressure) mask to treat obstructive sleep apnea, you may wake up to find that you’ve flung the mask off during the night or adjusted it to the point that there’s a large air leak. To help with this problem, Bin Sun has developed a CPAP monitor that measures air pressure via an MPXV7002DP sensor—often also used to determine the airspeed of RC models.
The device is controlled by an Arduino Nano, and when it detects improper pressure readings in alarm mode, it activates a small buzzer, displaying a “check mask” message. It can also be set up to run in manometer mode in order to observe pressure changes.
More information—including required parts, print files, and code to make it run—can be found here.
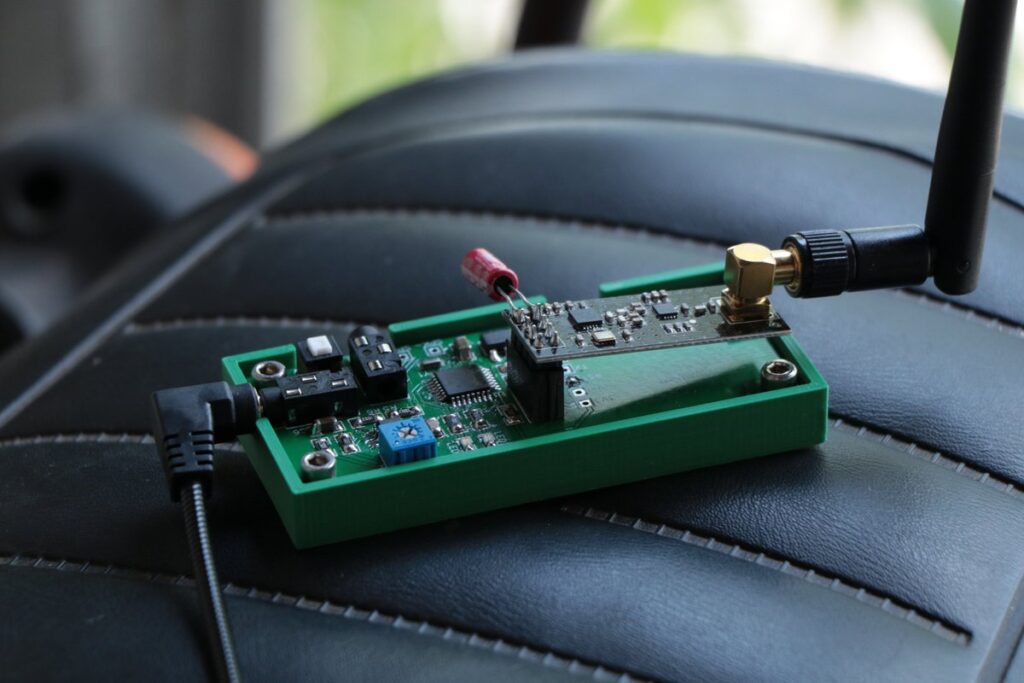
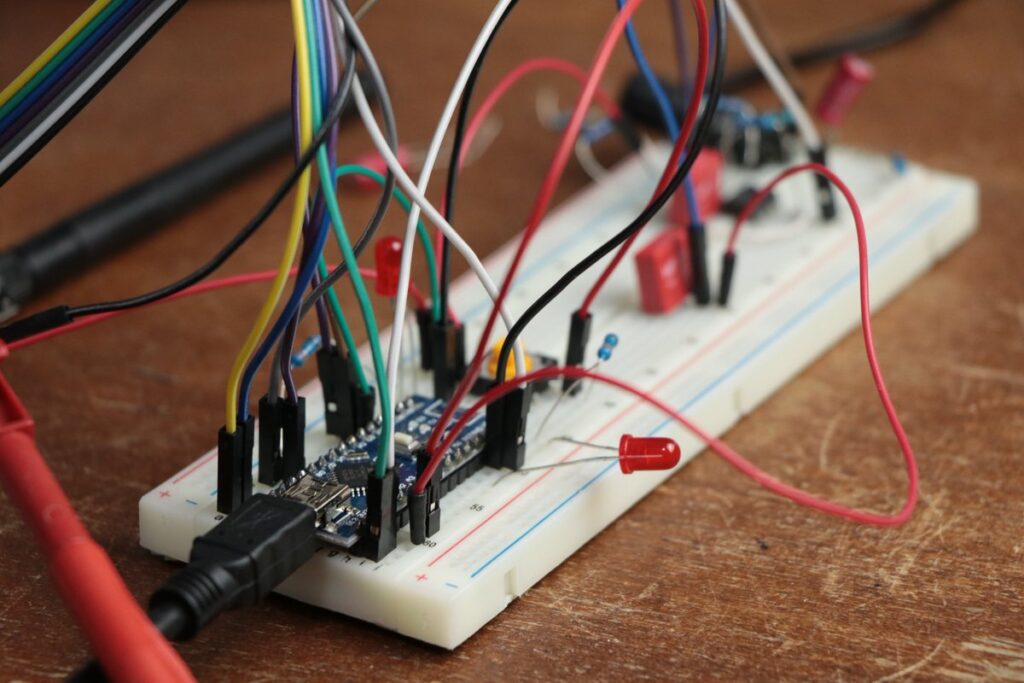
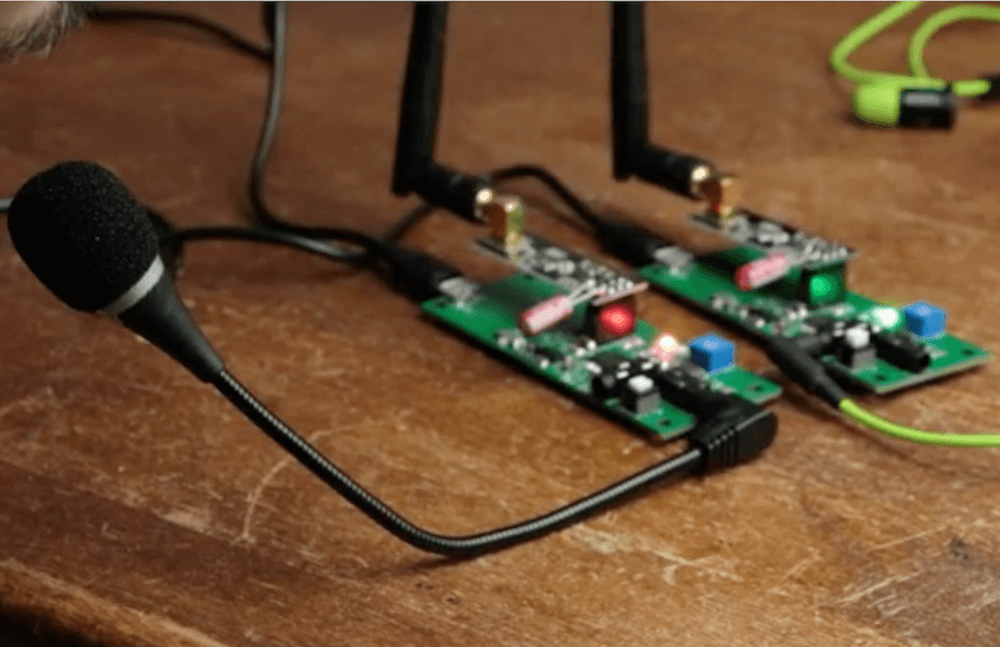
After considering the price of helmet-mounted headsets for motorcycle or moped use, YouTuber GreatScott! decided to try making his own. His walkie-talkie prototype consisted of two Arduino Nano boards, using nRF24L01+ transceivers and a small speaker for PWM audio output.
After a test demonstrating wireless transmission, the design was transferred to custom PCBs, programming their ATmega328P with an Uno acting as an ISP. The audio results are, at this point, barely intelligible. Nevertheless, it’s an interesting experiment, showing that this type of communication is possible using the RF24Audio library with an Arduino-based system.
If you think you could do things better, or that he’s missed something obvious, the PCB design is available here, so be sure to chime in on the video’s comments if you have an idea!
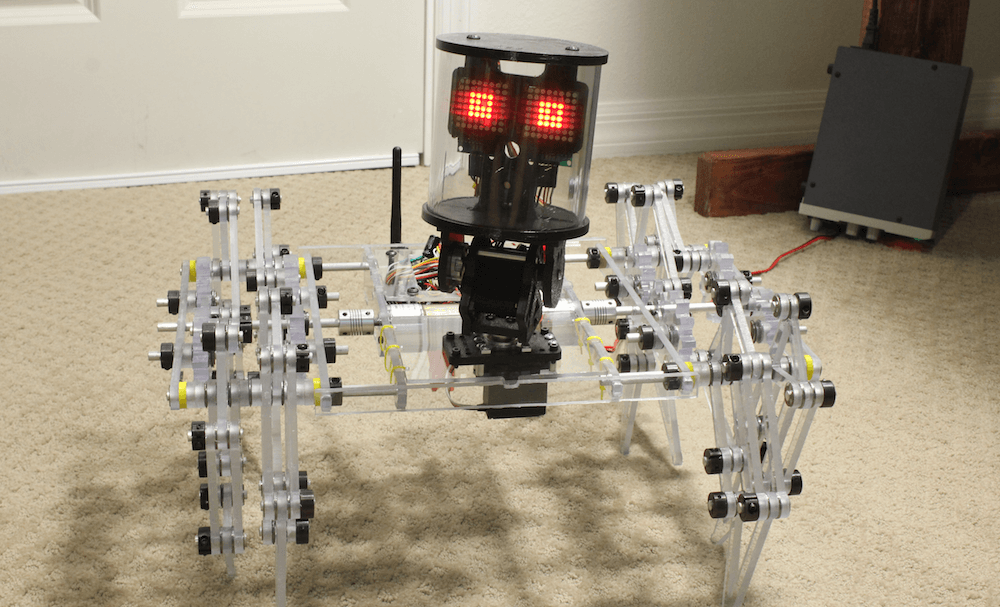
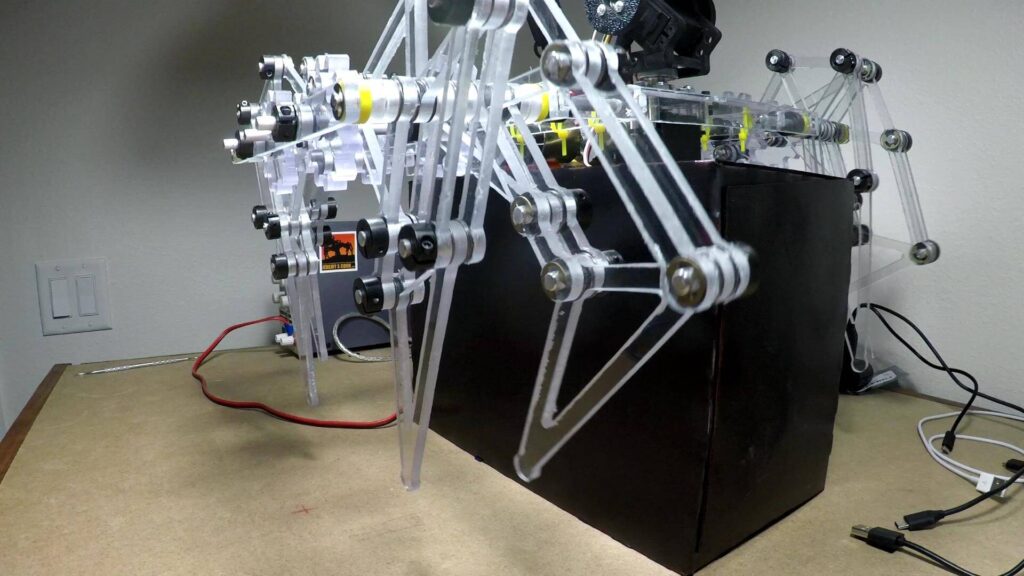
When you want to build a walking robot, the normal route is to individually control each leg with a number of servos or other actuators. Maker Jeremy S. Cook, however, took a different approach with his ‘ClearCrawler,’ using only a pair of motors to power eight legs. These legs are divided up into sets of four on either side of the bot, allowing for differential control similar to a tank.
The leg linkage design is based on Theo Jansen’s Strandbeest mechanism, and a clear head is also implemented with a pair of 8×8 MAX7219 LED matrix eyes. Onboard control is handled by an Arduino Nano and an L298N driver board, while an Uno with a joystick shield serves as the user interface. Radio transmission is via two nRF24L01 modules.
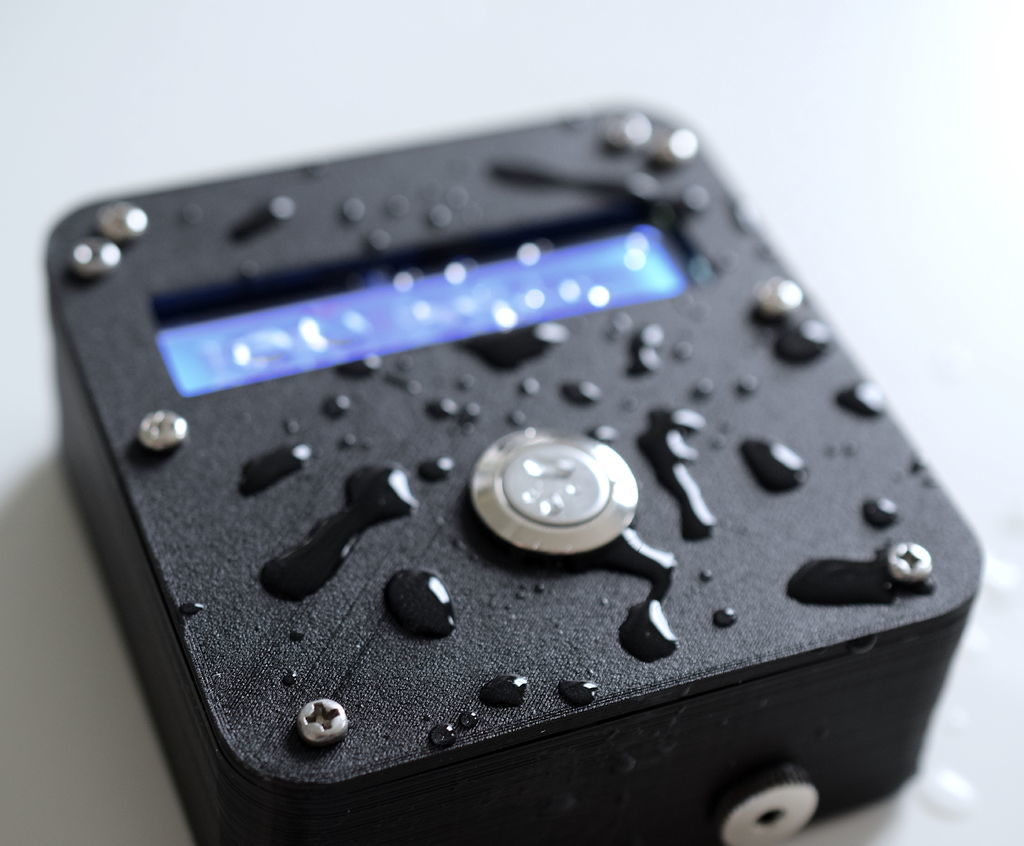
You (hopefully) take regular showers or baths, but how much water do you use each time you step into your facilities? If you don’t know the answer, then this monitor by LiamOSM could be just what you need.
The device uses a flow sensor plumbed inline with a shower head, which transmits pulses to an Arduino Nano setup. This Nano, which resides in a nicely 3D-printed enclosure, measures these pulses and outputs the amount of water you’ve used to a 16×2 LCD screen, along with its cost calculated according to your particular utility rates.
Using such a monitor would likely be an eye-opening experience, and the inexpensive flow sensor used here could be a great tool for other projects as well.
Which uses more water – a bath or a shower?
I was recently thinking about this question, and I realized that I don’t actually know how much water is used when I shower. I know when I’m in the shower sometimes my mind wanders, thinking about a cool new projects idea or trying to decide what to have for breakfast, while water is just gushing down the drain. It would be a lot easier to reduce my water consumption if I actually knew how many litres I was using each time!
I did a bit of research, and found that different shower heads can use anywhere from 9.5 litres (2.5 gallons) per minute to less than 6 litres (1.6 gallons) per minute, if you have a flow restrictor installed. A very old shower could use even more water.
I decided to design and build a device that would display the total volume of water used per shower, the cost of the water, and the flow rate. I’ve had this device installed for a few weeks, and it’s really handy to have a live readout of the amount of water being used.
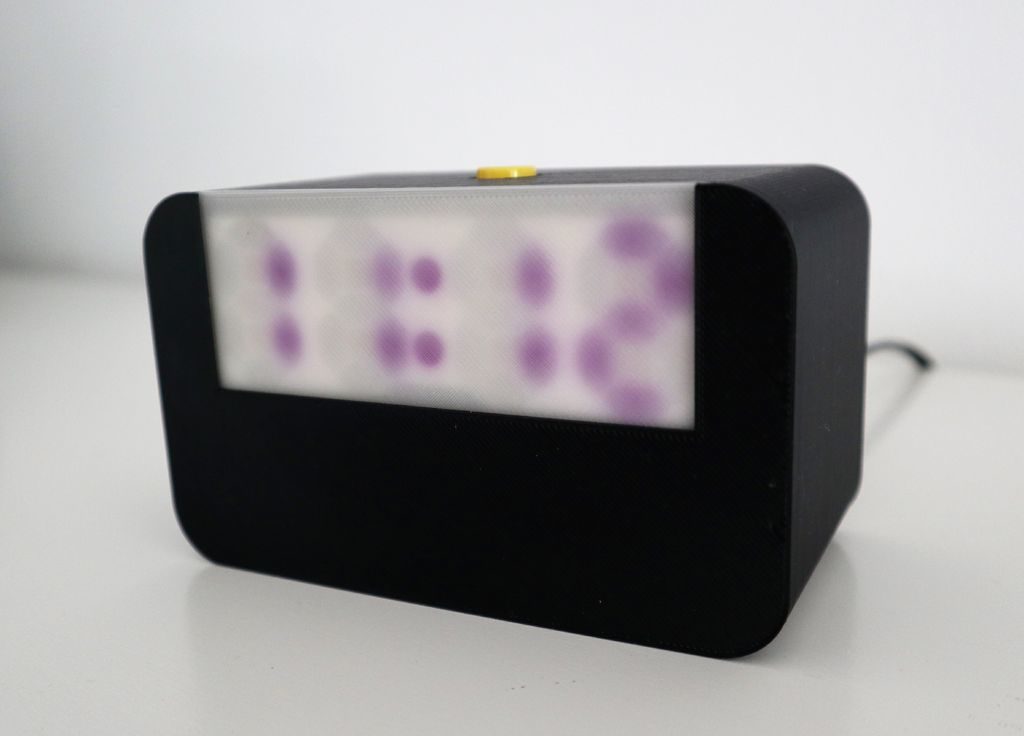
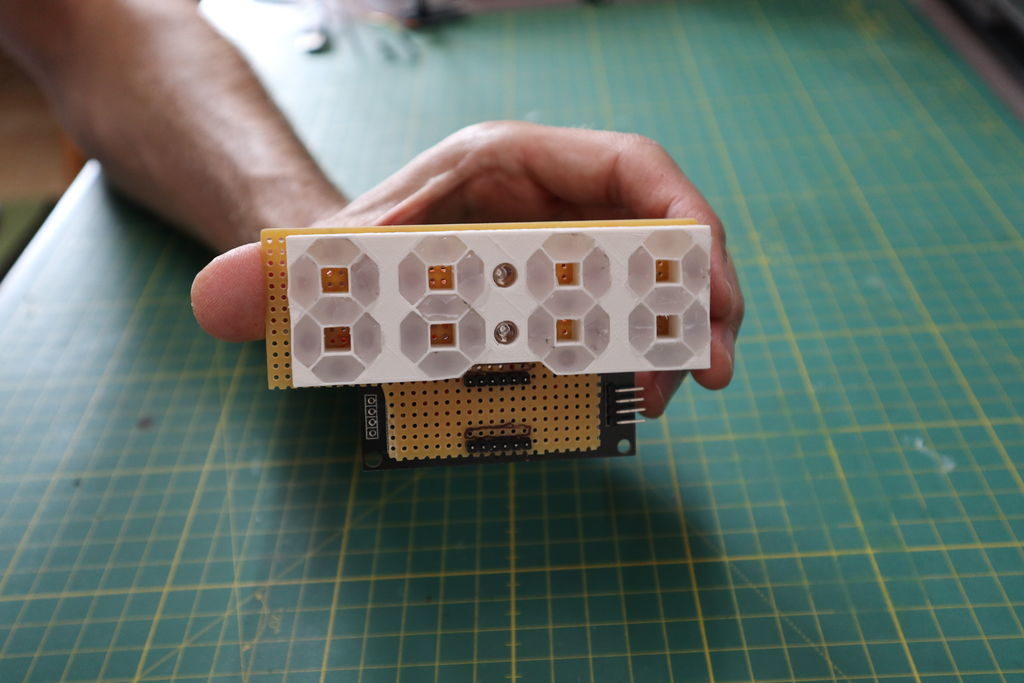
With many LED projects—like clocks—you’ll want to use a diffuser to keep light somewhat even over a wide area. Diffusers, as their name implies, diffuse light, but what if one was to instead use it as the light source itself?
This clever timepiece from Zaphunk does just that, employing an array of UV LEDs to illuminate a photochromic face. In the case of the glowing screen, the material first shines in response to the lit LEDs, then stays ‘on’ after they turn off, showing four numbers and a colon. When the photochromic cover is in use, the filament instead changes color based on the LEDs.
The clock is implemented with an Arduino Nano, an RTC module, and a heavily modified 8-digit 7-segment display, and triggered via the press of a button on top.
This clock uses a custom built 4-digit 7-segment display made from UV LEDs. In front of the display a screen is placed that consists either of phosphorescent (“glow-in-the-dark”) or photochromic material. A push button on the top lights up the UV display which then illuminates the screen for a few seconds so that it starts glowing or changes color which then slowly fades away.