Posts with «mega» label

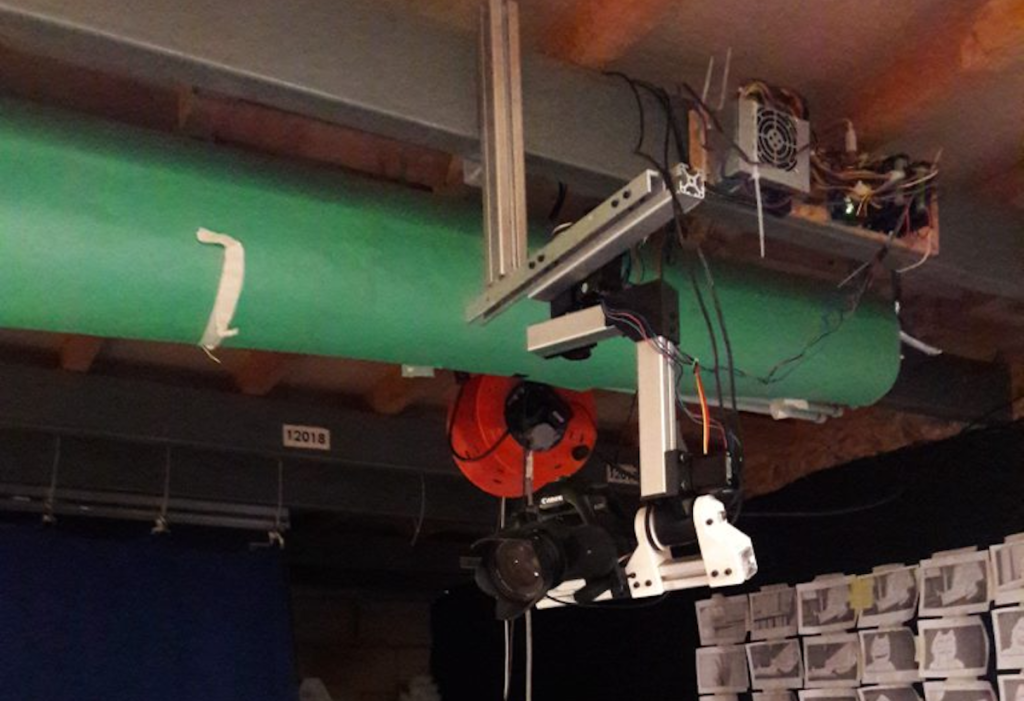
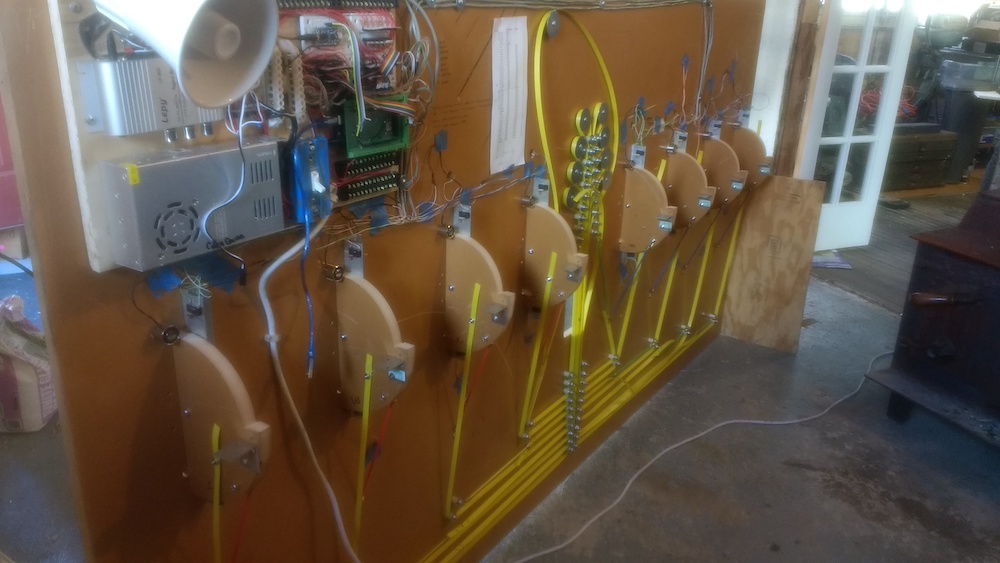
Ceiling-mounted cable robot with Arduino Mega

Cable-based robots are a common sight at sporting events as remote camera operators, but what about one for your living room? As spotted on Reddit, Nathaniel Nifong decided there was no reason not to have one of these devices, and made his own personal Skycam-like robot.

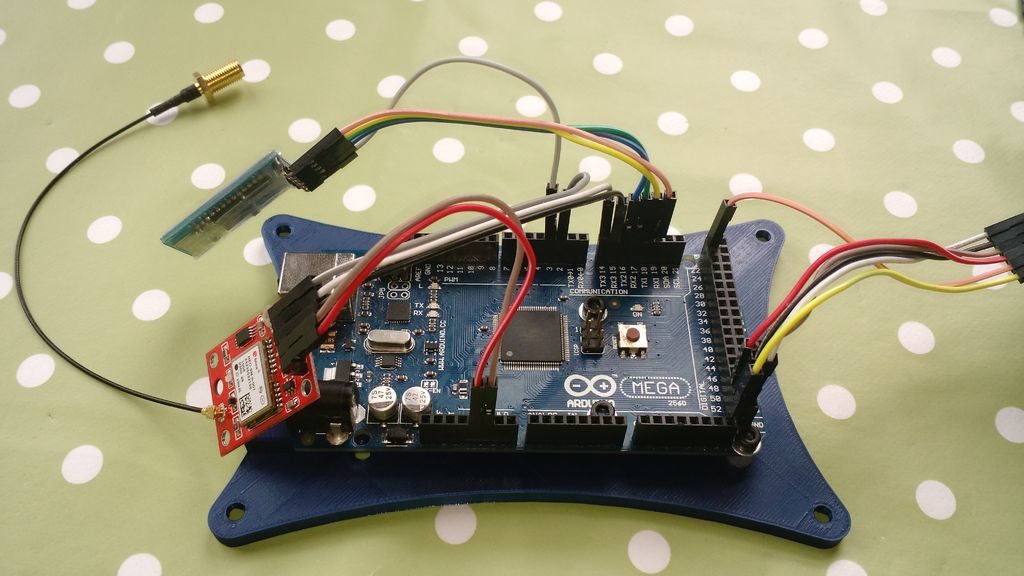
The system uses four servo motors to wind cables attached to the ceiling around 3D-printed wheels, and can be controlled using a smartphone via Bluetooth and an Arduino Mega. 

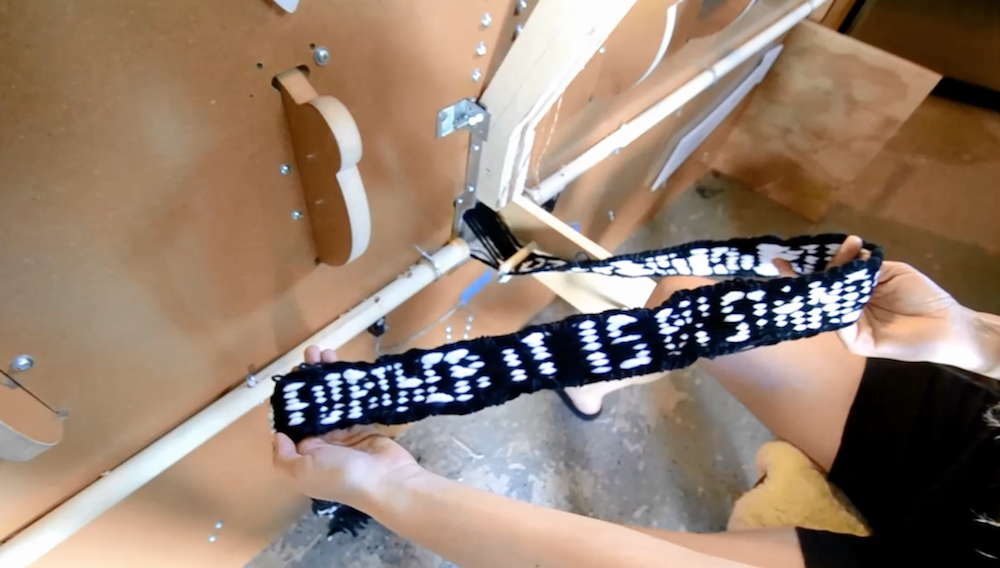
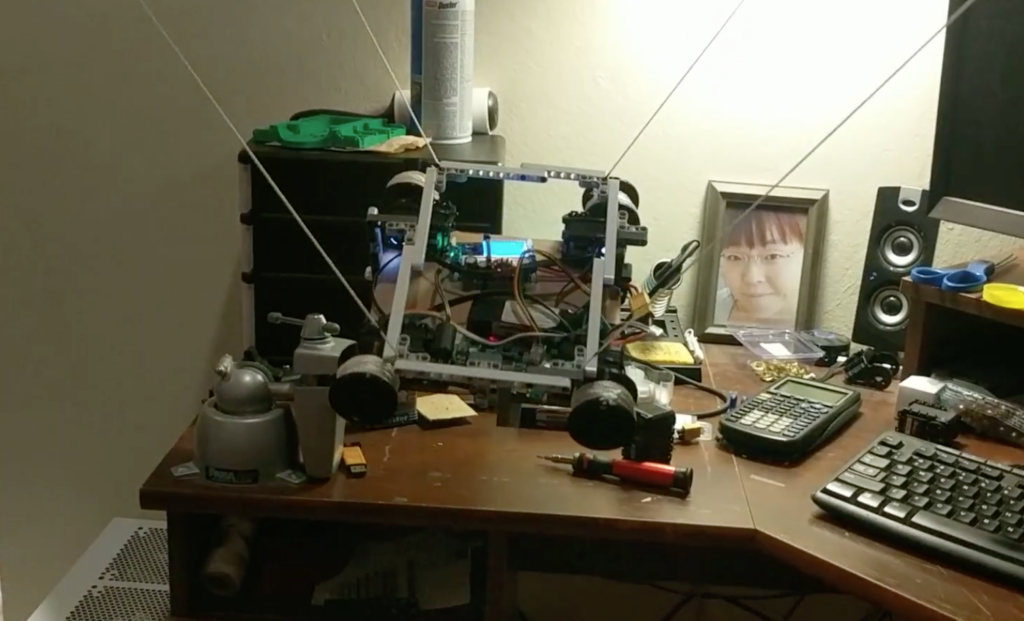
The prototype—constructed using cardboard and what appears to be LEGO components—is seen moving around Nifong’s dwelling in the videos below, and the eventual goal is to let it move items around using a servo gripper assembly.

This is the first wireless movement demonstration of a robot I’m building. It’s based on parts from an XYZ 6-DOF robotic arm.

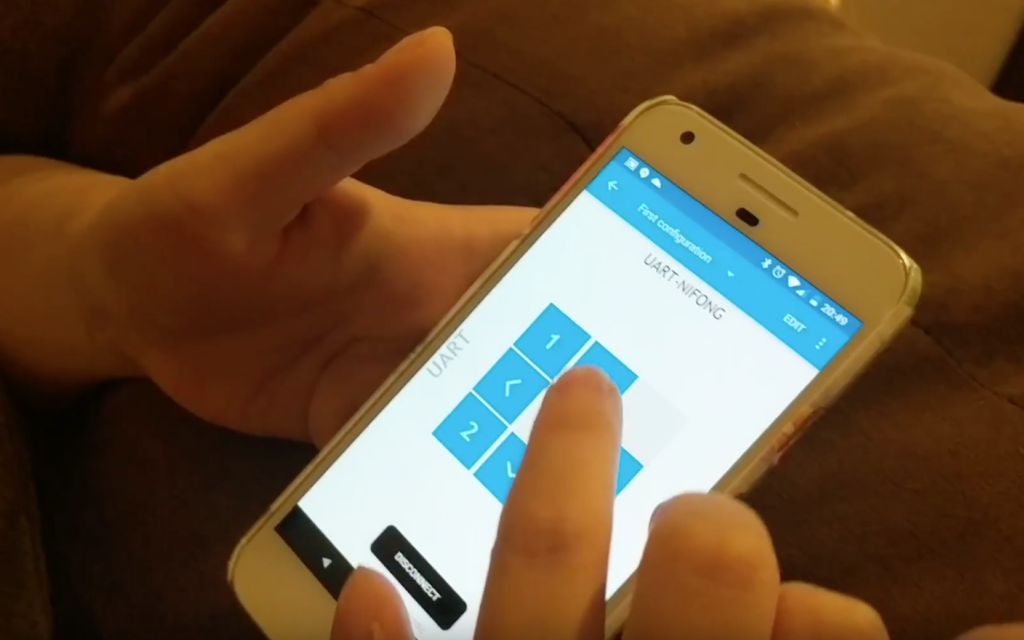
The Bluetooth control is done by using Nordic toolbox to send commands to a an MDBT40 Bluetooth module that was reprogrammed with an ST-Link V2. The module forwards the command to the Arduino.

Commands are to move 10 cm in any direction. It calculates what the change in rope lengths would be to achieve the new position.

Stop motion short filmed with the help of Arduino

One can imagine that making a stop motion animation film is a lot of work, but if you’ve ever wondered what one involves, James Wilkinson decided to document the process of making Billy Whiskers: The Mystery of the Misplaced Trowel. 

The main character of this film is a mystery-solving feline, who is animated with the help of five servos that control mouth movements under Arduino control.

In order to get shots that move properly, Wilkinson also came up with his own motion capture rig, moved by a number of stepper motors via an Arduino Mega. His documentation is certainly worth checking out if you’re interested in animatronics or advanced filming techniques, and you can see a trailer for the film below.

Smart hydroponic assembly made with Arduino Mega

If you love electronics as well as plants, what better way to combine the two than with a smart hydroponic system? Students at the Juan de Lanuza School decided to do just that, creating a portable hydroponic assembly that’s automatically controlled with the help of an Arduino Mega.

The system uses six lengths of PVC pipe to house plants and pass a nutrient rich liquid solution through their roots. The control assembly measures elements such as temperature, humidity, and pH, then adjusts the lighting, water pump, and nutrient feeder to accommodate for conditions. 

The device transmits data to ThinkSpeak for human monitoring, and also features a smartphone app for visualization. Build details are available here in English, or you can see a video of the setup in Spanish below.

An Arduino “Whack-a-Button” Reaction Game

After Instructables user R0RSHACH’s son won a place at the World Scout Jamboree in 2019, the maker decided to create a fairground-style game for fundraising. 

The resulting device is akin to a Whack-a-Mole or Batak game that can be found at high-end gyms, and features eight large light-up buttons per player on a wooden frame.

When activated, an Arduino Mega turns on the button-lights in sequence to test how long it takes participants to push each one. While it can be made in a single-player version, the two-player game looks like a lot more fun, allowing participants to compete on opposing boards. 

Code and instructions are available here, and you can see it demonstrated in the videos below.

TerraDome is a Jurassic World-themed terrarium

If you need a warm place to keep your tropical plants, then look no further than the beautiful “TerraDome” from maker “MagicManu.”

The device is equipped with an Arduino Mega that helps regulate the temperature inside its clear octagonal structure via a reptile heating pad, along with a fan salvaged from a PC power supply. A DHT11 sensor is used to sense temperature and humidity, shown on top of the dome by a small LED display.

Aside from taking care of plants, the project is decidedly dinosaur-themed, specifically Jurassic Park/World. It even features a servo-driven wooden door assembly on the front that looks like it came straight out of the movie, which swings open automatically to allow heat (or dinosaurs) to escape. 

You can check out the build process in the video below (in French), or see the second for a short dino-style glimpse of the assembly.

An Automated Paper Cutter

Are scissors and manual paper cutters not working for you? Well, “Mr Innovative” has the solution in the form of an Arduino-driven device that cuts paper to length automatically. 

As you can see in the video below, a user simply inputs the length of paper and the number of strips needed via a series of buttons and a tiny OLED display, and the automated machine does the rest.

The system works by pulling paper inserted into the machine’s body at precise intervals using a stepper motor and rollers. When in place, a second stepper moves a razor blade over the paper, cutting it into perfect strips for whatever craft project you have in mind. An Arduino Mega controls the device, along with a pair of stepper drivers via designed PCB-shield. Code and PCB files are available here for download.

SmartCash can sort and give out change

If you run a small business where transactions are made, handling out coins is a necessary part of the job. While a cash register does the trick, perhaps you could try out the SmartCash device—a cylindrical electromechanical system running on an Arduino Mega—to help you count coins and make change.

Aside from sorting coins, there’s the added benefit that customers will want to come and try it out, maybe even using more cash (and letting you as the owner avoid pesky credit card charges). 

SmartCash is currently designed to work with Euro coins ranging from 5 cents to 2€. Build information is available in this write-up and on the project’s official site. You can also see it in action in the first video below, or how it’s assembled in 3D CAD in the second.

Meme Weaver guides users through fabric creation

We all need to wear clothes, but where do they come from? If you answered “the mall,” then perhaps it’s time to play a couple rounds on the “Meme Weaver.” 

As seen here, this project by the husband and wife team of David Heisserer and Danielle Everine prompts users to adjust levers correctly in order to control how yarn travels through the machine, weaving fabrics together that reveal poems, quotes, and other interesting sayings.

Control for the device—which in turn “commands” humans via a series of audio-visual cues—is accomplished using an Arduino Mega, along with an Adafruit Audio FX sound board. 

Part mechanized tool and part arcade game, Meme Weaver is an interactive machine that weaves poems. Meme Weaver is a complex instrument with large-scale elements of a traditional loom – beams, rollers, yarns, shuttle, beater – with people operating individual treadles. Blinking lights and buzzers create an arcade game feel by lending a bit of Dance Dance Revolution ambiance to the loom.

We have chosen to weave a collection of memes, poems, quotes and maxims from a wide range of authors. The selections include personal favorites, well-known classics and contemporary works within the theme of knowledge sharing. The scroll will be written with poems that remind us that we are standing on the shoulders of giants when we make new technologies.

More info is available on the Meme Weaver’s website , or you can see it on display at the Northern Spark art festival in Minneapolis on June 1516th.

Pull small planes around with this Arduino Mega-based tug

While there are many ways to move an airplane on the ground, Anthony DiPilato decided to build a “tug” of his own.  

The treaded device looks like a tiny tank, and when it slides under the aircraft’s front wheel it locks in place, allowing a 5,200-pound plane to be pulled around courtesy of the RC system’s wheelchair motors. Onboard, an Arduino Mega serves as the brains of the operation along with an H-bridge for motor control. User interface is handled by DiPilato’s iPhone via Bluetooth.

For small aircraft, a towbar is sufficient, but for larger aircraft a power assisted tug is necessary for maneuvering the aircraft. Commercially available aircraft tugs are considerably expensive, so many people use small tractors or golf carts to pull their aircraft.For this project I wanted to see if I could build a remote controlled aircraft tug for a reasonable price.

The goal was to design a remotely controlled tug capable of pulling a Cessna 310 with an estimated weight of 5,200 lbs while keep the cost under $1,000.

Build details can be found in his blog write-up. The Arduino code is available on GitHub, as well as the iOS program. Finally, you can see the tug in action in the first video below, while the second clip shows how the locking mechanism works.

Arduino Blog 12 Jun 17:07

A DIY Automobile Black Box with Arduino Mega

If you’d like to monitor your driving habits, or perhaps keep them handy in the event of an accident, a “black box,” or more properly a “telematics” device is just what you’re looking for. 

Monitoring driving habits can be interesting, but what if you’d like to make a telematics box yourself, giving you total control over how data is collected and used?

That’s just what maker “TheForeignMan” did, using an Arduino Mega to take in data from his car’s OBD-II port, along with position information from a GPS module. Vehicle speed, engine RPM, and throttle depression are saved on an SD card, which can be removed and graphed on the driver’s computer.

DISCLAIMER: This custom-made black box may not always be valid evidence in a court of law. Some countries/states/local laws may not allow installation of custom monitoring units into moving vehicles unless authorized by an approved installation team. For these reasons, and any other associated to tampering with the OBD port, the author(s) of this article and website hold no responsibility over the outcome of your driving, your car, your car’s electronics (including on board computer), and any other incidents occurred with a custom-made monitoring unit fitted.

Instructions for this build are available here and code can found on GitHub.