Sensing Soil Moisture: You’re Doing it Wrong!
If you compulsively search online for inexpensive microcontroller add-ons, you will see soil moisture measurement kits. [aka] built a greenhouse with a host of hacked hardware including lights and automatic watering. What caught our attention among all these was Step 5 in their instructions where [aka] explains why the cheap soil sensing probes aren’t worth their weight in potting soil. Even worse, they may leave vacationers with a mistaken sense of security over their unattended plants.
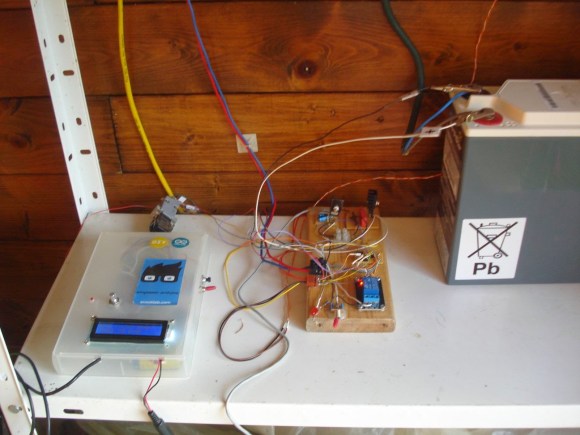
The sensing stakes, which come with a small amplifier, work splendidly out of the box, but if you recall, passing current through electrodes via moisture is the recipe for electrolysis and that has a pretty profound effect on metal. [Aka] shows us the effects of electrolysis on these probes and mentions that damaged probes will cease to give useful information which could lead to overworked pumps and flooded helpless plants.
There is an easy solution. Graphite probes are inexpensive to make yourself. Simply harvest them from pencils or buy woodless pencils from the art store. Add some wires and hold them with shrink tube, and you have probes which won’t fail you or your plants.
Here’s some garden automation if this only whet your whistle, and here’s a robotic friend who takes care of the weeds for you.
Filed under: green hacks


 [Husham] not only likes his electronics projects but clearly enjoys documenting them as well. He’s written a nice Instructable on a