Posts with «fr4» label

FR4 Machine Shield Is A CNC Milling Machine From FR4 PCB

The people behind the PocketNC heard you like CNC PCB mills, so they milled you a PCB mill out of PCB. They announced their surprising new open source hardware product, a pocket sized 3-axis CNC machine entirely made out of FR4 PCB material, aptly named “FR4 Machine Shield”, at this year’s Bay Area Maker Faire.

We know the concept from quadcopters, little robots, and generally things that are small enough to make use of their PCBs as a structural component. But an entire CNC machine, soldered together from a few dozen PCBs certainly takes it to the next level.

There is no doubt that 2mm thick fiber reinforced epoxy can be surprisingly rigid, although the Achilles heel of this method might be the solder joints. However, it looks like all load bearing, mechanical connections of the machine are supported by tightly interlocking “dovetail”-joints, which may help protecting all the solder connections from the strain hardening effects of continuous stress and spindle vibrations.

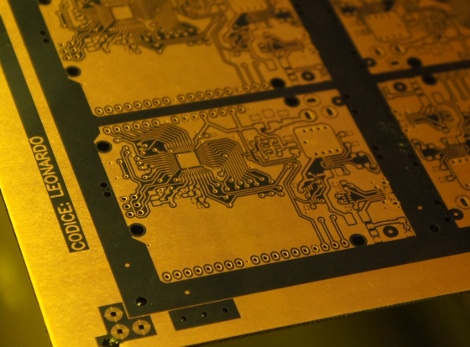
As you might expect, most of the wiring is embedded into the FR4 frame construction, and to squeeze the maximum value out of the PCB material, the motor driver boards interface via card edge connectors with the (currently Arduino based) controller board. In addition to the milling head, which features a brushless DC motor and a tool coupler, the team wants to develop heads for circuit printing, microscopy, pneumatic pick and place, hot air reflow, and 3D printing.

With all those cost-driven design choices, from the one-step manufacturing process of the frame and wiring to the dismissal of screws and nuts from the frame assembly, the “FR4 Machine Shield” could indeed become one of the cheapest CNC machine kits on the market. The team targets an introduction price of $400 during a Kickstarter campaign in June 2016. Can they deliver? [Gerrit] check Pocket NC out at the Faire and ended up raving about how they run their business.

Enjoy their teaser video below!


Filed under: cnc hacks

Hackaday Links: November 22, 2015

There’s a new documentary series on Al Jazeera called Rebel Geeks that looks at the people who make the stuff everyone uses. The latest 25-minute part of the series is with [Massimo], chief of the arduino.cc camp. Upcoming episodes include Twitter co-creator [Evan Henshaw-Plath] and people in the Madrid government who are trying to build a direct democracy for the city on the Internet.

Despite being a WiFi device, the ESP8266 is surprisingly great at being an Internet of Thing. The only problem is the range. No worries; you can use the ESP as a WiFi repeater that will get you about 0.5km further for each additional repeater node. Power is of course required, but you can stuff everything inside a cell phone charger.

I’ve said it before and I’ll say it again: the most common use for the Raspberry Pi is a vintage console emulator. Now there’s a Kickstarter for a dedicated tabletop Raspi emulation case that actually looks good.

Pogo pins are the go-to solution for putting firmware on hundreds of boards. These tiny spring-loaded pins give you a programming rig that’s easy to attach and detach without any soldering whatsoever. [Tom] needed to program a few dozen boards in a short amount of time, didn’t have any pogo pins, and didn’t want to solder a header to each board. The solution? Pull the pins out of a female header. It works in a pinch, but you probably want a better solution for a more permanent setup.

Half of building a PCB is getting parts and pinouts right. [Josef] is working on a tool to at least semi-automate the importing of pinout tables from datasheets into KiCad. This is a very, very hard problem, and if it’s half right half the time, that’s a tremendous accomplishment.

Last summer, [Voja] wrote something for the blog on building enclosures from FR4. Over on Hackaday.io he’s working on a project, and it’s time for that project to get an enclosure. The results are amazing and leave us wondering why we don’t see this technique more often.


Filed under: Hackaday Columns, Hackaday links

Birth of an Arduino

Hey look, an Arduino without its clothes on. This one’s just started its journey to becoming the ubiquitous prototyping tool. The image is from [Bunnie's] recent tour of the fab house where Arduino boards are made.

As it says on every true Arduino board, they’re made in Italy. [Bunnie's] trip to the factory happened in Scarmagno, on the outskirts of Torino. The process starts with large sheets of FR4 copper clad material, usually about 1 by 1.5 meters in size. The first task is to send the sheets through a CNC drill. With all of the holes done it’s time for some etch resist; the image above is just after the resist has been applied. A robotic system takes over from here, running the panels through the chemicals which first etch away the copper, then remove the resist and plate the remaining traces. From there it’s off to another machine for solder mask and silk screen.

There are videos of each step available. But our favorite piece is the image at the end that shows a pallet with stacks of completed PCB panels which are headed off to be populated with components.

[via Reddit]


Filed under: arduino hacks
Hack a Day 15 Aug 12:01