University of Washington develops a self-driving tricycle
Autonomous cars seem to get all of the attention, but this autonomous trike is hoping to take things in a different direction.
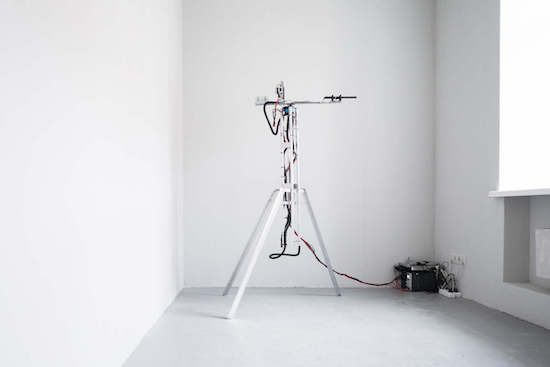
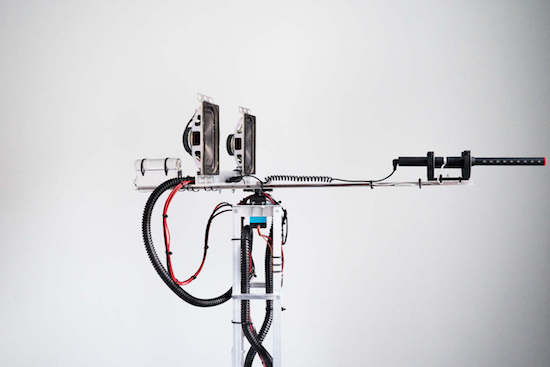
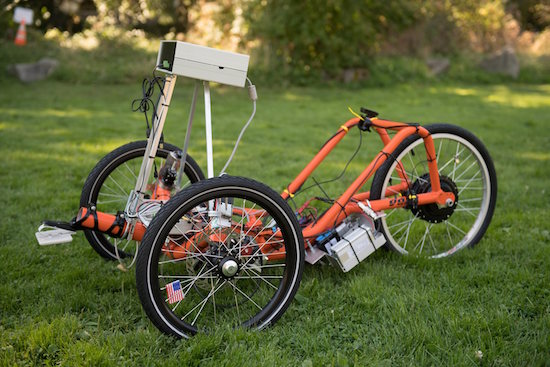
With the support of Amazon’s Catalyst program, as well as from software company Kerika, University of Washington Bothell professor Tyler Folsom’s self-driving tricycle aims to help us lessen our dependence on fossil fuels. It’s a neat platform in its current form based on a recumbent tricycle.
As seen in the video below, it’s taken one of the first steps toward driving itself, taking a command to drive in a circle without direct control by an operator.
Folsom notes that Google is tackling the challenge of driving in traffic. Once driving software is mature and can be integrated into this type of platform, perhaps we will be able to ride to work or the store in a smaller vehicle like this!
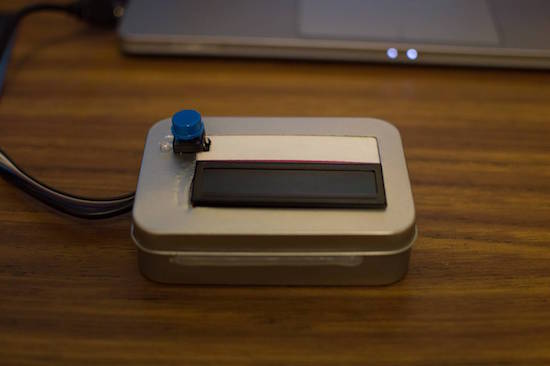
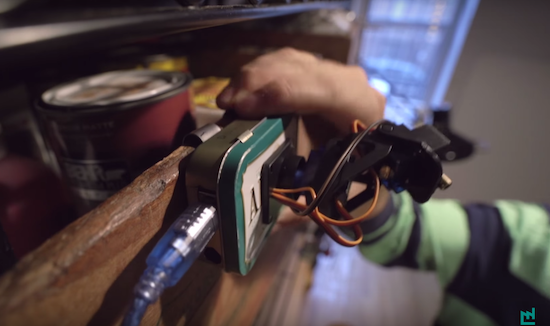
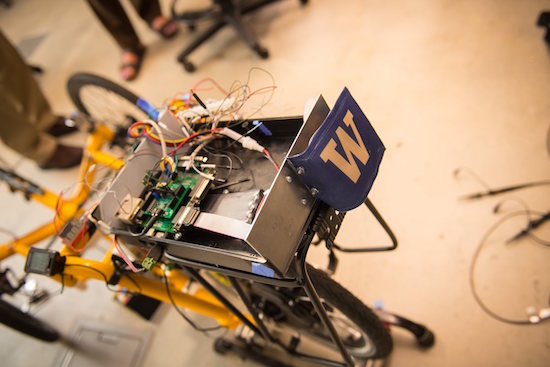
“Of course we used the Arduino microprocessor.” – Professor Folsom
You can see more details on this project in the UW Bothell’s writeup.
(Photos: University of Washington Bothell)