The Sandwich-o-Matic will make your lunch automatically
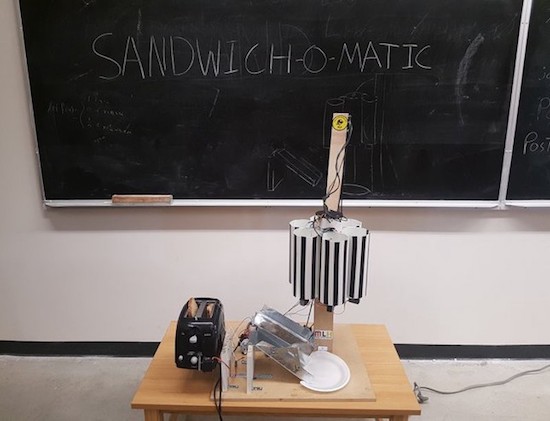
Love eating lunch, but hate making it? Good news, an automated machine may soon be able to take care of the task for you. Meet Sandwich-o-Matic, a voice-controlled, robotic sandwich-building station.
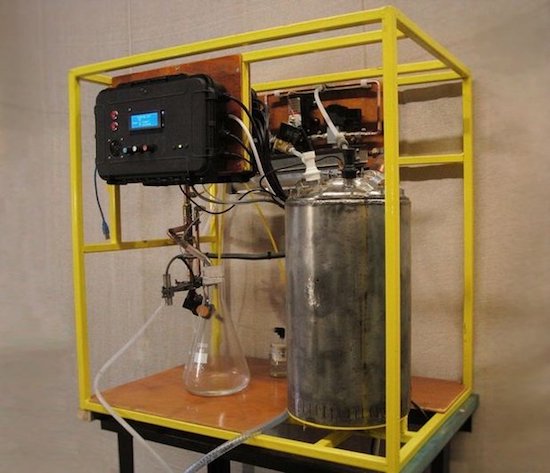
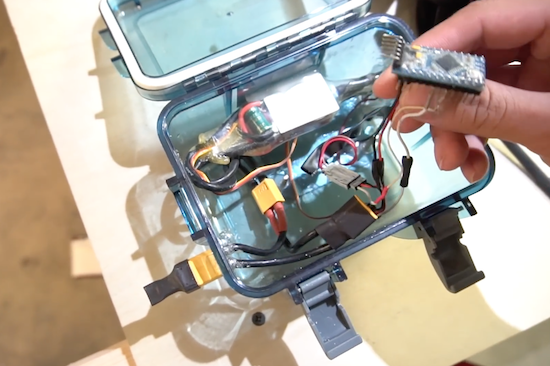
The project–which was created during a thirty-six hour hackathon by the team of Clive Chan, Colin Daly, Alex Foley and Wilson Wu–is based on an Arduino and a Photon. A rotating dispenser is driven by a series of servos, while a DC motor is responsible for a toaster-lifting mechanism. The backend is running Node.js, hosted on AWS, and the Google Cloud Platform handles the voice-to-text features.
The Sandwich-o-Matic accepts both voice and NFC requests. Simply place your order by saying the ingredients, or tapping their respective images on an accompanying menu. The device will then begin crafting your lunch from scratch.
The Makers hope to even develop a future version, which will include more topping and condiment options as well as a more streamlined voice-to-sandwich process. You can read more about the project on Devpost and its GitHub page.