Stage Bench is an Arduino-based live controller table
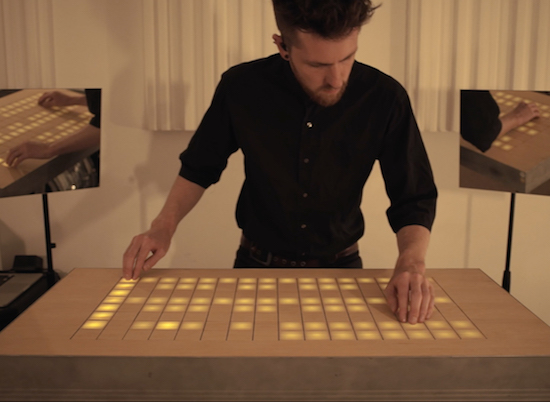
Manuel Lukas, a student at the University of Applied Science Mainz, and Sascha Lukas, a student at Cologne University of Music, together make up the German pop band Wyoming. As part of an interdisciplinary project, the duo decided to combine their love for both design and music into one live MIDI controller that’s bigger than commonly available commercial devices, but due to its size, more comprehensible for the audience.
The result? A DJ table, dubbed “Stage Bench,” that doubles as an instrument.
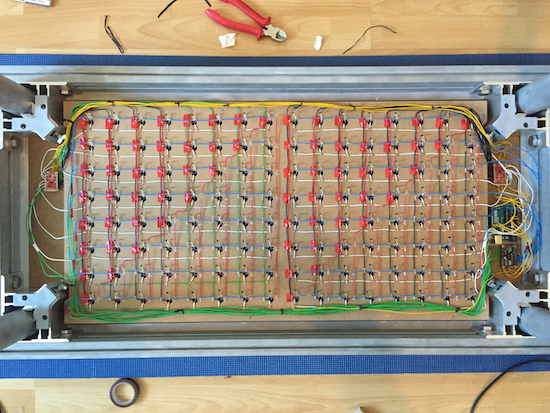
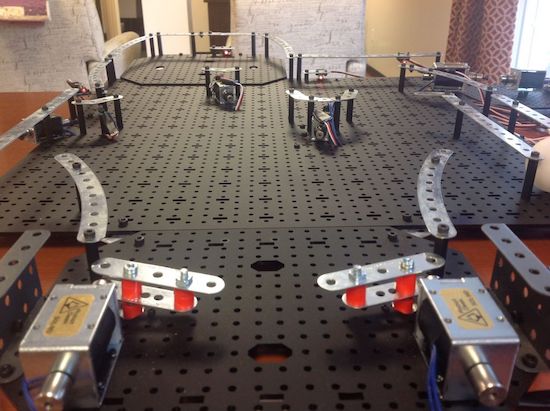
Stage Bench is based on an Arduino Uno which interacts with two matrices, a 128-LED matrix and a 128-button matrix, via a pair of shields. The connection to the computer is managed by serial communication and corresponds with a self-programmed patch in Max/MSP, which also sends MIDI data to any preferred DAW to play instruments or samplers.
Check out Stage Bench in Wyoming’s music video below!