Posts with «nixie tube» label

Upcycled Nixie Clock Fit For A Friend
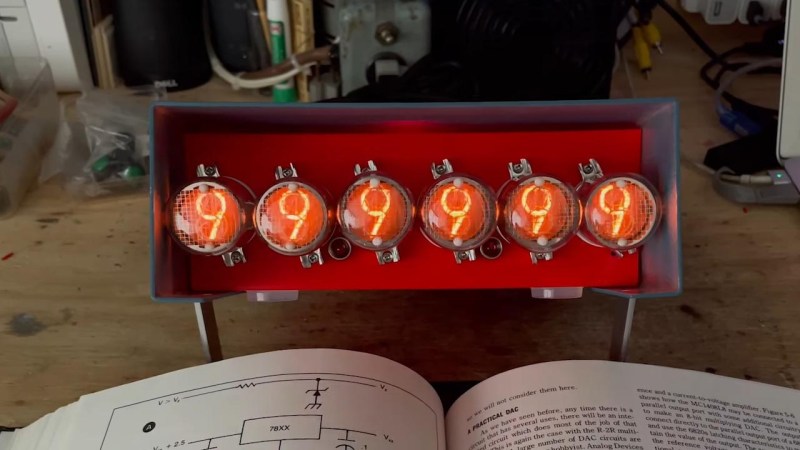
Building a clock from parts is a right of passage for makers, and often represents a sensible introduction into the world of electronics. It’s also hard to beat the warm glow of Nixie tubes in a desktop clock, as [Joshua Coleman] discovered when building a Nixie tube clock for a friend.

The original decision to upcycle the chassis from an unrepairable Heathkit function generator came a little undone after some misaligned cutting, so the front panel ended up being redesigned and 3D printed. This ended up being serendipitous, as the redesigned front panel allowed the Nixie tubes to be inset within the metal chassis. This effect looks great, and it also better protects the tubes from impact damage.

Sourcing clones of the 74141 Nixie driver ICs ended up being easier than anticipated, and the rest of the electronics came together quickly. The decoders are driven by an Arduino, and the IN-4 Nixie tubes are powered by a bespoke 170 volt DC power supply.

Unfortunately four of the tubes were damaged during installation, however replacements were readily available online. The gorgeous IN-4 Nixie tube has a reputation for breaking easily, but is priced accordingly on auction sites and relatively easy to source.

The build video after the break should get any aspiring Nixie clock makers started, but the video description is also full of extra information and links for those needing help getting started.

We’re not short on clock hacks here at Hackaday, so why not check out a couple more? This retro-inspired LED clock looks like its right out of a parallel universe, or maybe this stunning Nixie clock driven by relays will strike your fancy.

Hack a Day 08 Apr 00:00

Nixie Shot Timer Adds Useful Elegance to Espresso Machine

Once you’ve ground the beans and tamped the grounds just so, pulling the perfect shot of espresso comes down to timing. Ideally, the extraction should last 20-30 seconds, from the first dark drips to the tan and tiger-striped crema on top that gives the espresso a full aftertaste.

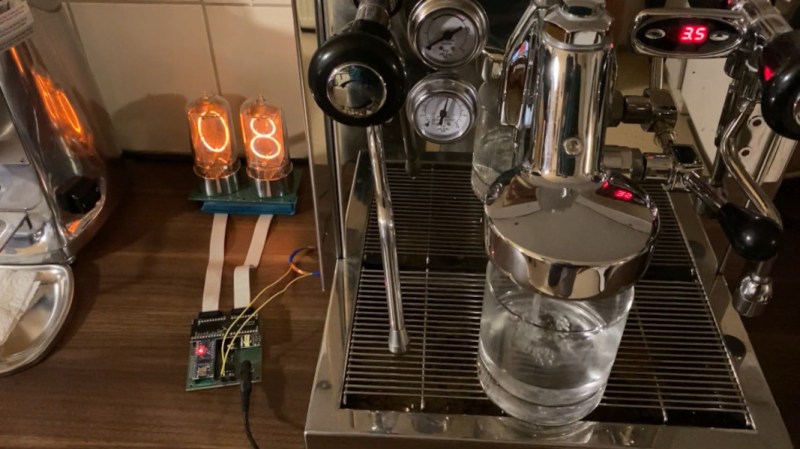
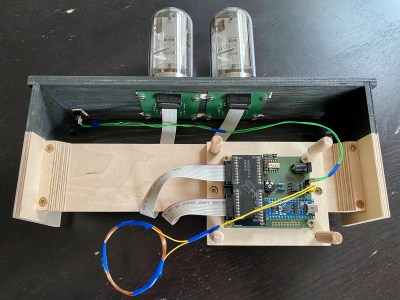
[Marco] has a beautiful espresso machine that was only missing one thing: an equally beautiful shot timer with a Nixie tube display. Instead of messing with the wiring, [Marco] took the non-invasive approach and is using a DIY coil to detect the magnetic field of the espresso machine’s pump and start a shot timer.

An LM358-based op-amp magnifies the current induced by the machine and feeds it to an Arduino Nano, which does FFT calculations. [Marco] found a high-voltage interface driver to switch 170 V to the Nixies instead of using two handfuls of transistors. Grab yourself a flat white and check it out after the break.

The last Nixies may have been mass-produced in the 1980s, but never fear — Dalibor Farny is out there keeping the dream alive and making new Nixies.

Arduino Shield Makes Driving Nixies Easy

Nixie tubes are adored by hackers across the world for their warm glow that recalls an age of bitter nuclear standoffs and endless proxy wars. However, they’re not the easiest thing to drive, requiring high voltages that can scare microcontrollers senseless. Thankfully, it’s possible to score an Arduino shield that does the heavy lifting for you.

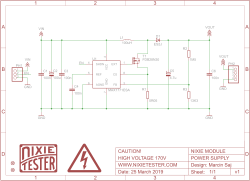
The HV supply is the heart of any Nixie driver.

The shield uses HV5812 drivers to handle the high-voltage side of things, a part more typically used to drive vacuum fluorescent displays. There’s also a DHT22 for temperature and humidity measurements, and a DS3231 real time clock. It’s designed to work with IN-12 and IN-15 tubes, with the part selection depending on whether you’re going for a clock build or a combined thermometer/hygrometer. There’s also an enclosure option available, consisting of two-tone laser etched parts that snap together to give a rather sleek finished look.

For those looking to spin up their own, code is available on Github and schematics are also available. You’ll have to create your own PCB of course, but there are guides that can help you along that path. If you’re looking to whip up a quick Nixie project to get your feet wet, this might just be what you need to get started. Of course, you can always go straight to hard mode, and attempt a functional Nixie watch. Video after the break.

Slot

Lixie is a Nixie tube alternative

Using a series of etched acrylic panes, the “Lixie” display can show numbers in the style of a Nixie tube.

Nixie tubes are beautiful pieces of display hardware that are no longer in production, and are becoming harder and harder to find. They also generally require relatively high DC voltages to operate, making them difficult and potentially dangerous. Connor Nishijima, however, has come up with an alternative called the Lixie.

This laser-cut item employs etched panes of acrylic to reflect the light from WS2812B LEDs as required, revealing digits 0-9. Since the LEDs are RGB, different colors can be selected as desired.

Edge-lighting panes of acrylic etched with a design has been done for decades, but they’ve always been static information like an “EXIT” sign. If you stack multiple panes of acrylic (each with a unique design) and light them individually, you can change what design the user sees! This makes edge-lighting perfect for a numeric display! And since I love the look of Nixies, we’ll emulate the typography as well. At the end of the day, what I’ve made is a beautiful over-sized numeric display using WS2812Bs and a laser cut digit assembly!

You can find more about this “modernized Nixie tube” on Hackaday.io.

Arduino Blog 13 Dec 19:19

World’s Largest “Nixie” Clock at World Maker Faire

World Maker Faire was host to some incredible projects. Among the favorites was Nixie Rex [YouTube Link]. Nixie Rex is actually a Panaplex display, since it’s glow comes from 7 planer segments rather than 10 stacked wire digits. One thing that can’t be contested is the fact that Rex is BIG. Each digit is nearly 18 inches tall!

Nixie Rex was created by [Wayne Strattman]. Through his company Strattman Design, [Wayne] supplies lighting effects such as plasma globes and lightning tubes to the museums and corporations. Nixie Rex’s high voltage drive electronics were created by [Walker Chan], a PHD student at MIT. Believe it tor not the entire clock runs on an ATmega328P based Arduino. The digits are daisy chained from the arduino using common Ethernet cables and RJ45 connectors. A Sparkfun DS1307 based real-time clock module ensures the Arduino keeps accurate time.

[Wayne] and Rex were located in “The Dark Room” at Maker Faire, home to many LED and low light projects. The dim lighting certainly helped with the aesthetics, but it did make getting good photos of the clock difficult. Long time Hackaday tipster [Parker] graciously provided us with a size reference up above.

Click past the break to see a closeup of that awesome cathode glow, and a video of the Nixie Rex  in action.

Got to love that tube glow.


Filed under: clock hacks