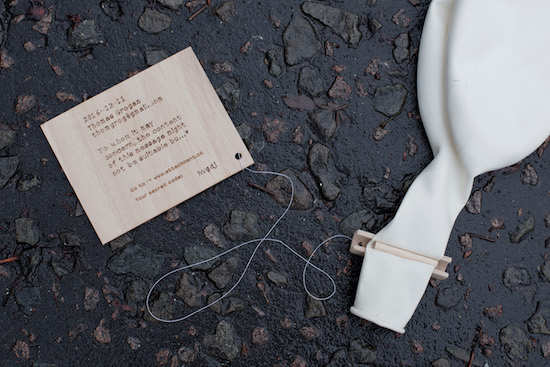
Attachment is like a modern-day message in a bottle
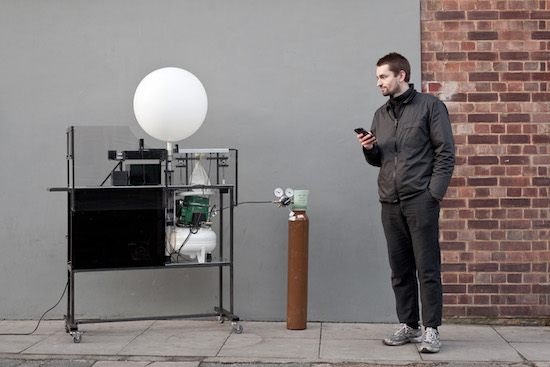
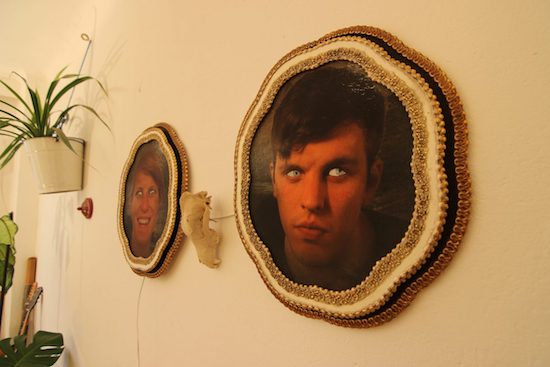
If you want to reach out to someone, you could always pick up your phone and send a text. But if you’re seeking something a bit more random and indirect, one idea would be to write and attach a message to a biodegradable balloon using Swiss designer David Colombini’s “poetic machine.”
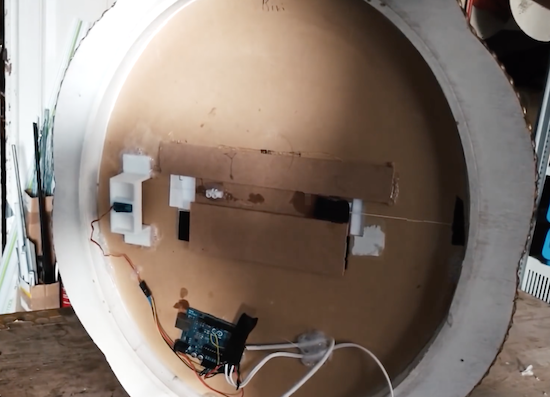
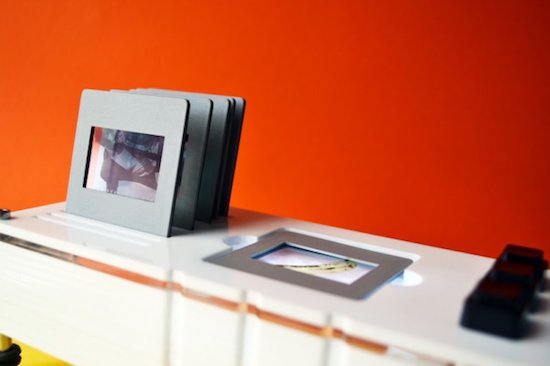
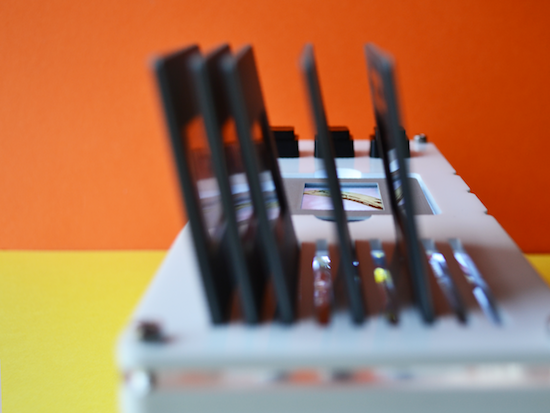
Colombini’s Attachment project allows you to do just that, by dispatching digital notes, images or videos gleaned from the Internet into the atmosphere. Once the Arduino Mega-driven device receives this input, the message is laser-etched on a thin piece of balsa wood, then released into the air (though a human has to ‘reload’ after five launches). Word space is limited to a Twitter-esque 120 characters, but the finder of the balloon can access any additional content that you include through a code on the project’s website.
According to Creative Applications:
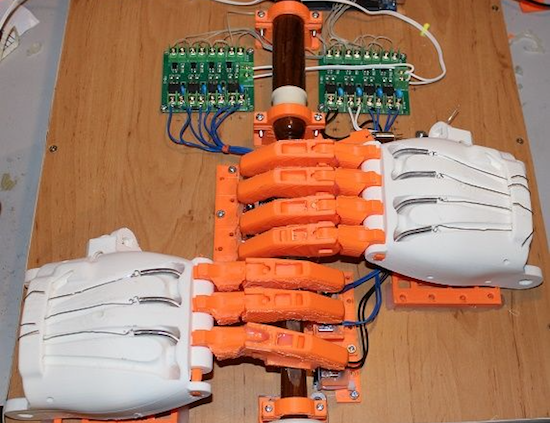
Software includes PHP / MySQL database, vvvv (take the message from web database, layout of the message, transform it and stream it to the engraver) and Arduino IDE (controlling all the mechanisms). Hardware includes an Arduino Mega, NEMA 23 motors + drivers, linear actuators, a Bambi air compressor, helium cylinder, Festo pneumatic components (helium + air valves, helium and air pressure sensors, pneumatic cylinders, DHEB) and MicroSlice engraver (based on Arduino Uno).
You can read more on this project as well as its previous version. Additionally, visit the Attachment.cc page to input your own message!
(Photos: David Colombini)