uArm Swift is an open-source robotic assistant for your desktop
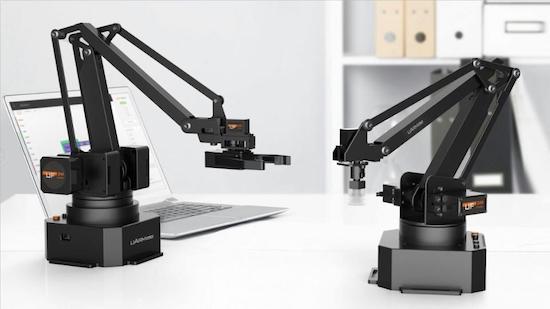
Need a hand? The UFACTORY team has got you covered with the uArm Swift, an open-source robotic assistant for your desktop.
The four-axis uArm Swift is a smaller and sleeker version of the company’s original device from 2014. Based on an Arduino Mega, the robot is capable of lifting 500 grams (1.1 pounds) with a working range of 5 to 32 centimeters (2 to 12.6 inches).
UFACTORY has launched two different models of the consumer-friendly arm on Indiegogo. Whereas the basic model is perfect for beginners and those looking to tinker around with robotics, the Swift Pro is designed for a more experienced Maker crowd with a stronger motor, more precision, and greater versatility. It also boasts position repeatability down to 0.2mm.
With a little programming, the Pro can perform a wide range of tasks from 3D printing to laser engraving to picking up and moving game pieces. You can even create your own actions through the team’s Blockly-based graphical software, uArm Studio, as well as control your Swift either directly from a keyboard-and-mouse setup, by making gestures, or over Bluetooth from the uArm Play mobile app.
The Swift is extendable with three different end-effectors (suction cup, metallic gripper, and universal holder) and a built-in socket for selected Seeed Grove modules. But that’s not all. Attach an OpenMV Cam and the robotic arm can detect faces, colors, and markers.
If you’re looking for an affordable and portable robotic arm, be sure to check out UFACTORY’s Indiegogo campaign.