Build an FM radio with an Arduino and other spare parts
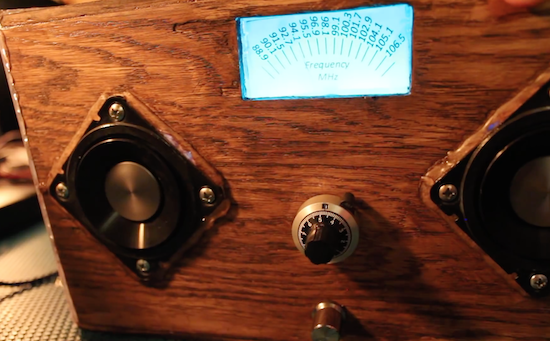
After not having an FM radio to listen to NPR, electrical engineer Kevin Darrah decided to build his own from spare parts.
Like many electronics hackers, Darrah tends to buy random components off of eBay. After all, you may need them at some point, and while cheap, sometimes they take a very long time to arrive. Unlike many of us, however, he actually found a use for several of these items, turning them into an FM radio controlled by an Arduino.
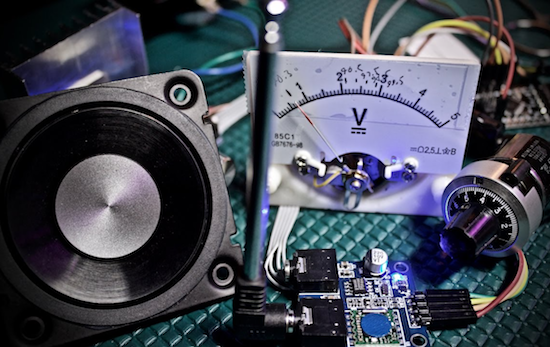
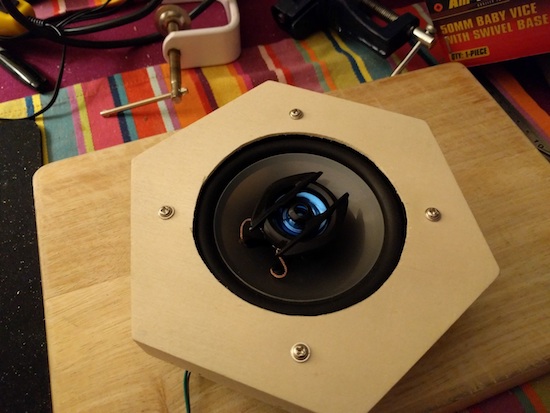
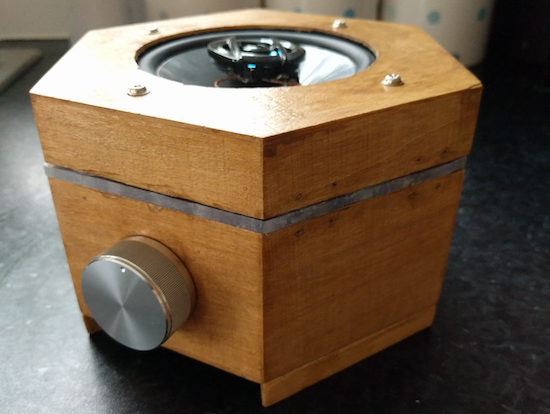
His DIY device uses an ATmega328-based board to communicate with a TEA5767 FM radio module I²C., a 10-turn potentiometer to set the station, and a 15W amp to power the speakers. Although it mostly works like a normal radio, one fun trick he implemented is that the station display lighting flickers if the audio drops out.
Also, since it has a microcontroller inside, there are lots of possibilities for expansion, such as adding a Bluetooth module for remote control, or perhaps a “seek” function to help set the channel. You can check out the code for this project here, or follow Darrah on Twitter if you’d like to know what he’s up to!