ExoArm: An Arduino-powered assistive exoskeleton arm
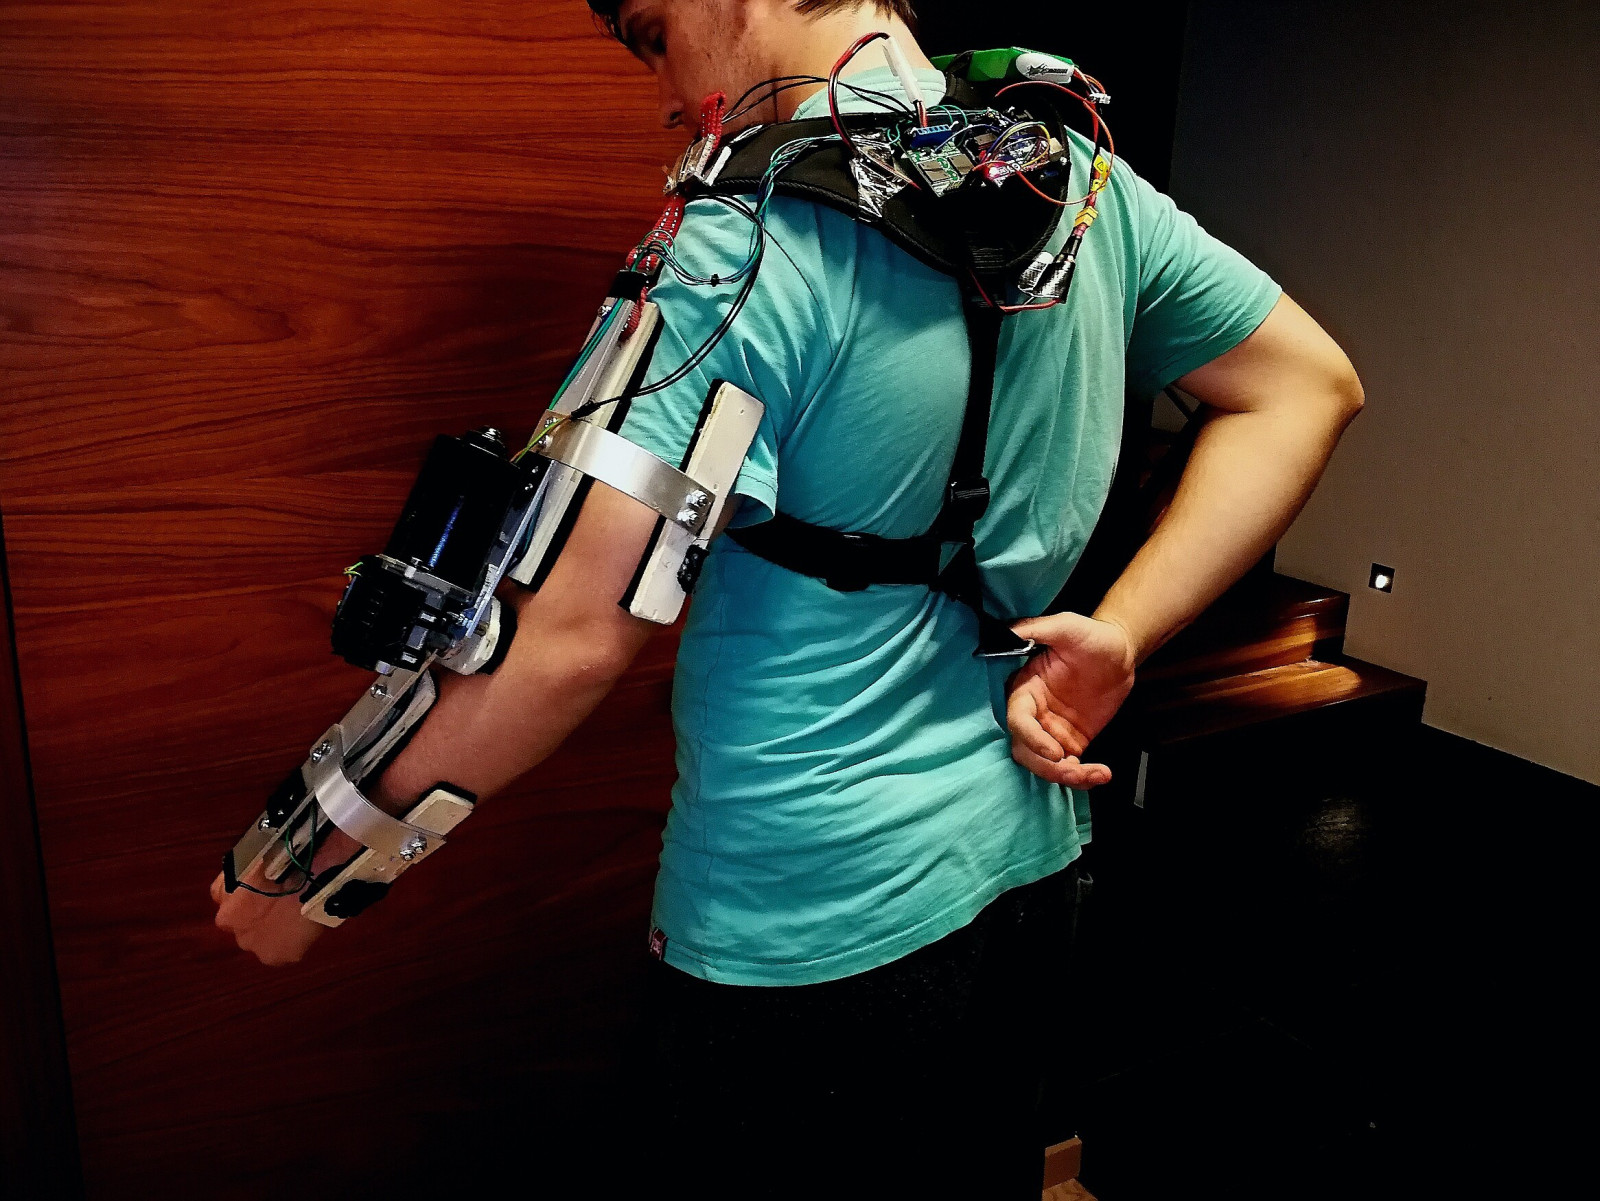
Whether to enhance one’s abilities or to compensate for a loss of strength due to a variety of reasons, the idea of a robotic exoskeleton is an exciting prospect. As seen here, Kristjan Berce, not content to let well-funded labs have all the fun, decided to make his own prototype assistive arm using simple hand tools to manufacture a bracing system over his left arm.
Control for the device, which is called “ExoArm,” is accomplished with an Arduino Uno that powers a windshield wiper motor via a driver board. As set up now, it extends via sensor input, and contracts with the push of a button.
Though it can be seen helping him lift a bicycle at the end of both of his videos, figuring out how to balance any load on the system with his actual muscle’s input is a challenge he’s still working on, but hopes to solve this issue using a strain gauge.
Total cost of ExoArm? $100. You can follow along with Berce’s progress on the project’s log here.