Open source power for classrooms: Arduino Uno WiFi Rev2 for CTC GO! joins Open Roberta
Dream team for classrooms worldwide: Arduino Uno WiFi Rev2 for CTC GO! joins Open Roberta Lab, the biggest open source coding platform made in Europe.
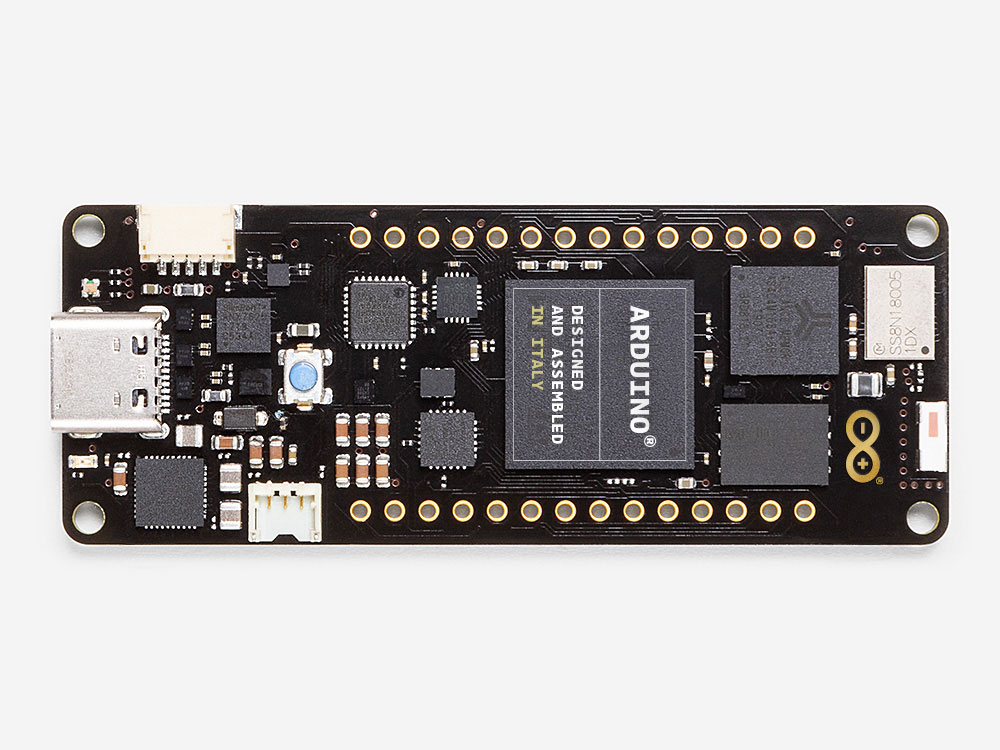
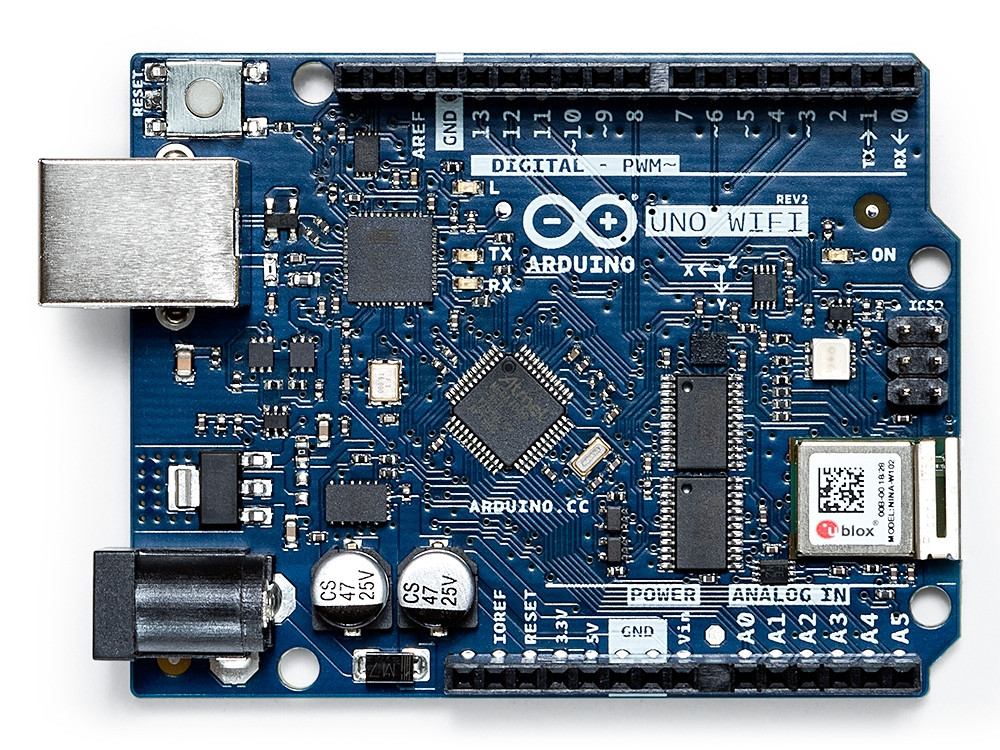
The Arduino Uno WiFi Rev2 is the fourth Arduino board to be integrated into the Open Roberta Lab, which is currently supporting a total of 13 robots and microcontrollers to enable children worldwide to adopt a playful approach to coding. By “dragging and dropping” the colorful programming blocks called “NEPO” hundreds of thousands of users worldwide from more than 100 countries per year create their own programs to make their hardware come to life.
“Fraunhofer offers guaranteed quality, both on the technical level as well as for community support,” says Arduino CTO David Cuartielles. “There are a lot of synergies in our cooperation. Roberta is really meant for teachers to learn how to teach technology which is a key part of the Arduino Education’s mission.”
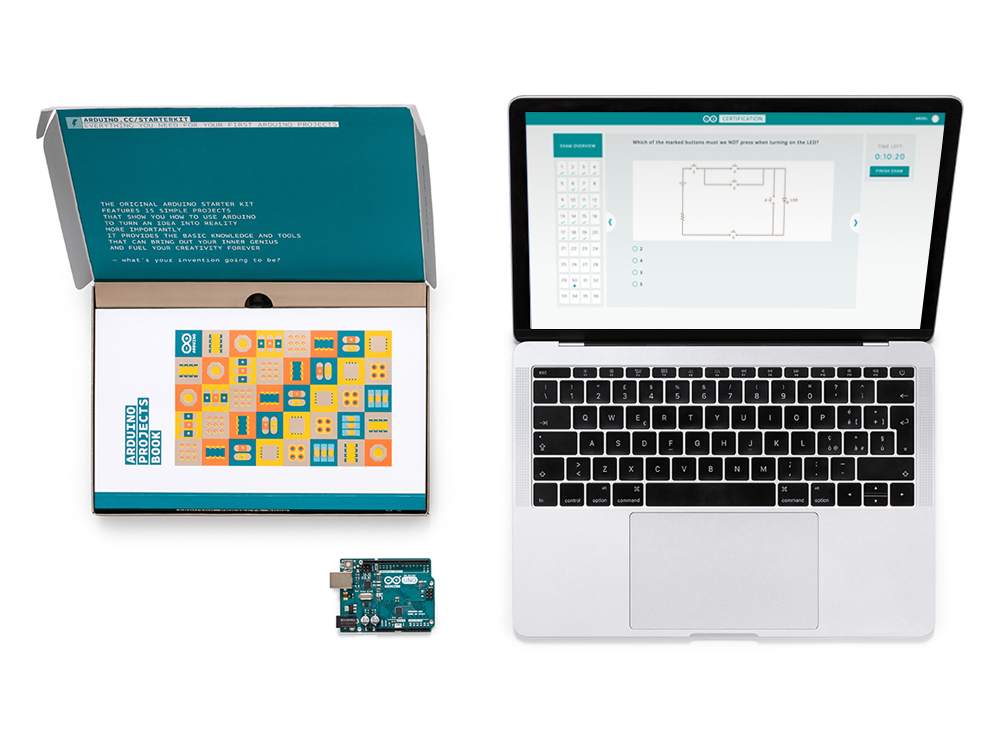
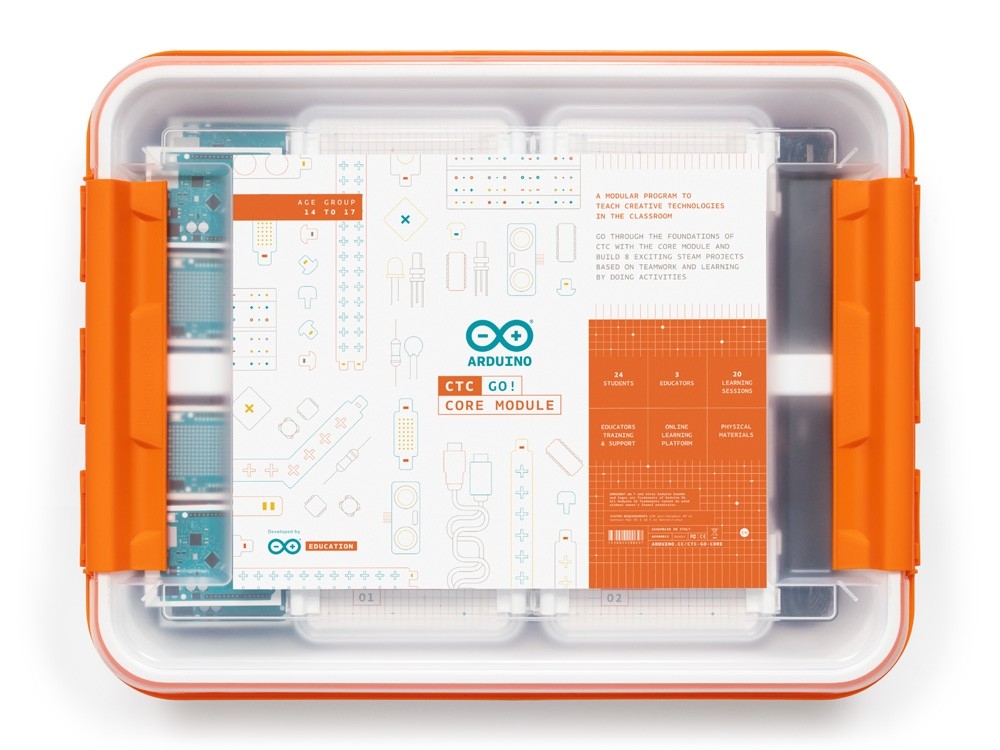
The CTC GO! – Core Module containing eight Arduino Uno WiFi Rev2 is supporting the joint mission of Open Roberta and Arduino in providing teachers with a getting started program including eight lessons, eight guided projects, and six self-guided projects that teach students how to use electronics and introduces them to programming and coding. The lessons increase in difficulty from the very basics all the way through to learning different programming capabilities and building circuits for different sensors and actuators. During the self-guided projects, students practice building structures and applying the knowledge acquired in the hands-on lessons to develop their critical thinking, creativity and problem solving skills in a collaborative manner.”
Arduino first joined Open Roberta in 2018, when the microcontrollers Arduino Uno, Nano, and Mega were integrated into the Open Roberta Lab. The lab is the technological component of the Roberta initiative, which was started by Fraunhofer IAIS in 2002. 18 years of experience in STEM education, training teachers and developing materials as well as launching the Open Roberta Lab in 2014 make Roberta a one of a kind initiative in Germany and beyond.