At the end of last year we received an email on our support center from an unusual location. It was sent by Giovanni Bianchini an italian physicist researching at Concordia Station, located in East Antarctica (see the red dot in the map below!) where the hottest temperature is around -25C?/-13F. He was working on a project based on Arduino and yes, this is the Arduino project based in the most southern location ever! When we realized that we thought of getting in touch with him and discover the details.
Giovanni was very happy to start a conversation with us, shared some pictures and explained why and how he is using Arduino in Antartica.
Tell us a bit more about Concordia Station and what you are doing there…
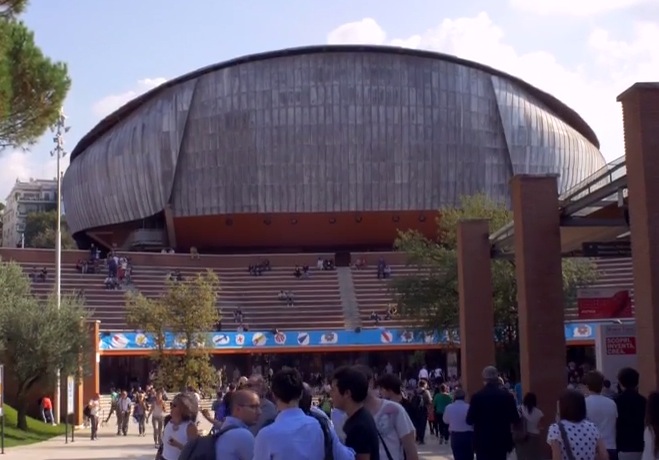
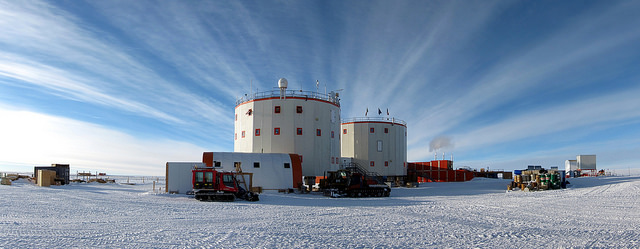
Concordia Station is a scientific research base placed more or less in the middle of the plateau region, East Antarctica. This site is peculiar for the fact of being surrounded of at least 1000 km of ice plain in every direction, a condition that provides relatively stable and unperturbed weather conditions and a dry and very transparent atmosphere, that is the reason for which it has been chosen for astronomic and atmospheric observations.
The downside is isolation: the nearest emplacement is the russian Vostok base, at a mere 700 km, while the italian and french bases on the coast, that are the intermediate stops for the researcher coming to Concordia, are both at more than 1000 km. Usually coming to Concordia involves a 7-8 hours flight from Christchurch (NZ) to the italian “Mario Zucchelli” or the US “Mc Murdo” bases and a second 5 hours flight to Concordia. In alternative it’s possible to reach the french Dumont D’Urville base from Hobarth (AU) with a 7 days (more or less, much more than less…) cruise on the “L’Astrolabe” ship, and fly to Concordia. Since every stop in a base usually involves one or more days of stop, depending on the weather conditions, reaching Concordia is somewhat an adventure itself…

What is your job at the station?
Most of the instrumentation operating in Concordia is installed in some “shelters” placed some hundreds of meters upwind from the base, in order to sample unperturbed air. The shelters are put on elevated platforms to prevent snow accumulation, and are heated and connected to the base LAN, so the instrumentation can be remotely operated.
Specifically I work on atmospheric physics, and in the past two year I am responsible of a scientific project (Concordia Multi-Process Atmospheric Studies) that involve several instruments performing vertical remote sensing of atmospheric properties. The setup include two LIDARs, one SODAR, and an infrared spectroradiometer (Radiation Explorer in the Far-Infrared – REFIR).
All this instrumentation is installed in the Physics shelter, and operates continuously, even during the winter period, in which the base is completely isolated for almost 9 months and is crewed by only 12 persons. This implies that the instruments operating during winter should require the least attendance possible from the reduced crew, and possibly should be remotely accessed from Italy for checking and maintenance.
How are you using Arduino at the base?
While the shelters are quite a comfortable workplace for researchers and technicians, they present a critical (and maybe unexpected) problem for the instrumentation: overheating. The small volume, good thermal insulation, high density of powered devices, united with the low heat transfer capacity of the very dry air inside, makes heat dissipation a difficult task.
For this reason, the first application I found for an Arduino board in Antarctica has been a cooling system for the REFIR spectroradiometer.
This optical instrument features tens of optical components with critical alignment requirements, so in the past years every time the instrument was subject to a strong thermal cycle, it needed to be realigned.
The original design provided just a simple heater with an analog proportional control loop (go figure you had to heat things at the south pole). Luckily, providing cooling power was as simple as getting air from outside and sending it to the instrument box through a tube. A valve and a fan regulate the cool air flow according to the instrument temperature.
The old heaters, the flow valve (servo controlled) and the cooling fan all are controlled by an Arduino Uno board, with a simple proportional loop that allows a thermal stability of a few tenths of degree.
Using an Ethernet Shield, all the system parameters (temperature, setpoint, cooling and heating gain, valve position) can be monitored through a simple web interface that gives this kind of output:
REFIR-PAD
thermal control
(commands: T, R, H, F, G, V, M, Z)
setpoint = 20.00
averages = 128
threshold = 0.10
fan_gain = 300
htr_gain = 200
valve_full = 0
valve_mid = 0
valve_zero = 38
temperature = 20.49
fan_drv = 118
htr_drv = 0
val_pos = 0
Parameters can also be set sending commands to the web server on the arduino board, for example, the command:
http://192.168.14.3:81/&T210
changes the setpoint temperature to 21.0 C
How does it work?
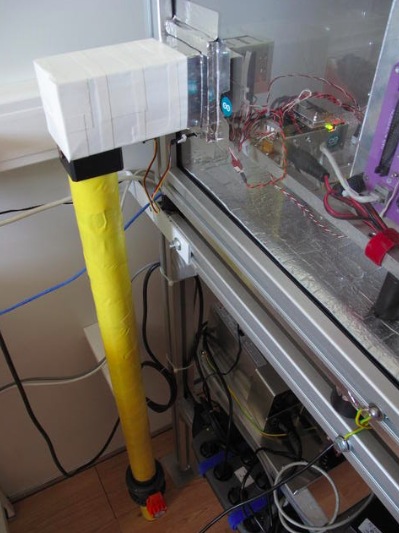
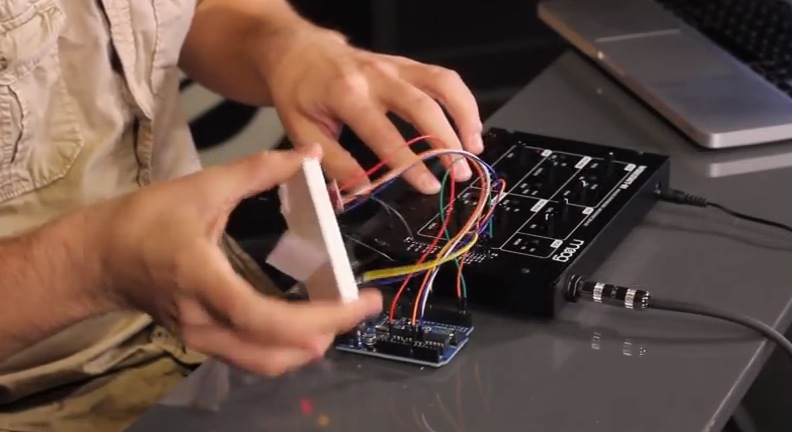
(see picture above) The yellow pipe goes through the floor to get cool air from the outside, with a manual emergency valve and the servocontrolled flow control valve (the black block below the white box).
The white box connects the pipe to a standard 8cm computer fan that blows the air inside the instrument enclosure. the control system is also inside the instrument box, the green led indicates cooling in progress.
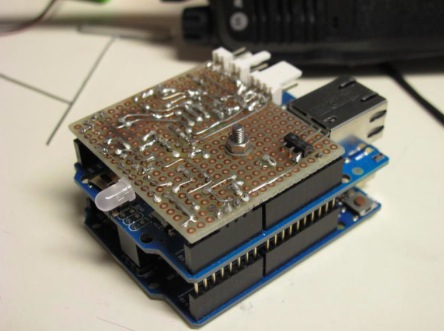
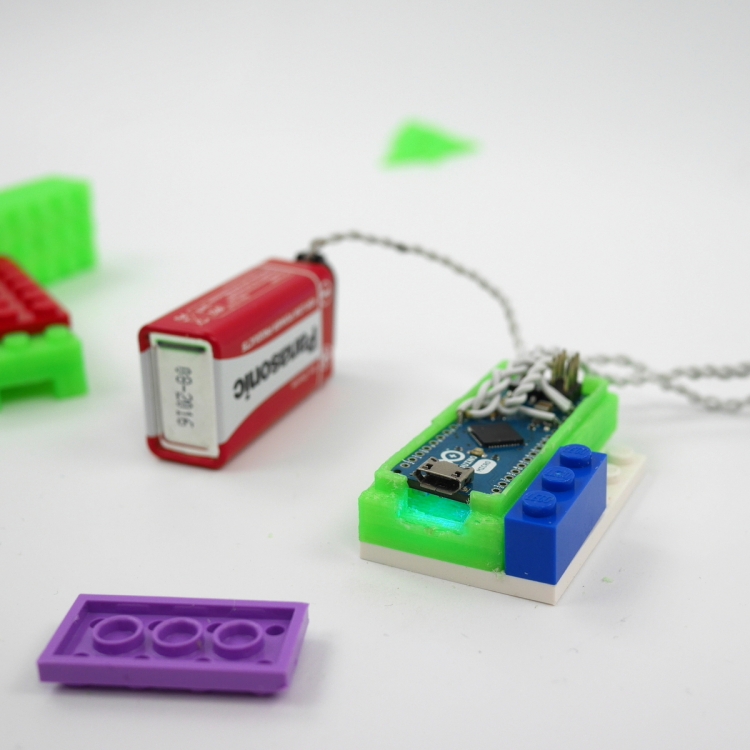
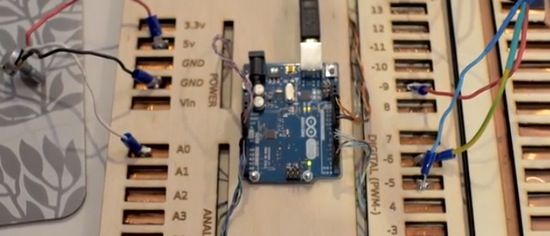
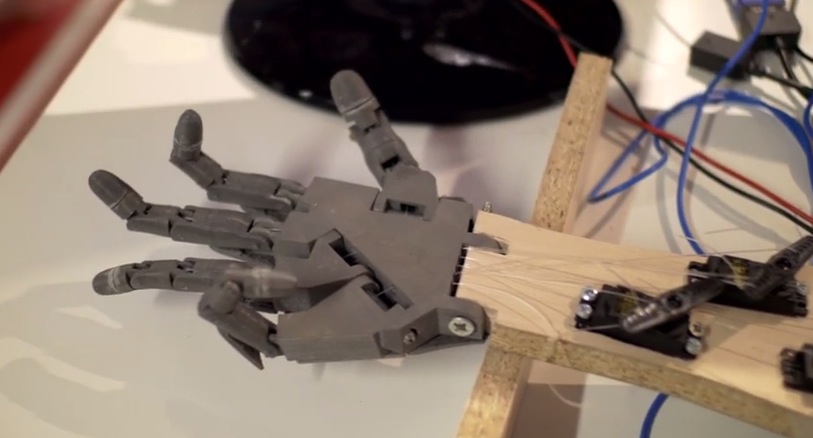
The custom shield (see pic above) is used to interface the Arduino with the various system components. The big transistor (2N3904) drives the cooling fan, the two smaller ones (2N2222) control the green/red led that signals cooling or heating. The voltage regulator provides the ~8v needed by the arduino board (could work without, but at 12v it overheats a lot…)
The heater is made by three transistors in series mounted on heat sinks with a small fan each, and is driven directly by a digital output pin on the arduino, the servo on the flow valve is also driven directly by a pwm output.
Download the Arduino Sketch here.