An Arduino tennis racquet that grunts when you swing it
Grand Slam tournaments, like Wimbledon, always prompt a discussion around the sometimes-disconcerting noises tennis players make on the court. Although some may argue that grunting helps apply the maximal force when striking the ball, others believe the shrieking is completely unnecessary and downright annoying. There are even top names in the game whose screams routinely top 100 decibels–only slightly less than the sound of a power saw–which has led many to call into question whether or not the behavior is actually a form of cheating.
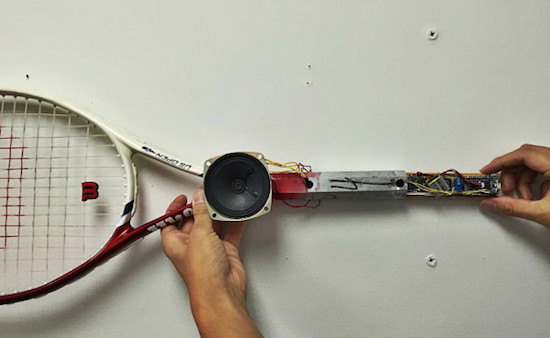
Mindful of this, Maker Seiya Kobayashi has come up with a hilarious project that is the perfect blend of fun and function: a racquet that grunts whenever it’s swung. A user simply selects one of four notable noisemakers–Serena Williams, Maria Sharapova, Novak Djokovic and Rafael Nadal–and the aptly named Grunting Racket will take care of the rest.

In theory, this allows you to focus on your footwork and making proper contact, while the combination of an Arduino Pro Mini, an accelerometer, and speaker emits the obnoxious sounds. Additional components include a LiPo battery, an Adafruit Audio FX Sound Board, and a button on the grip for choosing between grunters.
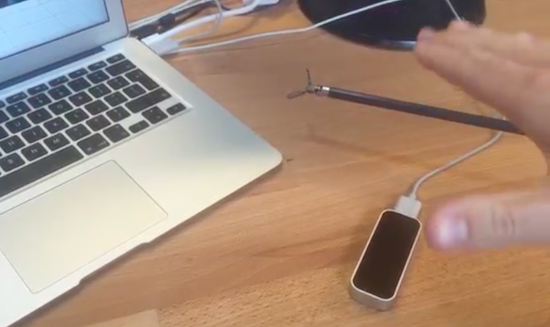
The project has come a long way since its earliest prototype, which only used an accelerometer, FX Sound Board, and an Arduino Uno connected to a PC. Now, the electronics are all neatly housed inside the racquet’s handle. While you won’t find a gadget like this around the All England Club anytime soon, you can check it out in action below!