Posts with «featured» label

A DIY Arduino Nixie tube clock

Nixie tubes have a lot of fans because of their retro style. They are neon valve tubes, where 10 cathodes shaped like numbers from 0 to 9 are switched on by plasma when high voltage flows through them. Patented in the 1930s by H.P. Boswau, they were wildly popular in the ‘60s and remained so until LEDs became cheaper to manufacture in the ‘70s. Many Makers today are creating vintage-look clocks using, now rare, Nixies bought on eBay with the help of an Arduino or Genuino Uno to control them.

In the video below, Jozsef Kovecses built a Nixie clock with NTP time syncronization using a Genuino Uno, a Geeetech IduinoShield, DS1307 RTC, DC-to-DC converter, and Nixie tube modules to drive the tubes directly.

Arduino Blog 15 Jun 11:55

Maker hacked his car’s dashboard to display Shower Thoughts

The Shower Thoughts subreddit is a collection of all those ideas or philosophical questions that race through your mind while in the bathroom. For example, “I like to think money wouldn’t change me; yet when I’m winning Monopoly I’m a terrible person,” or “12 years ago leaving CDs out in my car gave theives a reason to break in. Today, leaving CDs out is a deterrent.”

While most folks would simply browse Reddit on their phones or laptops, Harin De Mel decided to something a bit different. He managed to hack his vehicle’s dashboard to display some of the best thoughts from the last hour. Not a bad idea for when you’re stuck in traffic or sitting in the car waiting for someone to come outside, right?

The Maker sniffed the CAN bus on his 2012 Hyundai Genesis, and isolated the LCD from the rest of the network. He used Raspberry Pi and an Arduino, both of which are interfaced with an MCP2515 — one for the display, the other to receive signals from the original network. A Wi-Fi dongle on the Raspberry Pi enables Internet connectivity.

De Mel was also able to make the text scroll, which was accomplished through the CAN bus. However, Python script on the Raspberry Pi provided more control on how fast or frequently the message would come across the screen.

Now that I have a better understanding of how the LCD is controlled, I want to use the screen for more useful information. I have an in-dash Nexus 7 and would like to parse the information of the currently playing track to the car’s system as if it was an iPod. Frank Zhao was kind enough to leave a comment on my previous post pointing me in the direction of the Apple Accessories Protocol (AAP) which I will also begin to tinker with at some point in the future.

The code for the project is available on GitHub, and you can read more about the build on his blog. In the meantime, check out the video below to see it all in action.

Make masterpieces with a homemade CNC painting machine

Longtime artist Jeff Leonard has built a pair of Arduino-driven CNC painting machines with the motivation to grow his toolbox and expand the kinds of marks he could make simply by hand. By pairing the formal elements of painting with modern-day computing, the Brooklyn-based Maker now has the ability to create things that otherwise would’ve never been possible.

Machine #1 consists of a 5’ x 7’ table and is capable of producing pieces of art up to 4’ x 5’ in size. The device features a variety of tools, including a Beugler pinstriping paint wheel, a brush with a peristaltic pump syringe feed, an airbrush with a five-color paint feed system and five peristaltic pumps from Adafruit, a squeegee, and pencils, pens, markers and other utensils.

In terms of hardware, it’s equipped with three NEMA 23 stepper motors, three Big Easy Drivers, as well as an Arduino Mega and an Uno. There are two servos and five peristaltic pumps on the carriage–the first servo raises and lowers the tool, while the second presses the trigger on the airbrush. An Adafruit motor shield on the Uno controls the pumps, and the AccelStepper library is used for the Big Easy Drivers.

According to Leonard:

I am coding directly into the Arduino. There are many different codes that I call and overlap and use as a painter overlaps techniques and ideas. There is a lot of random built into the code, I don’t know what the end result will be when I start. Typically on any kind of CNC machining the end result has been made in the computer and the machine executes the instructions. I am building a kind of visual synthesizer that I can control in real-time. There are many buttons and potentiometers that I am controlling while the routines are running. I take any marks or accidents that happen and learn how to incorporate them into a painting.

I am learning Processing now and how to incorporate it into the image making.

Machine #2, however, is a bit different. This one is actually a standup XY unit that was made as a concept project. It paints using water on magic paper that becomes black when wet and disappears as it dries, used mainly as a way to practice calligraphy or Chinese brush painting. Not only does it look great, there’s no clean up either!

In terms of tools, the machine has a brush and an airbrush. Two NEMA 17 stepper motors are tasked with the XY motion. There are also three servos–one servo lifts and lowers the armature away from the paper since there is no Z-axis, another controls the angle of the brush, and the third presses the trigger of the airbrush. A peristaltic pump helps to refill the water cup, along with a small fan. The system is powered by an Arduino Uno with an Adafruit Motor Shield using the Adafruit Motor Shield Library v2.

As awesome as it all sounds, you really have to see these gadgets in action and their finished works (many of which can be found on Instagram).

Meet DigiWare: Indonesia’s new Genuino reseller!

First, Malaysia. Then, Thailand. Now, Indonesia is home to an official reseller of Arduino.cc’s sister brand Genuino! Andi and Ardi of DigiWare are pictured below, also showing off the Certificate of Participation from the latest Arduino and Genuino Day organized in their location. Thumbs up to that!

- Tell us a bit more about DigiWare

DigiWare was established back in 2008 in Surabaya, Indonesia. We provide electronic components, embedded modules, and robotic parts. Besides our retail store, we also have an store and continue updating our product portfolio with the latest technology trends. One of the favorite products line is Arduino (Genuino), of course! We have been participating in Arduino Day activities since 2015, and finally became Arduino reseller in early 2016.

- What’s your company’s super power?

We have a solid technical support and training team, which makes us different from other stores. We even developed an Arduino community for vocational school called A-UDIK. Our mission is to hold Arduino training for the vocational school’s teachers and students throughout Indonesia.

- Do you have a favorite Arduino/Genuino project?

We would have to say one of the most interesting projects using Arduino/Genuino is the Vertical Hydroponic Farm (Robotic Urban Farm System) by Paul Langdon–which can be found here. It’s very useful for our environment and farmers.

Contacts

DigiWare Store Website  – Facebook

Scubo is an omnidirectional robot for underwater exploration

A team from ETH Zurich has created an incredible submersible robot called Scubo as a way to scan entire coral reefs. Equipped with six onboard webcams, the omnidirectional device is capable of exploring the deep sea from every angle. What’s more, users can take a virtual dive by throwing on a pair of VR glasses to make it feel as if they’re swimming with marine life.

Scubo consists of an Arduino Due for hard real-time tasks, an Intel NUC for high-performance calculation, an IMU, and a pressure sensor — all housed inside a carbon cuboid. Eight thrusters are symmetrically mounted to the outside, one at each corner, while a tube goes through the box to ensure proper water flow and to keep the electronics cool. The system is neutrally buoyed and weight in the form of screws can be added to the thruster arms to adjust buoyancy and the center of gravity.

One of its creators Johann Diep tell us, “We chose to work with Arduino because it offers the required interface (I2C, SPI, etc.), it is easy to program (none of us ever worked with Arduino at the beginning), and there is a large community on the web that is very supportive with our questions.”

A tether connects Scubo to a computer outside the water and the power source, which allows the camera pictures to be viewed live and the batteries to be recharged with a steady current. According to the team, this highly extends the operation time, though the batteries would last approximately 120 minutes under standard conditions without recharging.

Scubo is based on ROS, and with the rosserial_arduino package, they are able to send or receive commands on a laptop from the Arduino. This enables them to steer the bot with a SpaceMouse joystick while monitoring all the sensor messages (pressure, leakage, temperature, voltage, etc.) at the same time.

It should be noted that Scubo isn’t only restricted to coral research either. In fact, the underwater machine was built with modularity and entertainment in mind as well. Users can easily attach their own sensors, lights and HD cameras via one of five universal ports.

We are confident that Scubo has great potential for the future. Since every necessary sensor is already implemented, Scubo can be programmed to scan a coral reef or any other place fully autonomous. Telepresence could be used in many aquariums or in the sea for entertainment. Because of the module ports different kinds of sensors and devices can be connected and used, for example to generate a geographical map of the sea floor or to inspect boats.

Whether corals in the Caribbean, the shore of Lake Zurich or even a virtual dive in an aquarium — Scubo not only convinces with its captivating technology but also with its modern design. Innovation starts when science meets entertainment.

Intrigued? You can read more about the project on its website, and check out its trailer video below.

8-bit volume control for Arduino tone()

Connor Nishijima has devised a neat trick to give the standard Arduino Tone() function 256 smooth volume levels using PWM at an ultrasonic frequency, without any extra components. This allows for programmatic control of square waves with nothing other than a speaker connected to an Arduino Uno.

Normally to simulate an analog voltage with a digital-only pin of a microcontroller you’d use Pulse Width Modulation. This works great for LEDs because your eyes can’t the 490 / 976Hz flicker of the standard analogWrite() function. But for audio things are a bit more difficult. Because your ears can easily detect frequencies between 20 – 20,000Hz, any PWM with a frequency in this range is out.

Luckily, the ATmega328P allows you to change the clock prescalers for ultrasonic PWM! We need to use Timer0, because it can drive PWM at a max frequency of 62,500Hz, which even if you cut that in half would still be above your hearing range. Now that we have ultrasonic PWM on Pins 5 & 6, we configure Timer1 to fire an Interrupt Service Routine at a rate of “desired frequency” * 2.

Finally, inside the Timer1 ISR routine, we incorporate our volume trick. Instead of digitalWrite()’ing the pin HIGH and LOW like the normal Tone() function does, we analogWrite() “HIGH” with our volume value (0 – 255) and analogWrite(0) for “LOW”. Because of how fast the PWM is running, the user doesn’t hear the 62.5KHz PWM frequency, and instead perceives a 50% percent duty cycle as a speaker driven with only 2.5 volts! While a few volume levels do produce subtle artifacts to the sound, it mostly delivers quality 8-bit volume control to replace the standard Tone() function.

When all is said and done, you’ll be able to customize your project with unique loudness as you play anything from the iconic Nintendo sound to R2-D2’s beeps and bops. In Nishijima’s case, he developed this Arduino volume-control scheme to make an incessant, inconsistent artificial cricket to hide in a friend’s vent for the next few months… You can read more on its Hackaday.io page, as well as find documentation and ready-to-use example sketches GitHub.

Arduino Blog 13 Jun 13:48

A DIY digital Arduino clock designed for and by teachers

Project-based lessons are a great way to introduce students to the world of electronics. Clearly Jenna Debois agrees, as she has built a DIY classroom clock based on an Arduino Nano. What’s even cooler is that it’s optimized for teachers! 

The device is made using laser-cut wood pieces, NeoPixels, a real-time clock module, and packs plenty of customizable features like:

  • An additional digit that keeps track of the block or period- an especially useful feature for rotating block schedules
  • The ability to program holidays into the code to prevent the block from advancing on days when school is not in session
  • LED digits that fade from green to red as the end of the period or block approaches so that a single glance can convey the remaining class time
  • A countdown timer triggered 6 minutes before the period ends that flashes between the time and the remaining time- a useful feature for signaling cleanup time
  • Other light effects that can be triggered during lunch, free periods, after school, or other special occasions

Debois not only created a step-by-step guide, but also shared all the documentation on GitHub and a detailed video of the build process.

Dtto is a self-reconfigurable modular robot

An entry in this year’s Hackaday Prize, Dtto is a snake-like robot designed to be modular and self-reconfigurable.

Inspired by Bruce Lee’s famous water quote, Dtto can transform into various shapes by changing the position and connection of its 3D-printed modules. As Hackaday points out, each section of Dtto is a double-hinged joint. When two come together, magnets help them align. A servo-controlled latch solidly docks the sections, which then work in unison. Impressively, it can connect and separate segments autonomously – without any human intervention. Creator Alberto believes the versatility of the bot will enable it to perform rescue missions, explore unknown environments, and operate in space.

The open-source robot consists of an Arduino Nano, a Bluetooth HC-06 module, an NRF2401+ radio transceiver, two SG92R Tower Pro servos for main movement, three Tower Pro SG90 micro servos for coupling, and a WS2812 RGB LED. For its latest iteration, the Maker has made a few design improvements to allot for 25% more internal space, a data bus connecting the two blocks and Tower Pro MG92B motors. Future modules will even include a built-in camera, an ultrasonic sensor, a gyroscope, an accelerometer, and a magnetometer, to name just a few. Until then, you can follow along on its project page and check out a few of its videos below.

Foxes Like Beacons explores alternative navigation systems

Jochen Maria Weber’s Foxes Like Beacons is an exploratory project using open data of public radio stations with inexpensive, low-power signal detection in order to create an open positioning system. According to the designer:

Today’s satellite based GPS enable and augment uncountable everyday processes, ranging from logistics to fitness trackers and even intimate dating applications. These proprietary systems are mostly invisibly controlled and curated by governments, military and economic actors. Since GPS ubiquitously affect our interactions and experiences with our environment, economy and privacy, Foxes Like Beacons questions this present model, thus opening up space for speculations about alternative navigation systems and new models for interaction.

Open data about public radio stations, transceivers and open source signal detection can be used to calculate geo positions.

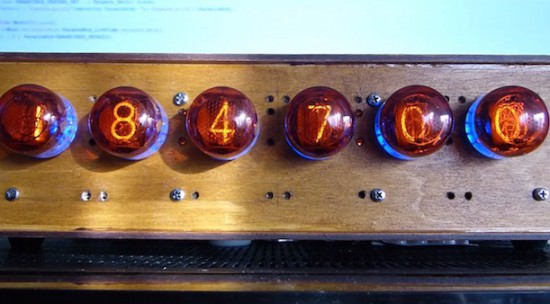
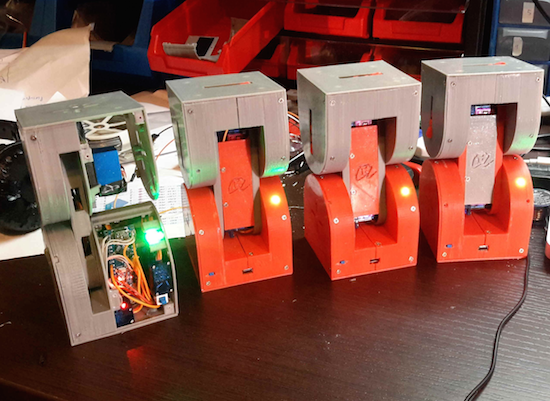
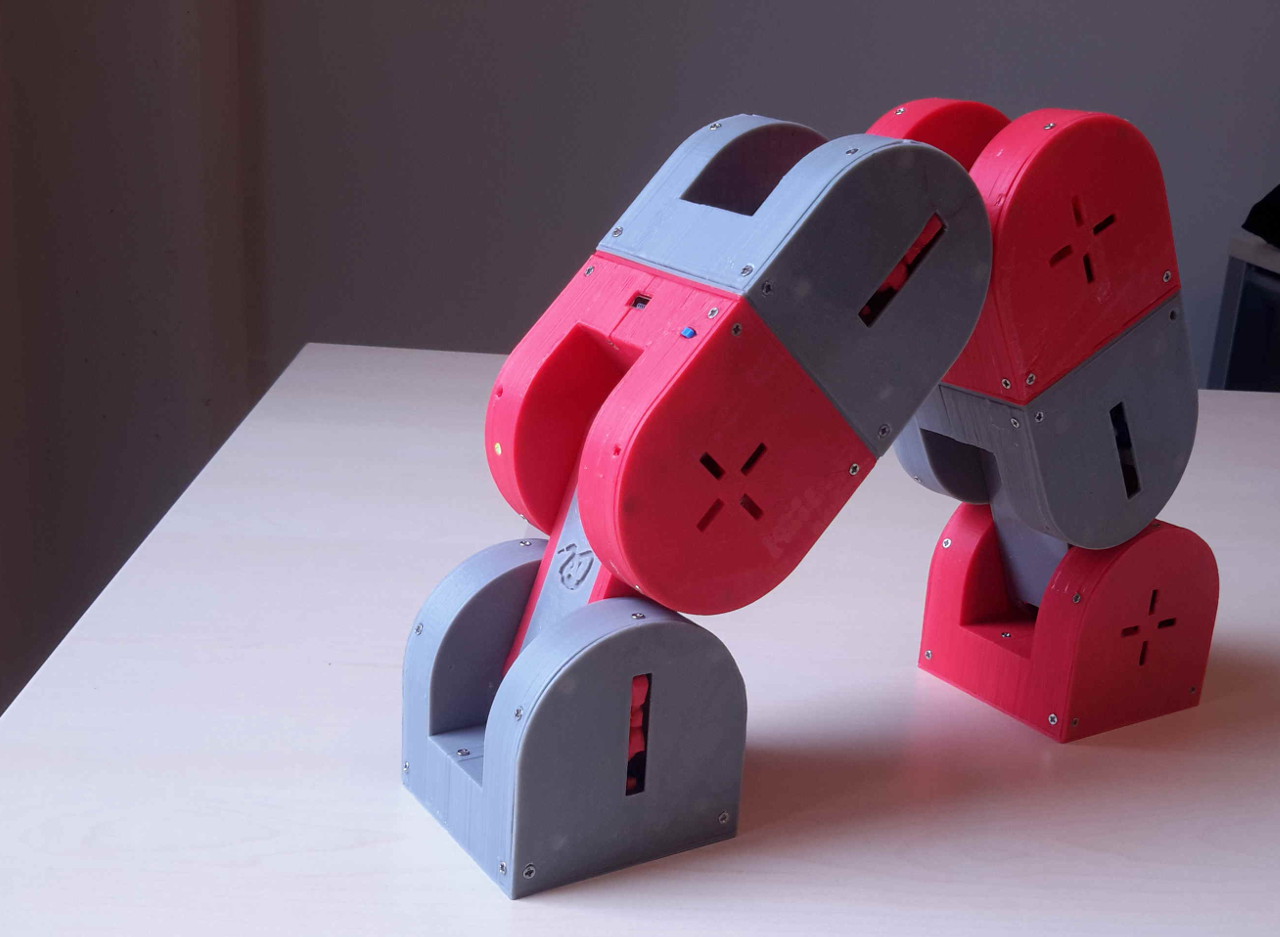
So, Jochen developed three example devices based on the same technical structure using very low-power, open and off-the-shelf technology. This consists of an omnidirectional antenna, a 4.3″ TFT screen, a compass, gyroscope and barometric altitude sensor, a radio frequency tuner, a battery, an Arduino Nano (for signal processing), and a Rasperry Pi 2.

Precision and miniaturization can be extremely increased using customized parts, and by building on the distributed infratructure of public broadcast radio, Foxes Like Beacons is not subject to any kind of central control or curation.

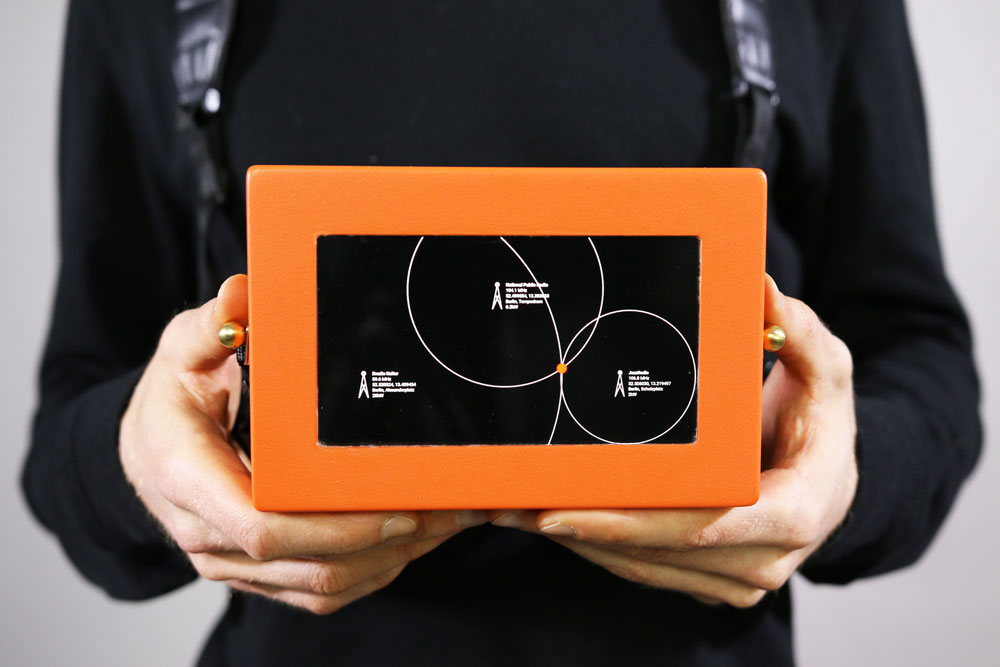
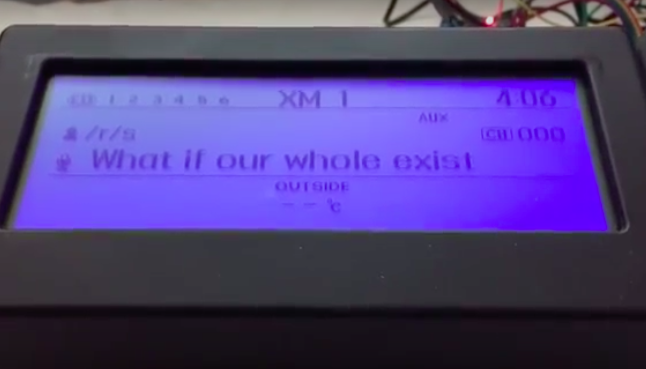
First, Device No.1 measures the received signal strengths and decodes the identifiers of minimum three stations. Open data about their transceiver locations and respective transmission power is used to calculate distance to each transceiver and which can therefore be triangulated, in order to get a users geo location. Incorporating more stations leads to a higher resolution and more accurate geo locations.

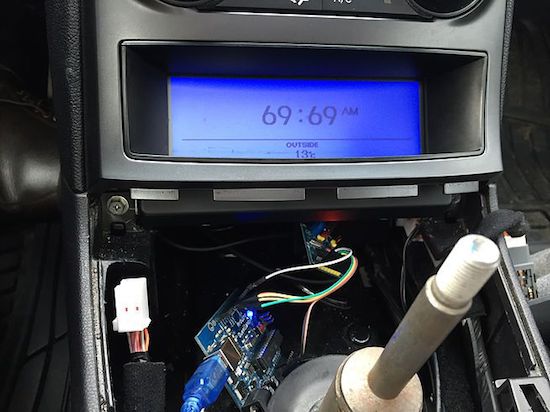
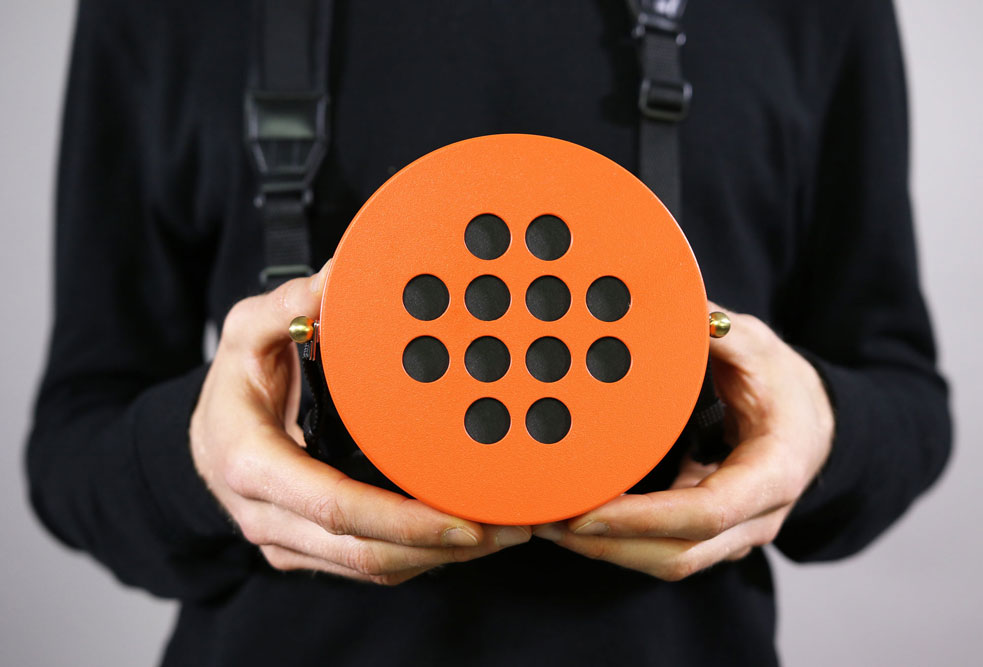
Next, Device No.2 enables users to navigate by pleasing of sound rather than geographical information, following “geo-acoustic” maps. It automatically adjusts the volumes of simultaneously played stations according to proximity.

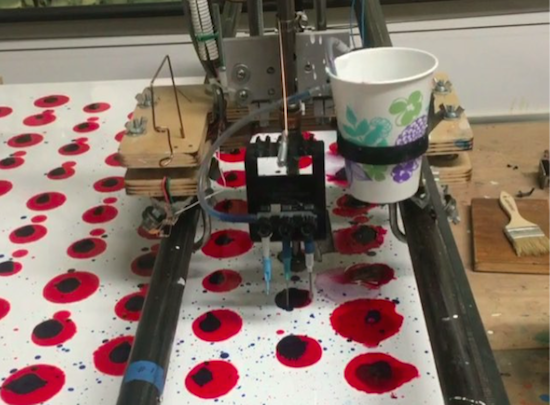
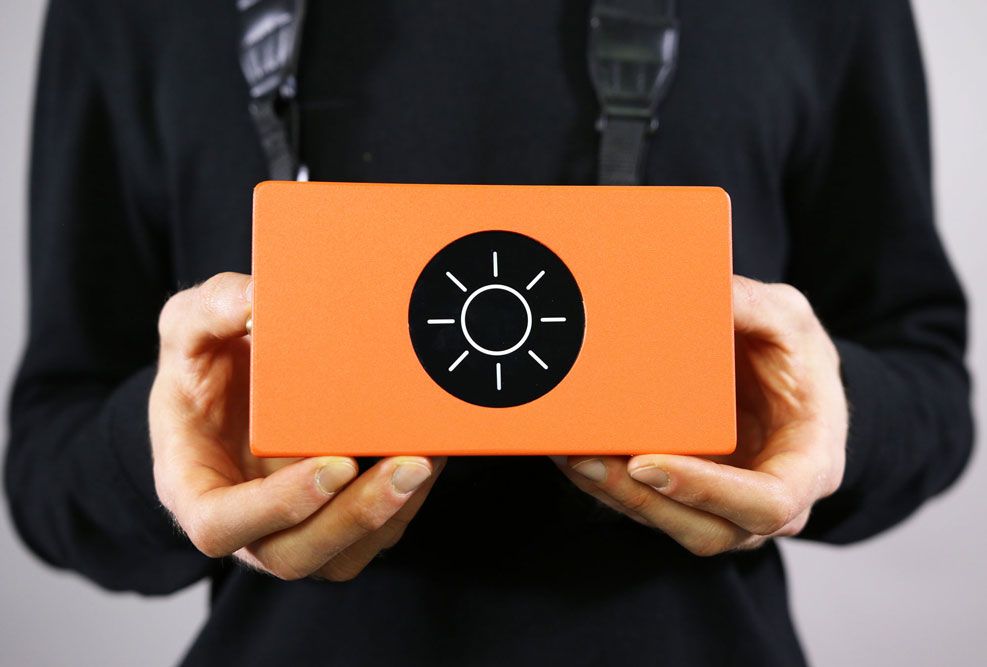
Finally, Device No.3 speculates about further applications by analyzing and interpreting signal modulations which occur due to factors like electromagnetic radiation, weather, and geographic conditions. These modulate radio signals in characteristc ways which can be interpreted and incorporated in navigation/exploration.

Foxes Like Beacons is part of the ongoing project “Stupid, Messy Networks,” which investigates the process of digital networks becoming ubiquitous infrastructures and moreover how these new infrastructures empower or constrain actors in economical, political and social interactions.

(via Creative Applications)

Makers bring the “Push Button, Receive Bacon” meme to life

Push Button, Receive Bacon” is a popular catchphrase and graffiti tag often spotted next to the graphic instruction on hand dryers. Well, the Hammerspace Workshop team has decided to bring that meme to life with their latest project for the upcoming Maker Faire Kansas City.  In order to raise awareness of the link between bacon and hand health (kidding, of course), they’ve modified the standard bathroom accessory to display wait time and provide its user with a dose of bacon-related pop culture knowledge before dispensing.

A multi-segment display was CNC routed in the shape of bacon and populated with 10mm LEDs. A standard bacon dispenser relay board controls this display. To entertain and inform the user, a variety of bacon themed pop music will be dispensed immediately and continuously until bacon has been provided. An Adafruit audio FX board stores and plays back the .ogg files containing the bacon related wisdom and culture.

The Push Button – Receive Bacon machine has an extended magazine to supply bacon strips on command. For this prototype we have used a Sharper Image CD Power Tower to hold the bacon strips until they can be used to save a hand. The shelves are constructed of plasma cut stainless steel and held in place with 3D-printed clips that mount into the original device as if the bacon shelf was a jewel case. The tabs that are already present in the tower provide a kind of encoder to ensure repeatable precision and smooth delivery of the bacon. The folding flap design allows for tighter clearance between the bacon magazine and the bacon encrispenator.

And finally, the bacon motivator receives the bacon from the encrispenator and uses vibrational motivation to deliver the hot bacon down a custom engineered stainless chute.

The user then receives the bacon from the bacon nozzle in the usual fashion. After applying the bacon to both palms, the bacon may be eaten to replace lost electrolytes.

You can read more about the project on Make:, and see it in acton below.