Posts with «buzzer» label

World’s Cutest Pomodoro Timer Is Also a Clock
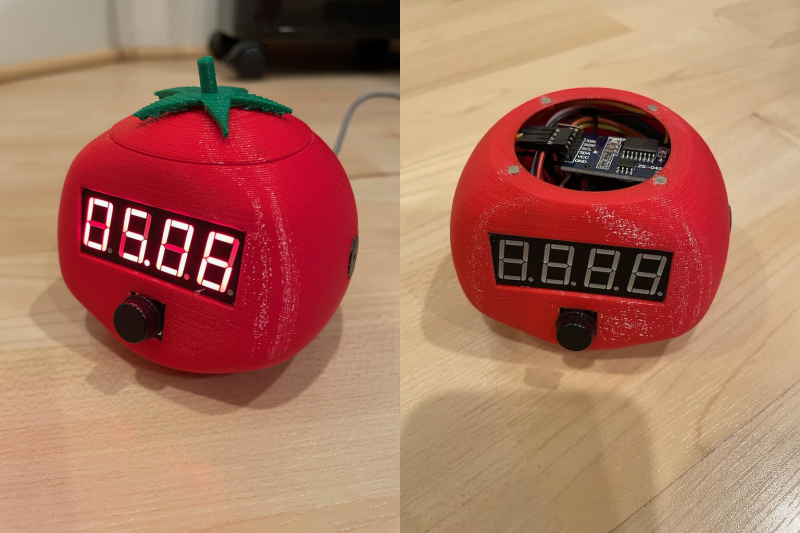
Student and hacker [prusteen] recently fell in love with the Pomodoro method of time management. That’s where you concentrate on your task for 25 minutes, then take a five-minute break, and repeat this four times with a longer break at the end. Initially, [prusteen] was keeping track on their phone, but hated having to change the timer value between Pomodoros and break times. In order to keep the flow mode engaged, [prusteen] came up with this darling little study buddy that does it all with the push of a button.

By default, this tomato shows the current time, which we think is a handy and often-overlooked feature of Pomodoro timer builds. Press that momentary switch on the front, and it starts counting upward to 25 minutes. Then it beeps in stereo through a pair of buzzers when the time is up, and automatically starts a five-minute break timer. Press it again and the display goes back to clock mode, although judging by the code, doing this will cancel the timer.

Inside the juicy enclosure is an Arduino Nano, an RTC, and a 7-segment display. We love the attention to detail here, from the little green leaves on top to the anatomically-correct dimple on the underside. And we always like to see lids that snap on with magnets. So satisfying. Check out the brief demo after the break, which unfortunately does not include any lid-snapping action.

Do you need more interaction with your Pomodoro timer? Build yourself a pomo-dachi instead.

Arduband Gives Your Eyes a Hand

Let’s face it, we probably all sit at our computers for way too long without getting up. Yes, there’s work to be done, games to be played, and the internet abounds with people who are wrong and must be down-voted and/or corrected. We totally get and respect all that. However, if you want to maintain your middle- and long-range vision, you should really get up regularly and gaze out the window for a bit.

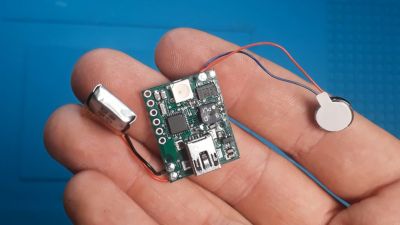
In fact, the Arduband does you one better. Its Arduino Nano and accelerometer check your position every ten minutes. If you haven’t changed your Z by the third check, then it’s time for a break. The combination of an RGB LED, buzzer, and vibrating disc motor working together should be enough to pull you out of any computerized stupor, and they won’t give up and go back to sleep until you have stood up and remained upright for one minute.

We like that [ardutronics123] spun up a board and made it small enough to be wrist-mounted using a watch strap. It would work just as well worn around your neck, and would probably even fit in your pocket. Blink a few times before you check out the build video after the break.

Arduband would be great on the go, but who does that anymore? If you spend every day at the same desk, you could point a time-of-flight sensor at your chair and start a timer.

Otto - build you own robot in two hours!

Primary image

What does it do?

Otto walks, dances, makes sounds and avoids obstacles, is completely open source, Arduino compatible, 3D printable, and with a social impact mission to create an inclusive environment for all kids.

Otto was inspired by another robot instructable BoB the BiPed and programmed using code from another open source biped robot called Zowi.

CC-BY-SA

Otto's differences are in the assembled size (11cm x 7cm x12cm), cleaner integration of components and expressions.

Cost to build

$49, 00

Embedded video

Finished project

Complete

Number

Time to build

2 hours

Type

URL to more information

Weight

250 grams

read more

Grove Water Sensor


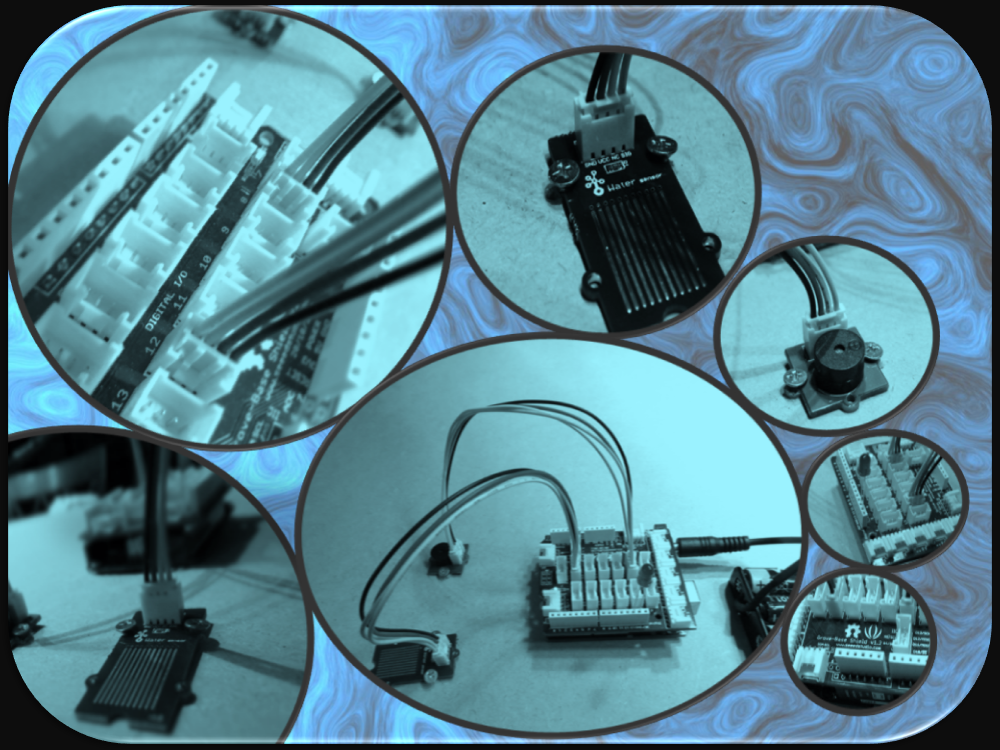
Connecting a water sensor to an Arduino is a great way to detect a leak, spill, flood, rain etc. It can be used to detect the presence, level, volume and/or the absence of water. While this could be used to remind you to water your plants, there is a better Grove sensor for that. The sensor has an array of exposed traces which will read LOW when water is detected. In this tutorial, we will connect the Water Sensor to Digital Pin 8 on the Arduino, and will enlist the very handy Grove Piezo buzzer and an LED to help identify when the Water sensor comes into contact with a source of water.


Parts Required:

Putting it together


If you have a Grove Base Shield, you just have to connect the Grove Water Sensor to D8 on the shield, and the Buzzer to D12 on the Shield. My Grove base shield obstructs the onboard LED, so I will attach an LED to Digital pin 13. If you do not have a Grove base shield, then you should connect the Sensors as described in the tables below:


Arduino Sketch


  1
2
3
4
5
6
7
8
9
10
11
12
13
14
15
16
17
18
19
20
21
22
23
24
25
26
27
28
29
30
31
32
33


/* 
  Grove Water Sensor sketch 
     Written by ScottC 5th August 2014
     Arduino IDE version 1.0.5
     Website: http://arduinobasics.blogspot.com
     Description: Use Grove Water Sensor to detect leaks, floods, spills, rain etc.
     Credits: This sketch was inspired by this website:
              http://www.seeedstudio.com/wiki/Grove_-_Water_Sensor     
 ------------------------------------------------------------- */
#define Grove_Water_Sensor 8     //Attach Water sensor to Arduino Digital Pin 8
#define Grove_Piezo_Buzzer 12    //Attach Piezo Buzzer to Arduino Digital Pin 12
#define LED 13                   //Attach an LED to Digital Pin 13 (or use onboard LED)
void setup(){
pinMode(Grove_Water_Sensor, INPUT); //The Water Sensor is an Input
pinMode(Grove_Piezo_Buzzer, OUTPUT); //The Piezo Buzzer is an Output
        pinMode(LED, OUTPUT); //The LED is an Output
}

void loop(){
        /* The water sensor will switch LOW when water is detected.
           Get the Arduino to illuminate the LED and activate the buzzer
           when water is detected, and switch both off when no water is present */
if(digitalRead(Grove_Water_Sensor) == LOW){
                digitalWrite(LED,HIGH);
digitalWrite(Grove_Piezo_Buzzer, HIGH);
                delay(2);
                digitalWrite(Grove_Piezo_Buzzer, LOW);
                delay(40);
        }else{
                digitalWrite(Grove_Piezo_Buzzer, LOW);
                digitalWrite(LED,LOW);
        }
}


The Video


If you liked this tutorial - please show your support :

ScottC 05 Aug 16:38

How to use a Tricolor LED and a Mini Buzzer


So I’ve made a little not-so-challenging game that uses a tricolor LED, mini buzzer, arduino and of course our Android device. The mechanics of the game is that you need to choose a color, red, green or blue from the Android app and then the accessory (arduino) will randomly pick a color after [...]