The Weather Followers randomizes your digital experience
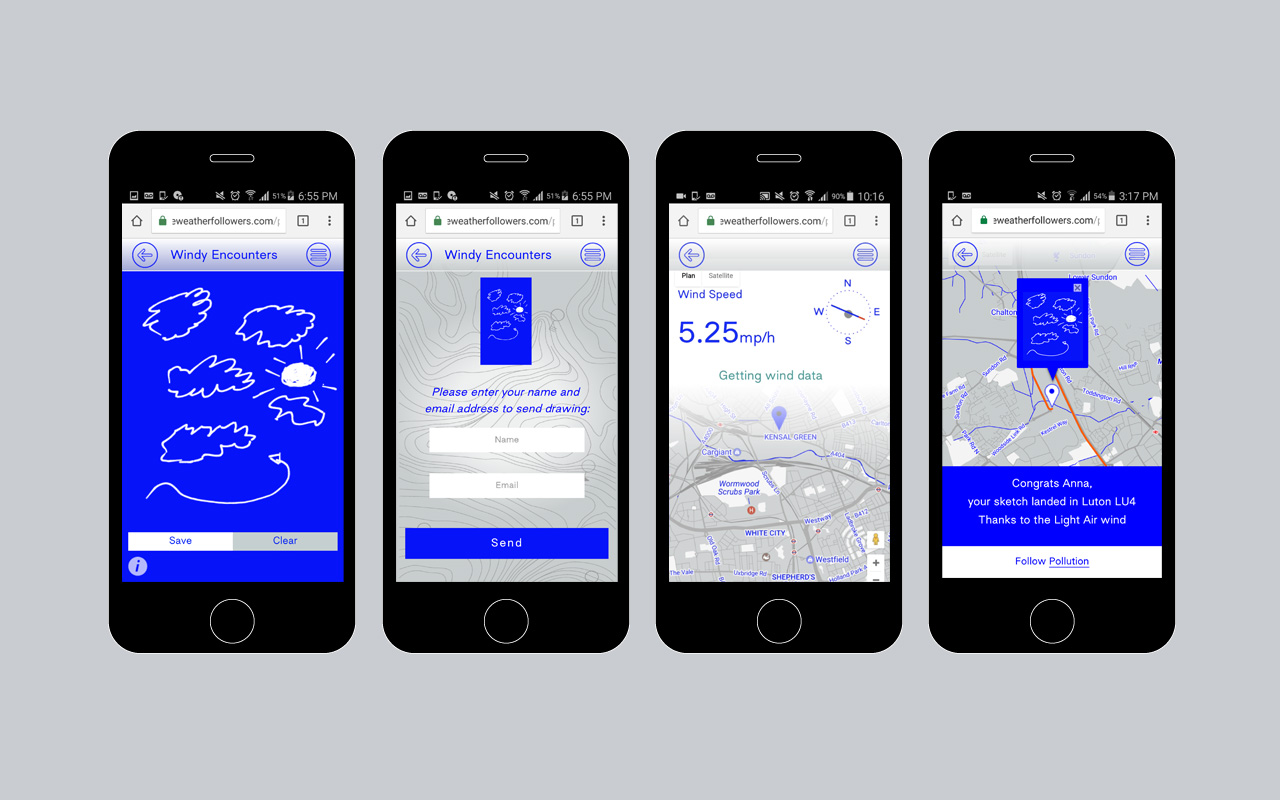
As our lives become more and more automated, we tend to rely on computers and unseen algorithms to “protect” us from unapproved experiences. In order to illustrate this concept, and hopefully introduce serendipitous events to our digital lives, David Columbini has come up with an installation that feeds information to users via a web app, available only when it’s on display.
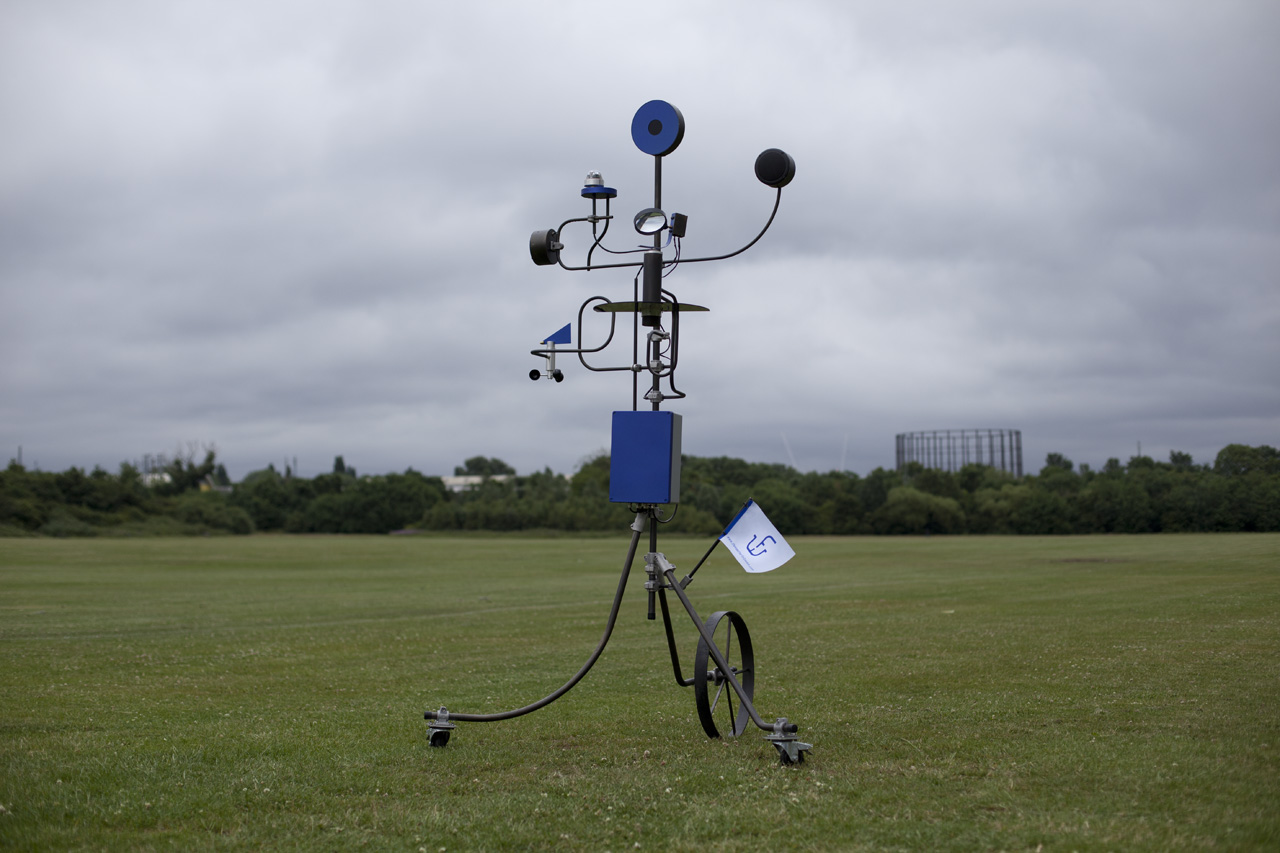
Instead of implementing a carefully designed algorithm, what users experience is based on constantly evolving local weather data sensed by a physical machine equipped with an Arduino Mega, a Raspberry Pi, various sensors, and some other components.
“The Weather Followers” is comprised of four different instruments: a wind-driven messaging app, a pollution-distorted selfie tool, a music player based on the rhythm of rain, and even a device that erases your feed depending on the sun’s intensity!
The installation is comprised of two elements, the four weather instruments and the webapp. Users are invited to connect to the weather machine through the webapp and choosing between one of the four weather instruments: Windy encounters (when your digital social life follows the wind), Polluted Selfie (when your digital individual life follows the pollution), Drizzly Rhythms (when your digital audio life follows the rain) and finally Sun(e)rase (when your digital overwhelming life follows the sun).
More details on the project can be found here. If you want to see another weather/digital world combination by Columbini, be sure to check out this balloon messaging system!