3D-printed miniature roller coaster powered by Arduino Mega
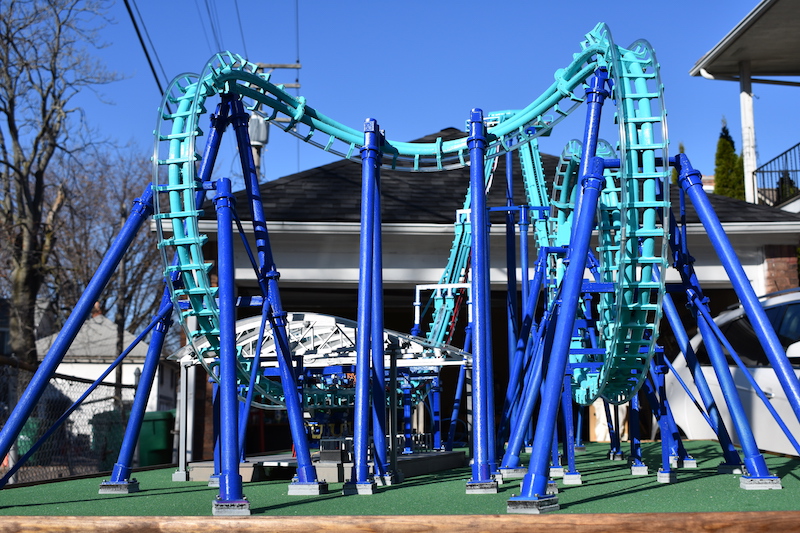
While many enjoy roller coasters, few can claim the same dedication of engineer Matt Schmotzer, who 3D-printed a 1/25th scale replica of Invertigo, a boomerang coaster at Kings Island in Ohio.
As reported on 3D Printer Chat, the CAD model took only a week to complete, but 3D printing this 4’ x 8’ creation took an incredible 450 hours. This doesn’t include the countless hours spent assembling and debugging it.
The coaster runs on an Arduino Mega, using 42 of the 54 available IO pins. This allows it to not only lift and drop the coaster, but also feature details like actuated gates and restraints to keep the tiny imaginary passengers safe.
Be sure to check it out in the video below!