Plywood printer uses a unique mix of manufacturing methods
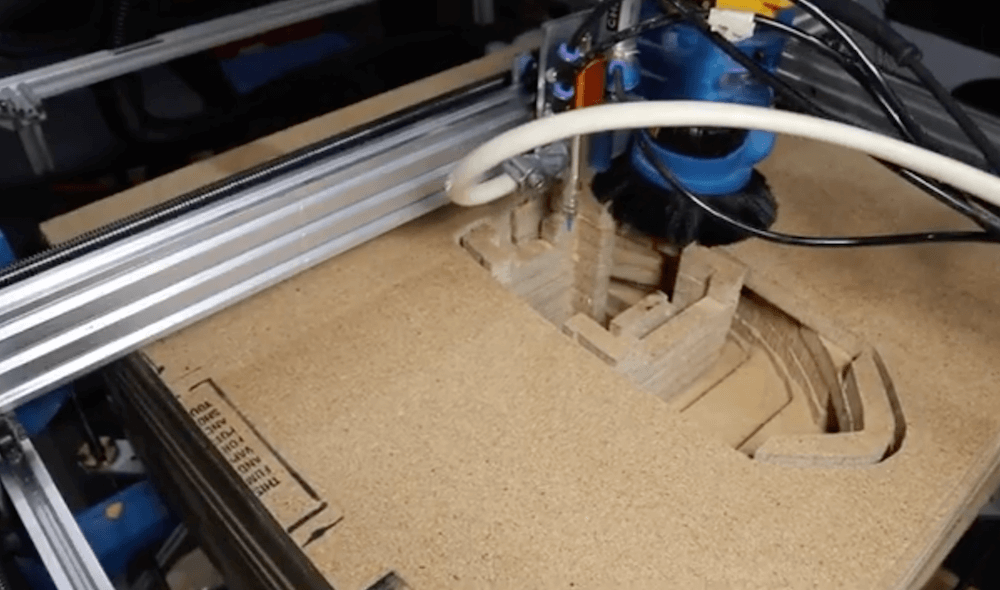
Sure, we’ve seen low-cost DIY 3D printers with wooden frames before, but not a 3D printer that actually ‘prints’ wood. That’s exactly what Shane Wighton and his Formlabs hackathon team have done. (Although probably more along the lines of a hybrid additive/subtractive CNC machine that makes parts out of 3/4″ plywood.)
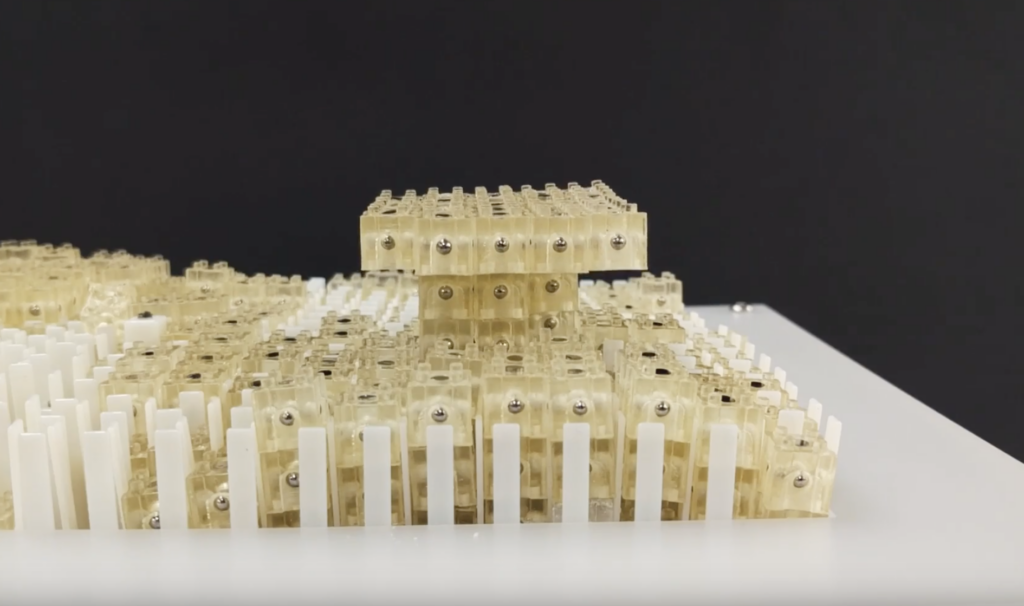
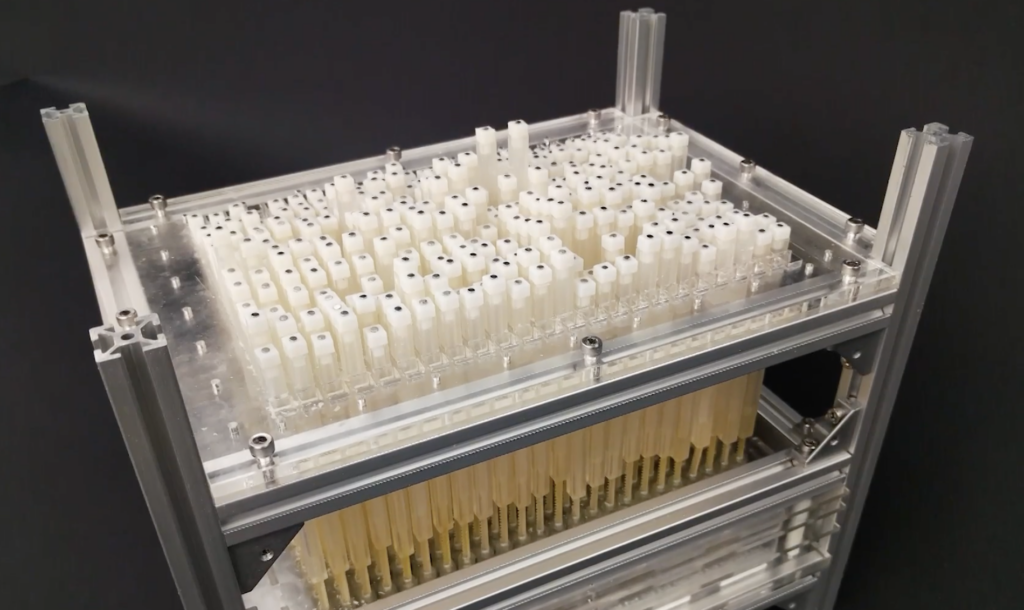
The device first cuts each layer out with a router, applies glue automatically, and then feeds subsequent layers onto a stack to be cut in the same manner. The result of these combined layers is a block of wood with a very large “benchy” inside, revealed with a bit of manual cutting.
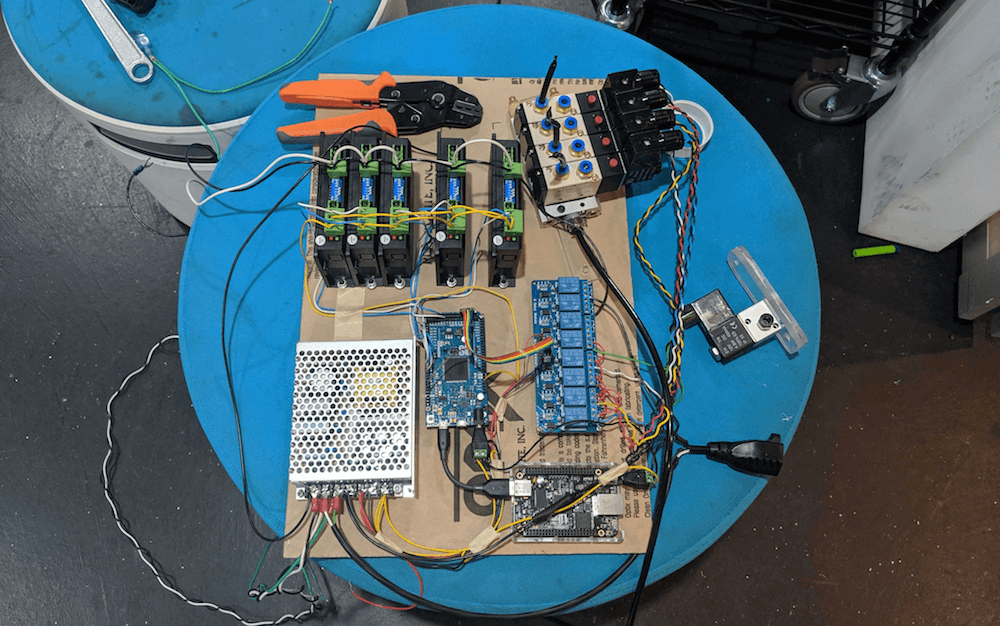
Motion control is handled by an Arduino Due, which interfaces with a number of stepper drivers to move the router, while an off-the-shelf relay board triggers the pneumatics, lights, and even a horn to indicate when a job is complete.
More details on the build are available in Wighton’s write-up here and you can see it in action below!