Control the volume of programs running on your Windows PC like a DJ
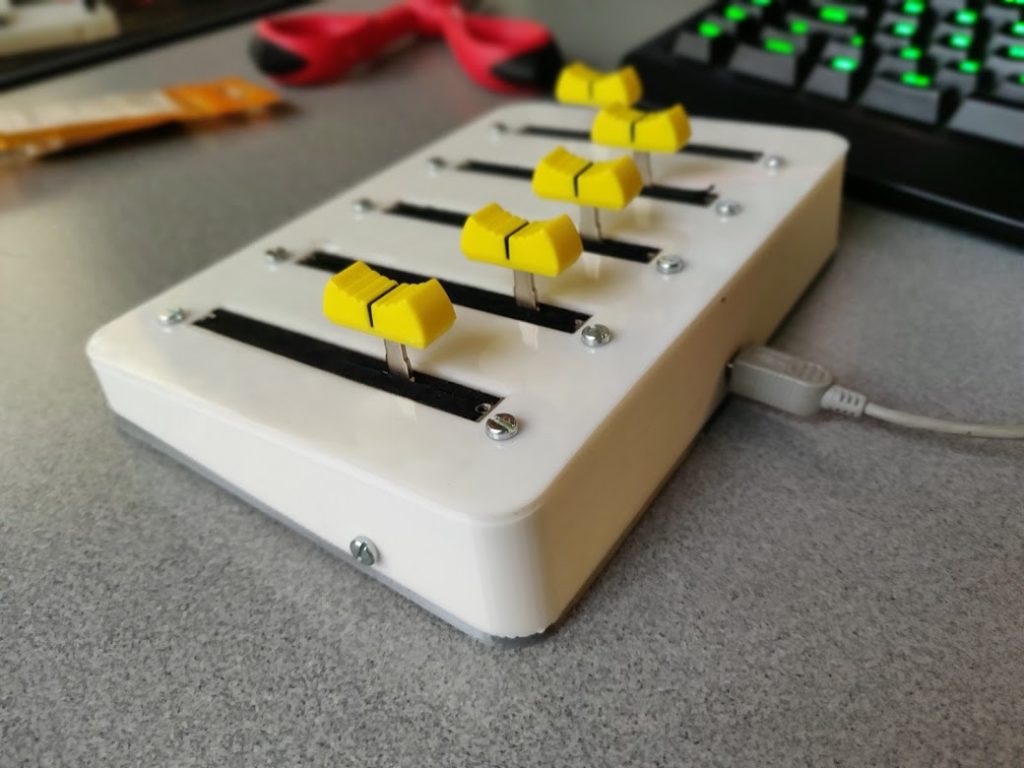
If you have multiple applications open in Windows, you may want one to be louder than the other, but what if you want to adjust levels with physical sliders like an actual DJ? If that sounds interesting, check out this controller by “Aithorn.”
The device uses an Arduino Nano to read signals from each slider and pass this info over to the computer. A Python script, along with a VBScript helper, runs on the PC to control the master and program-specific volumes.
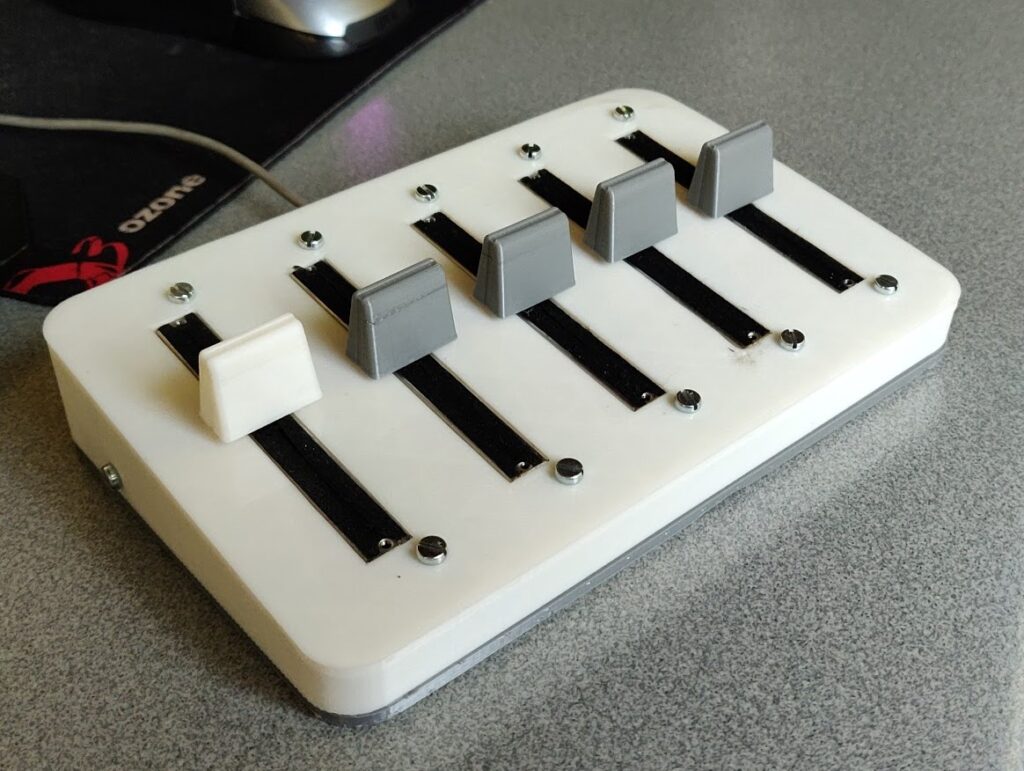
Code for the project, which was actually written by Omri Harel, is available on GitHub. You can see the original version of it the video below, working its magic on a shoebox stand. Print files for Aithorn’s new enclosure can be found here.