No one loves hacked keyboards more than Hackaday. We spend most of our workday pressing different combinations of the same 104 buttons. Investing time in that tool is time well spent. [Max] feels the same and wants some personality in his input device.
In the first of three videos, he steps us through the design and materials, starting with a layer to hold the keys. FR4 is the layer of fiberglass substrate used for most circuit boards. Protoboards with no copper are just bare FR4 with holes. Homemade CNC machines can glide through FR4, achieving clean lines, and the material comes in different mask colors so customizing an already custom piece is simple. We see a couple of useful online tools for making a homemade keyboard throughout the videos. The first is a keypad layout tool which allows you to start with popular configurations and tweak them to suit your weirdest desires. Missing finger? Forget one key column. Extra digit? Add a new key column. Huge hands? More spaces between the keys. [Max] copied the Iris keyboard design but named his Arke, after the fraternal sister to Iris which is fitting since his wrist rests are removable.
In the second video, we see how the case and a custom cable are designed. One of the most beautiful features of this build is the cable with 3D-printed boots that are sized to fit ordinary pin headers. The homemade keyboard that this article is being typed on just has a piece of yellow Cat5 between the halves. When the custom cable is assembled, we see a hack revealed by accident. Twelve wires for the cable are salvaged from some ribbon cable and by cutting the ribbon straight across, every scrap of wire is the same length. No more of those unruly wires at the end or that one short one that kinks all the others. There is also a cable boot design that didn’t make the final cut but featured some secure threaded ends that are still available for download.
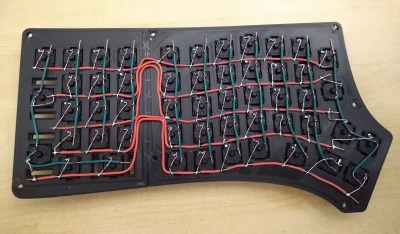
Another bonus hack comes from the calipers used to break wires into subsections. Check out how to make your calipers run for years on a singe battery. Keyswitch wiring is explained in the final video, shown below, which is simple enough since it is a row-and-column arrangement. The third bonus hack is when we see that classic gray ribbon “stripped” by applying a hot iron to the tip. [Max], like others, has a video about making helping hands from coolant hoses, but here he chooses the more straightforward route of putting some gummy tack on the table and mashing the header into it. Like the shortcut with the keyboard layout design, an online tool generates the firmware.
When you are ready to make your own keyboard, you will be in good hands with time-tested methods or even 3D printing. If you like the regular design, you can also overhaul an old keyboard, or update a USB device to Bluetooth.
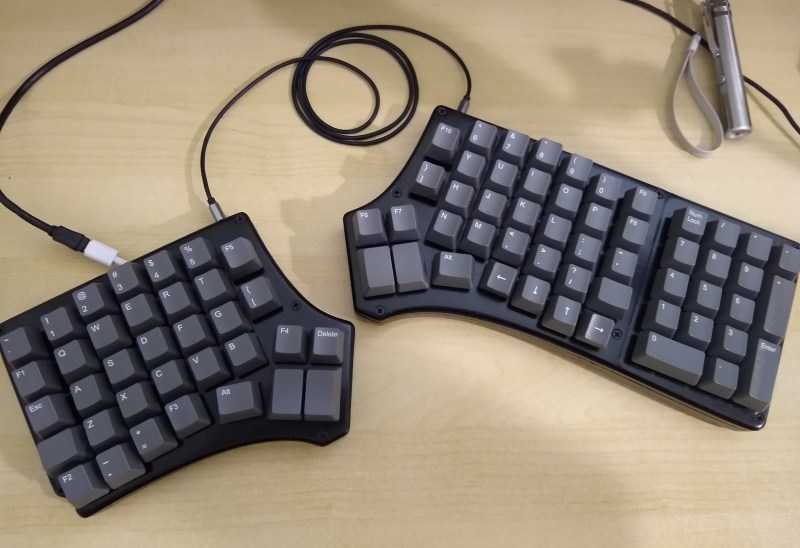
 This design is based on the Redox, itself a remix of the ErgoDox that aims to address the common complaints about the latter — it’s just too darn big, and the thumb clusters are almost unusable. We love how customized this layout is, with its sprinkling of F keys and Escape in the Caps Lock position. Under those keycaps you’ll find 100% Cherry MX greens, so [ToasterFuel] must have pretty strong fingers to pound those super clackers.

