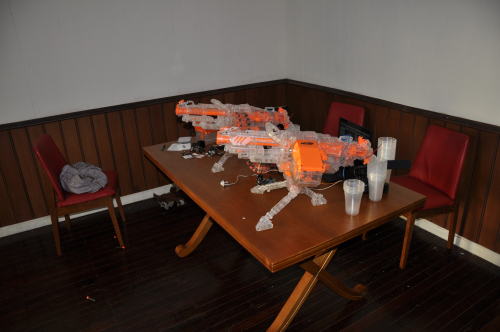
Arduino Powered Rubber Band Sentry Turret Is Not a Lie
You know that guy in the next cube is sneaking in when you are away and swiping packs of astronaut ice cream out of your desk. Thanks to [Kevin Thomas], if you have an Arduino and a 3D printer, you can build a rubber band sentry gun to protect your geeky comestibles. You’ll also need some metric hardware, an Arduino Uno, and a handful of servo motors.
The video shows [Kevin] manually aiming the gun, but the software can operate the gun autonomously, if you add some sensors to the hardware. The build details are a bit sparse, but there is a bill of material and that, combined with the 3D printing files and the videos, should allow you to figure it out.
We couldn’t help but wish for a first person view (FPV) camera and control via a cell phone, so you could snipe at those ice cream thieves while hiding in the broom closet. On the other hand, if you got the gun working, adding the remote wouldn’t be hard at all. You probably have a WiFi FPV camera on your quadcopter that finally came out of that tree and there’s lots of ways to do the controls via Bluetooth or WiFi.
Not that you don’t have options. But here at Hackaday HQ, we have lots of rubber bands and not so many green pigs. If you’d rather shoot paintballs, be careful you don’t accidentally repaint the insides of your cube.
Filed under: 3d Printer hacks, Arduino Hacks, weapons hacks