Posts with «pid temperature control» label

PID temperature control with Arduino

If you want to keep something at a certain temperature, say a block of aluminum, you’ll need a thermocouple and some sort of heating element. While you could turn a heater on and off abruptly in a sequence appropriately known as “bang-bang,” a more refined method can be used called PID, or proportional-integral-derivative control. This takes into account how much the temperature is outside of a threshold, and also how it’s changing over time.

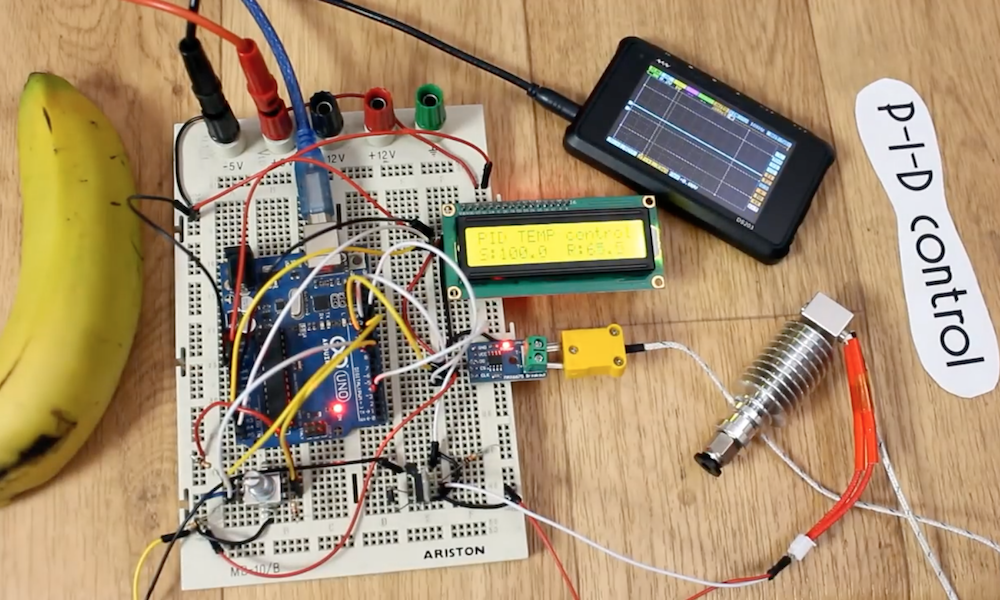
As shown in this example by Electronoobs, PID control can be accomplished using an Arduino Uno, along with a type K thermocouple and a MAX6675 module for sensing. The Arduino sketch reads the data and sends the proper amount power to a heating element via a MOSFET in order to maintain the desired temperature without excessive oscillations.

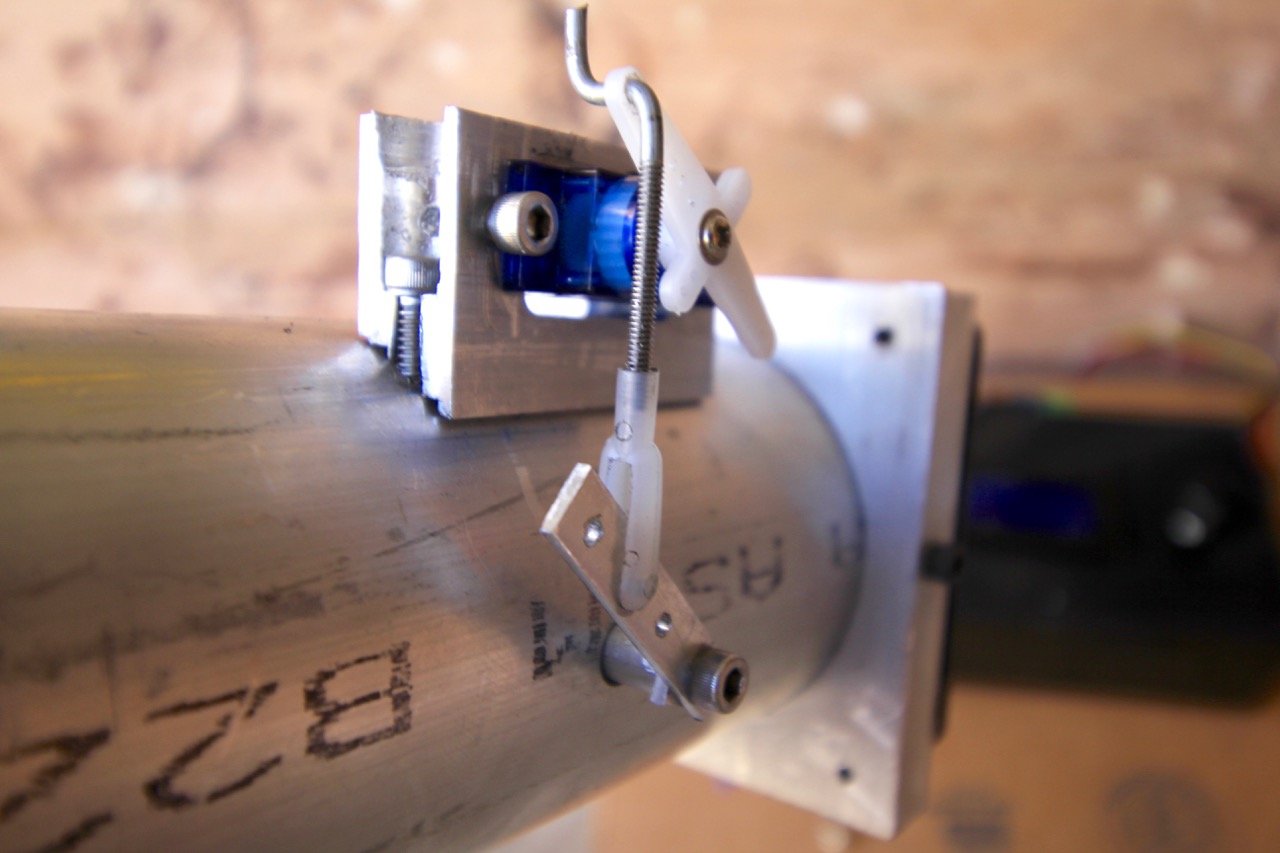
What I want, is the aluminum block below to have let’s say, exactly 100 degrees. I’ll control the real temperature using a K type thermocouple. To read the data I’ll use the MAX6675 breakout module and control the PID algorithm with and Arduino. Finally, to apply power we will make a small circuit using a MOSFET or maybe a TRIAC in case of high AC voltages. This will be a close loop. The thermocouple measures the real values, the Arduino creates the signal applied to the MOSFET and this transistor will control the power of a heating element inside of the aluminum block and once again the thermocouple will measure the value, that’s why it’s a close loop.

Be sure to check it out for an introduction to this powerful control scheme!

See a Cheap Smoker get an Automation Power Up

[Jason] learned a lot by successfully automating this meat smoker. This is just the first step in [Jason’s] smoker project. He decided to begin by hacking a cheaper charcoal-fed unit first, before setting his sights on building his own automatic pellet-fed smoker. With a charcoal smoker it’s all about managing the airflow to that hot bed of coals.

Custom mount for servo was actually one of the more challenging things to get just right.

[Jason] started by making sure the bottom was sealed off from stray airflow, then he cut a hole into the charcoal pan and attached a length of steel pipe. The opposite end of the pipe has a fan. Inside the pipe there is a baffle separating the fan from the charcoal pan. The servo motor shown here controls that valve.

The pipe is how air is introduced into the smoker, with the fan and valve to control the flow rate. The more air, the higher the temperature. The hunk of pipe was left uncut and works fine but is much longer than needed; [Jason says] the pipe is perfectly cool to the touch only a foot and a half away from the smoker.

With the actuators in place he needed a feedback loop. A thermocouple installed into the lid of the smoker is monitored by an Arduino running a PID control loop. This predicts the temperature change and adjusts the baffle and fan to avoid overshooting the target temp. The last piece of hardware is a temperature probe inside the meat itself. With the regulation of the smoker’s temperature taken care of and the meat’s internal temperature being monitored, the learning (and cooking) process is well underway.

There are many, many smoker automation projects out there. Some smokers are home-made electric ones using flower pots, and some focus more on modifying off the shelf units. In a way, every PID controlled smoker is the same, yet they end up with different problems to solve during their creation. There is no better way to learn PID than putting it into practice, and this way to you get a tasty treat for your efforts.


Filed under: cooking hacks