Posts with «nano» label

The Lightwaves is a participatory audio-visual installation

Music and synchronized lighting can be a beautiful combination, evident by panGenerator’s recent installation that was commissioned by the M?skie Granie concert tour in Poland.

The interactive sculpture was comprised of 15 drums that trigger waves of light traveling toward a huge helium-filled sphere floating above the area, appearing to charge it with sound and light energy as the instruments are played. 

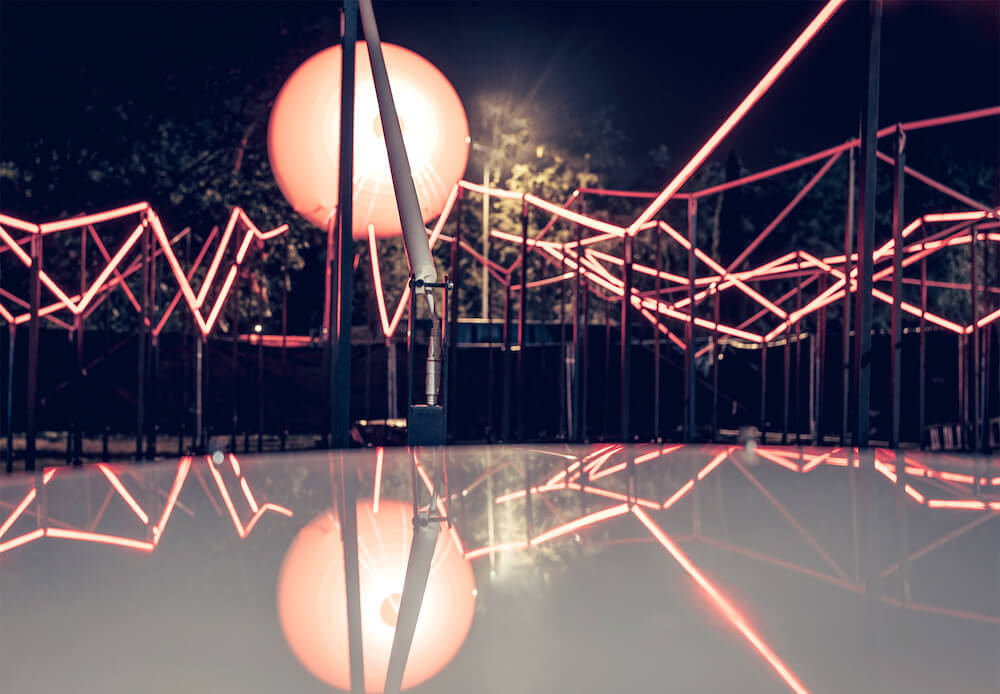
“The audience was invited to drum collectively and together create an audio-visual spectacle – intensity of which depended on the speed and intensity of the drumming. That fulfilled the main goal of creating interactive art experience in which the audience can actively
participate in the event rather than just passively enjoy the music, gathering and playing together.”

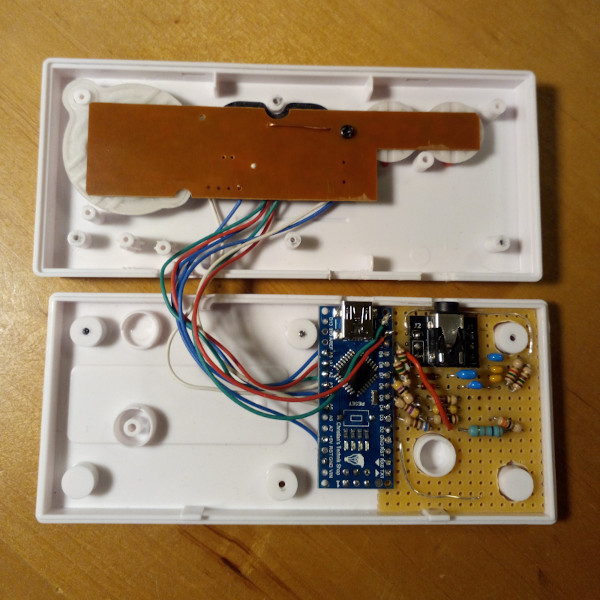
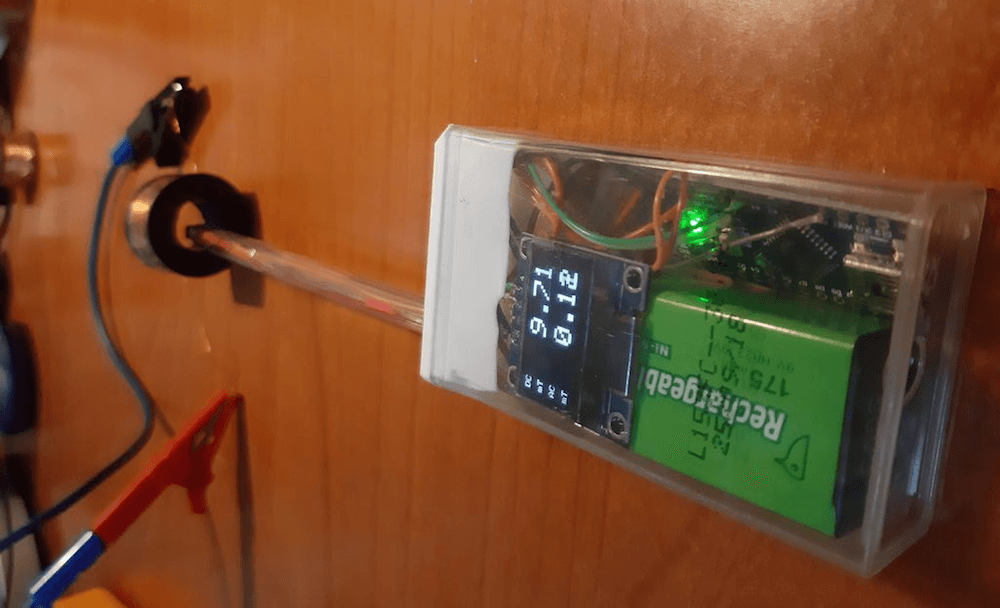
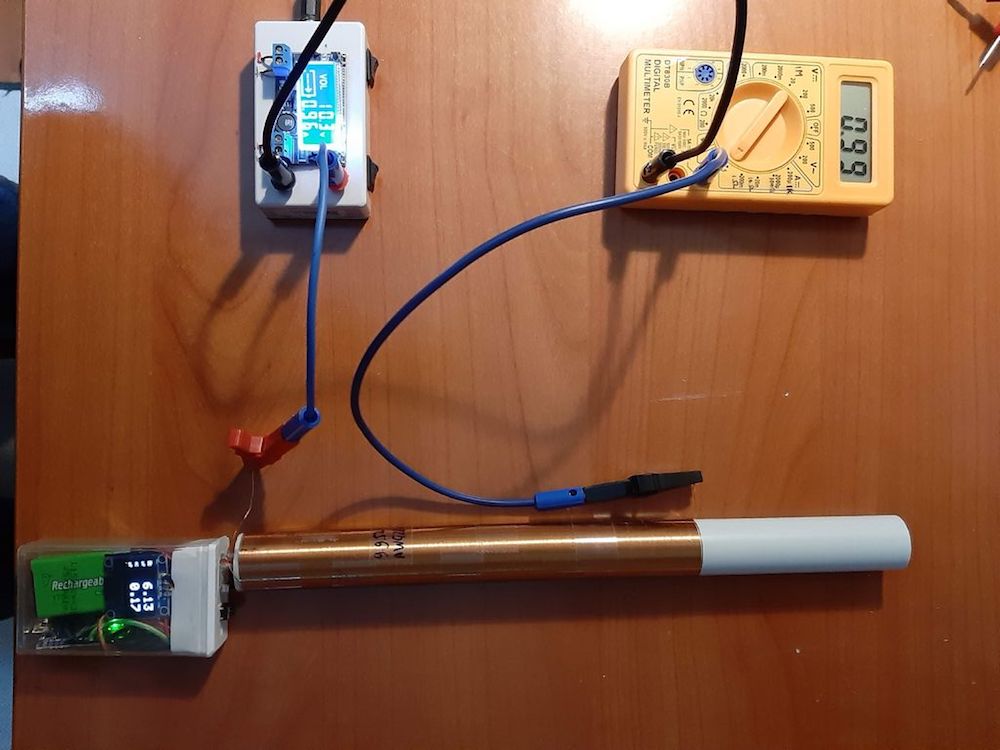
The project incorporated 200 meters of addressable RGB LEDs and measured in at roughly 300 square meters, making it likely the biggest such build ever seen there. According to the designers, each of the drums featured a custom PCB equipped with an Arduino Nano and microphone, and used an MCP2515-based CAN setup for communication. 

All of this was assembled and taken down seven times over two months in cities around the country. Be sure to check out this dazzling display in action in the video below! 

Control the volume of programs running on your Windows PC like a DJ

If you have multiple applications open in Windows, you may want one to be louder than the other, but what if you want to adjust levels with physical sliders like an actual DJ? If that sounds interesting, check out this controller by “Aithorn.

The device uses an Arduino Nano to read signals from each slider and pass this info over to the computer. A Python script, along with a VBScript helper, runs on the PC to control the master and program-specific volumes. 

Code for the project, which was actually written by Omri Harel, is available on GitHub. You can see the original version of it the video below, working its magic on a shoebox stand. Print files for Aithorn’s new enclosure can be found here.

An Arduino Tetris console inside of an NES controller

Tetris was as a perfect complement to Nintendo’s original Game Boy when it came out in 1989, and now “Copper Dragon” has been able to fit an entire system for it — sans monitor or speakers — inside of a faux NES controller

Impressively, this feat was accomplished with an Arduino Nano and a few passive components, producing not only very believable grayscale blocks, but also playing the familiar tune to accompany the video.

Two signal pins are used for the gray levels, plus a pin for sync, and video generation is programmed in AVR assembler code. Audio is not just PWM, but a simple DAC circuit created by charging and discharging a capacitor at the video line frequency.

I wanted to build a game console into the case of a small USB game pad (a NES controler look-alike). To make the work a challenge, I wanted to only use an Arduino Nano clocked at 16 MHz and some passive components (diodes are OK) and create the best possible video and audio signal that is imaginable with such restrictions.

As it turned out, a monochrome 288p video signal with 4 gray scales is possible when progamming the controller at machine level. 4-channel music is also possible.

My game of choice is Tetris in a version that comes pretty close to the original GameBoy version with a very similar audio track.

Arduino Blog 03 Mar 20:17

Build a Nano-based binary Nixie clock with 18 IN-2 tubes

Nixie tubes are, of course, an elegant display method from a more civilized age, but actually powering and controlling them can be a challenge. This can mean a great project and learning opportunity, but if you’d rather just skip ahead to programming these amazing lights, then Marcin Saj’s IN-2 binary Nixie clock is definitely worth a look.

This retro-style unit features a 6 x 3 array of small IN-2 tubes, which are turned to “1” or “0” depending on the time. Reading the results takes a bit of binary math, but it would be good practice for those that would like to improve their skills. 

The clock is available for purchase, and can be driven by a classic Nano, Nano Every as well as a Nano 33 IoT — the last of which enables you to connect to the NTP server or cloud over WiFi.

A Tetris To Be Proud Of, With Only A Nano

Tetris may have first arrived in the West on machines such as the PC and Amiga, but its genesis at the hands of [Alexey Pajitnov] was on an Electronika 60, a Soviet clone of an early-1970s DEC PDP-11. Thus those tumbling blocks are hardly demanding in terms of processor power, and a game can be implemented on the humblest of hardware. Relatively modern silicon such as the Atmega328 in [c0pperdragon]’s Arduino Nano Tetris console should then have no problems, but to make that assumption is to miss the quality of the achievement.

In a typical home or desktop computer of the 1980s the processor would have been assisted by plenty of dedicated hardware, but since the Arduino has none of that the feat of creating the game with a 288p video signal having four gray scales and with four-channel music is an extremely impressive one. Beside the Nano there are only a few passive components, there are no CRT controllers or sound chips to be seen.

The entire device is packaged within a clone of a NES controller, with the passives on a piece of stripboard beside the Nano. There is a rudimentary resistor DAC to produce the grey scales, and the audio is not the direct PWM you might expect but a very simple DAC created by charging and discharging a capacitor at the video line frequency. The results can be seen and heard in the video below the break, and though we’re sure we’ve heard something like that tune before, it looks to be a very playable little game.

Hack a Day 28 Feb 09:00

Resys is an LED drawer system that makes it easy to find your resistors

You’ve got your design ready to go, you know you have the right components… but where exactly did you place that particular resistor? With the Resys drawer system by Lynlimer, you no longer have to wonder — just type in the needed value and the proper drawer lights up automatically.

The device is based on an Arduino Nano, with an LCD display for text output and a numeric keypad for value entry. The proper drawers are lit via WS2812B addressable LEDs, held in 3D-printed holders. 

It’s a clever project that could be expanded to well beyond the 16 drawers now used. Code, STLs, and circuit diagrams are available in Lynlimer’s write-up if you want to make your own!

Arduino Blog 25 Feb 16:25
arduino  featured  nano  

This SpaceX fan created a levitating Starship lamp

Although you might not be able to build or house your own SpaceX Starship, YouTuber “Embrace Racing” has created a levitating lamp model that will be much more attainable for non-multi-billionaires. 

The lamp’s landing pad features an Arduino Nano inside, which is used with WS2812 LEDs to simulate the smoke plume of the rocket through a 3D-printed “clear” PLA diffuser.

The base also contains a levitating module capable of supporting up to 400g to suspend the spacecraft in midair. While its height would tend to make it unstable, the onboard levitating magnet lowers the center of gravity, along with a battery and three LEDS that provide light from the bottom of the rocket itself. 

Print files and other project info are available on Thingiverse.

A DIY digital readout for your wood lathe

Small wood lathes don’t typically come with an RPM readout, so after obtaining such a machine several months ago, engineer Zach — also known as ‘byte sized’ — decided to build his own custom display.

The device uses an Arduino Nano for control, along with a Hall effect sensor to pick up on four magnets attached to the spinning handwheel.

RPM values are shown on a series of four 7-segment displays, and everything is enclosed in a nicely 3D-printed housing. LEDs shine through a sanded acrylic window that acts as a diffuser. Power for the lathe is still provided by a single cable, with a transformer module used to convert the AC input into 5V DC for the Arduino and other electronics.

Arduino Blog 15 Feb 21:24

144 7-segment displays make up this delightful digital clock

Using 7-segment displays to make a clock is nothing new, but what if you combined 144 of them together to create an epic LED timepiece? That’s exactly how this project was made, allowing it to show surprisingly smooth mega-numbers and a colon set at an angle.

The build itself is controlled by an Arduino Nano, along with an RTC module for timekeeping and 18 MAX7219 drivers to activate over a thousand (1,008) individual segments. 

One could see this used for a variety of purposes, perhaps as a scoreboard for sporting events, a scrolling display, or even as 36 little clocks, which can actually be seen below.

Turning a Tic Tac box into a portable magnetometer

If you want a way to measure magnetic fields on the go, then look no further than this tiny device from Instructables user “rgco.”

The portable magnetometer was made using just a couple of common parts, including an SS49E linear Hall effect sensor, an Arduino Nano, a 0.96” OLED screen, and a push button.

All the electronics are concealed inside a Tic Tac box, which holds the components together and provides a window for the display. The SS49E itself is isolated from the rest of the unit via a ballpoint pen tube, which allows it to be placed in narrow openings without interference. 

For increased accuracy, the sensor was calibrated using a cylindrical electromagnet, and the project was prototyped using an Uno before being stuffed into its rather small enclosure.