Posts with «music» label

Fabric(ated) Drum Machine

Some folks bring out an heirloom table runner when they have company, but what if you sewed your own and made it musical? We’d never put it away! [kAi CHENG] has an Instructable about how to recreate his melodic material, and there is a link to his website, which describes his design process, not just the finished product. We have a video below showing a jam session where he exercises a basic function set.

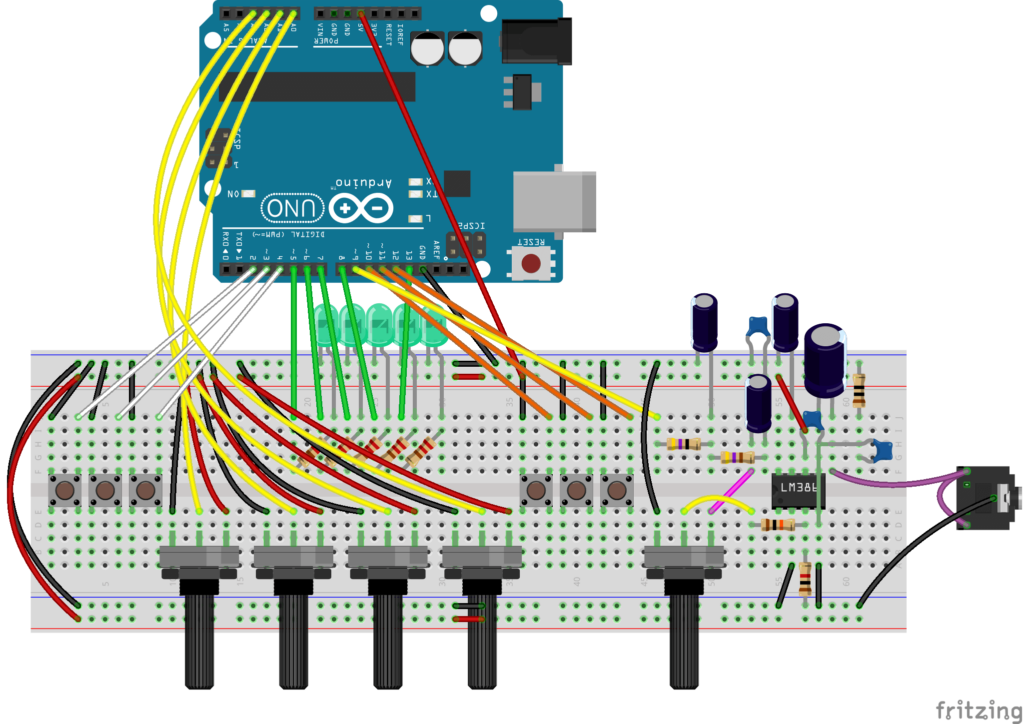
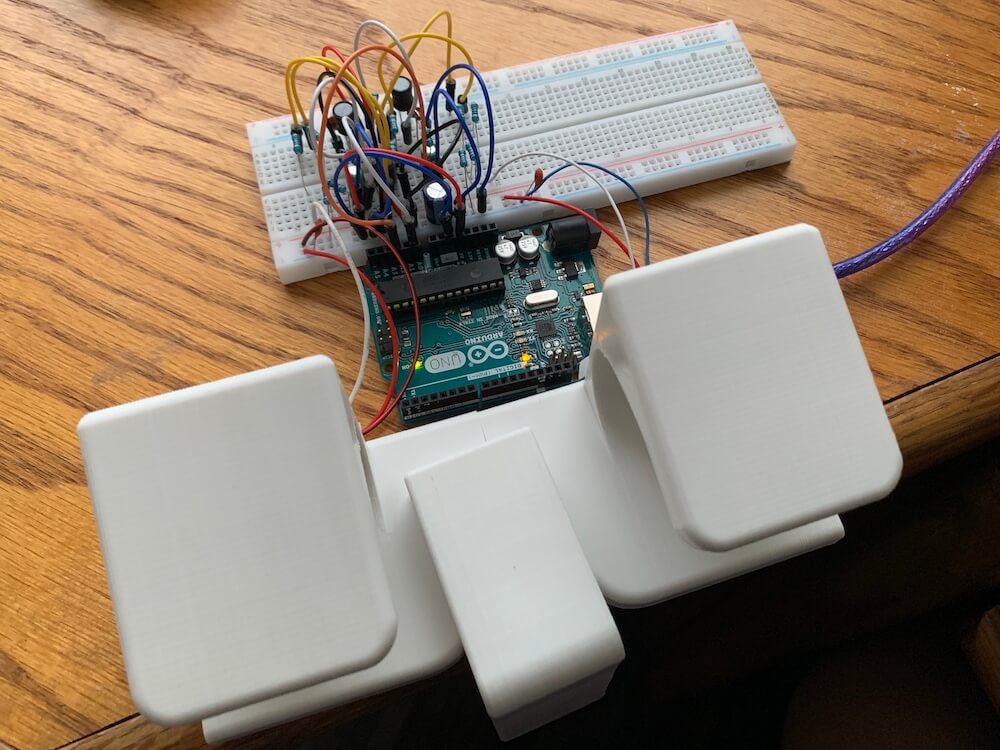
GarageBand is his DAW of choice, which receives translated MIDI from a Lilypad. If you don’t have a Lilypad, any Arduino based on the ATmega328P chip should work seamlessly. Testing shows that conductive threads in the soft circuit results in an occasional short circuit, but copper tape makes a good conductor  at the intersections. Wide metallic strips make for tolerant landing pads beneath modular potentiometers fitted with inviting foam knobs. Each twist controls a loop in GarageBand, and there is a pressure-sensitive pad to change the soundset. Of course, since this is all over MIDI, you can customize to your heart’s content.

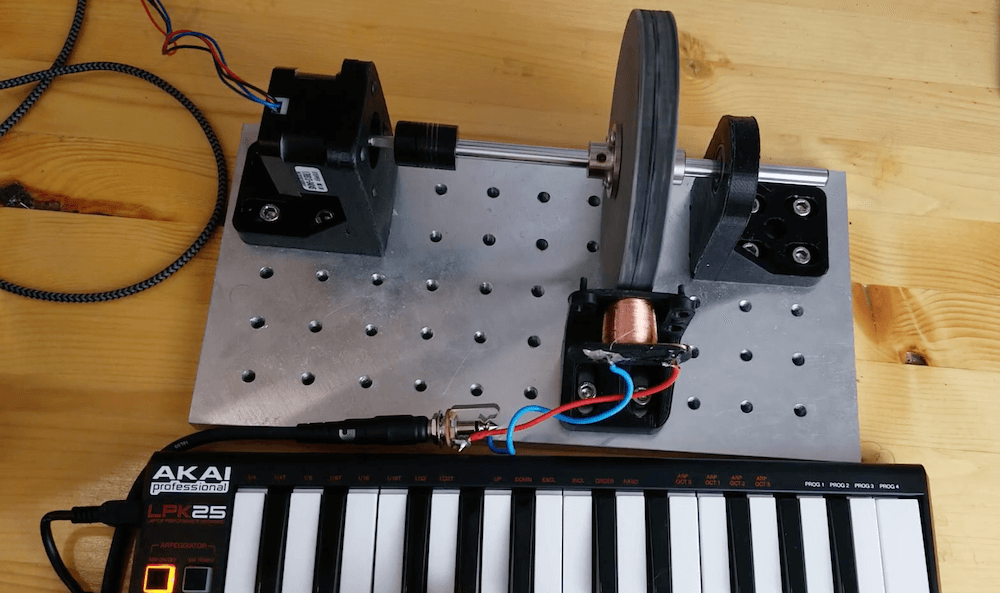
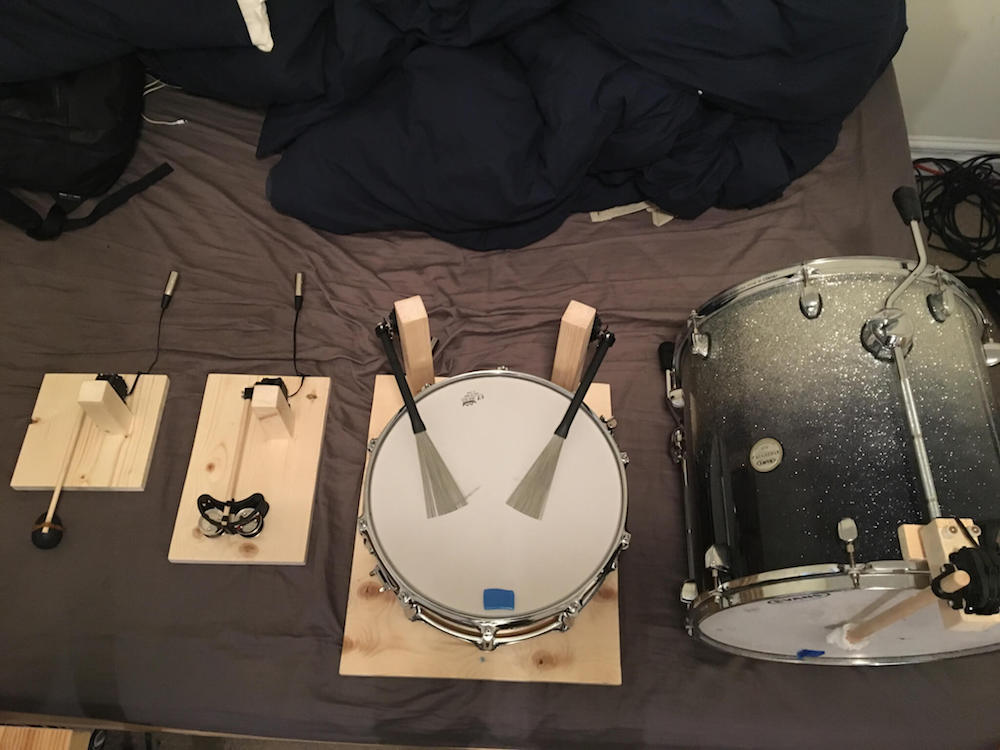
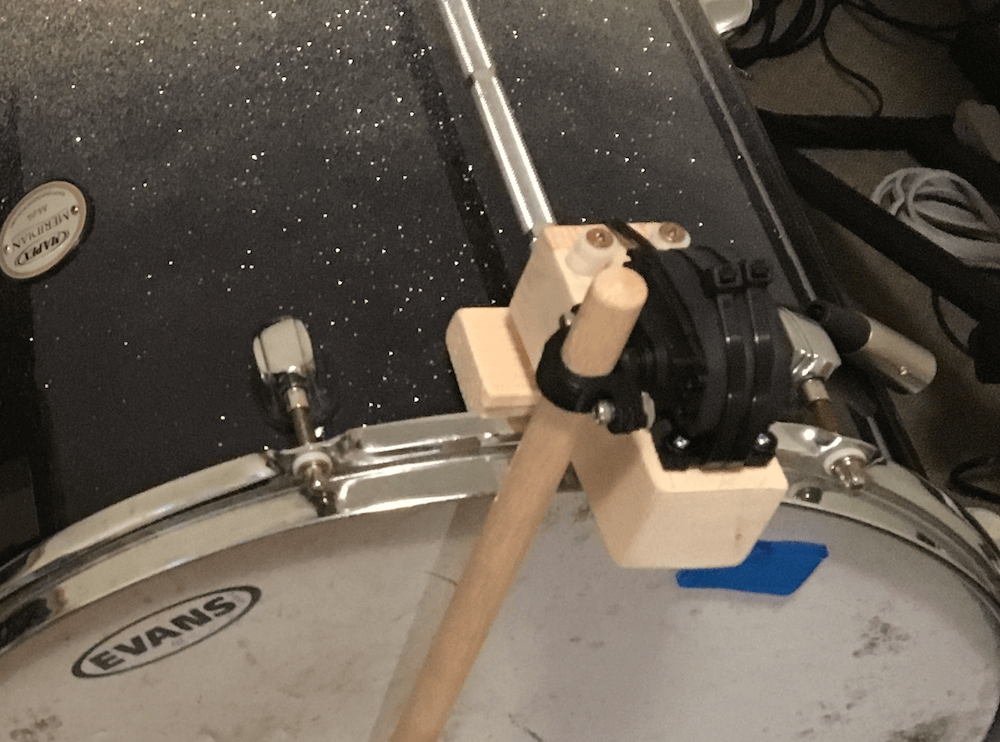
MIDI drums come in all shapes and sizes, from a familiar game controller to hand rakes.

Build your child a wooden MP3 player for $100

If your young child wants to listen to music, what better way than a beautiful wooden MP3 “radio,” with an array of buttons that select the album? After being inspired by a similar commercial product, Redditor “DerThes” decided to make such a device for a fraction of the cost using an Arduino Uno for control, along with a Music Maker Shield to play tunes off an SD card.

The toddler can select songs from a grid of 16 input buttons, which are sent to the Uno via a pair of shift registers. There’s also a “parent’s mode” with the ability to choose from up to 99 albums, and a volume knob for… adjusting the volume. 

Finally, the unt features a beautiful enclosure made out of oak and black walnut, with corners softened by dowels to reduce collateral damage “after the player has gone airborne.” More details can be seen on Imgur here and on GitHub.

This is an easy to use MP3 player for small children. I made this for my 2 year old for Christmas. Each of the top 9 buttons will play an album. The black buttons on the bottom are prev – play/pause – next. The player also supports an alternative playback mode that can be activated using a special key combination. That combination will turn the buttons into a 10 digit input matrix allowing playback of up to 99 albums. That way the player can be used by parents as well.

See GitHub for more details, the schematics for the button PCB and the firmware. https://github.com/MichaelThessel/arduino-stoerbert

This is heavily inspired by Hoerbert: https://en.hoerbert.com

When I first saw the Hoerbert at a friends place I wanted it for my child. After I heard of the $400 price tag I knew that I needed to spend 50 hrs and $100 to build my own.

Arduino Blog 30 Dec 16:49

Need Hackable Melodies? Here’s The TETRIS Theme and More

[Robson Couto] started to get interested in musical projects and as a side effect created downloadable code with simple notation for a good variety of themes, songs, and melodies. They are all for the Arduino and use only the built-in tone() function, but don’t let that distract you. If you look past that, you’ll see that each sketch is a melody that consists of single notes and durations; easily adapted to other purposes or simply used as-is. After all, [Robson] wanted the source of each tune to be easily understood, easily modified, and to have no external dependencies.

All that may sound a bit like MIDI, but MIDI has much more in common with hardware events than music notation because it includes (among other things) note starts and note ends as separate elements. Converting MIDI into a more usable format was a big part of a project that fed Bach music to a neural network and got surprisingly good results.

When doing music projects, sometimes having a recognizable melody represented very simply as notes and durations with only one note at a time can be an awfully handy resource, and you can find them on GitHub. There’s a brief video of the Tetris theme (actual name: Korobeiniki) being played after the break.

Hack a Day 25 Dec 18:00

Wearable synth plays programmed or random tunes

Unless you’re very good, personal synths are fun for you — though often quite annoying for onlookers. After making his own wristwatch-based synth in 2016, Clem Mayer decided to build a new version that’s larger and louder than ever, and programmable via an Arduino controller.

Mayer chose the MKR WiFi 1010 here to take advantage of its LiPo charging abilities. This enables the device to be entirely self-contained in its custom housing, with a variety of switches and sliders for an interface. 

Users can program their own “tune” to be played back, or even take advantage of a random sequence generated on startup, then modify the sound as it plays live.

Wiping Your Windscreen To The Beat

Nothing spoils your mood quite like your windscreen wipers not feeling it when the beat drops. Every major car manufacturer is focused on trying to build the electric self driving vehicle for the masses, yet ignoring this very real problem. Well [Ian Charnas] is taking charge, and has successfully slaved his car’s wipers to beat of its stereo.

Starting with the basics, [Ian] first needed to control the speed of the wiper motor. This was done using a custom power supply adapted from another project. The brain of the system is a Raspberry Pi 3B+ which runs a phase locked loop algorithm to sync the music and the motor. Detecting the beat turned out to be the most difficult part of the project, and from the research [Ian] did, there is no standard solution. He ended up settling on “madmom“, a Python audio and music signal processing library, which runs a neural net to detect the beat in real time. The Raspi sends the required PWM and Enable signals to an Arduino over serial, which in turn controls the power supply. The entire system was neatly integrated in the car, with a switch in the dash that connects the motor to the new power supply on demand, to allow the wipers to still be used normally (and safely).

[Ian] filed a provisional patent application for the idea, and will be putting it on auction on eBay soon, with the hope that some major car manufacturer would be interested. For older cars, you can shove an Arduino into the stereo, or do a super cheap bluetooth upgrade. Check out the video after the break.

Make music with a stepper-driven, 3D-printed tonewheel

YouTuber “The Mixed Signal” has come up with a fun way to make music: spinning a gear-like ferromagnetic tonewheel next to a homemade coil pickup. 

A stepper motor turns the wheel using a CNC shield under Arduino control. When set up, it’s simply a matter of programming in the proper speed via G-code to create the correct sound.

The concept isn’t entirely new, as this type of assembly was used in Hammond organs produced in the middle of the last century. The Mixed Signal’s project, however, is a very interesting take on this technology, with the use of 3D-printed parts including the iron-embedded tonewheel, as well as the integration of a MIDI keyboard. 

Arduino Blog 17 Oct 21:48

Watch this guitarist perform an acoustic set with his own robotic drummer

As shown in the video below, Tristan Calderbank is a very talented singer and guitar player, but what’s perhaps most interesting about his performance is the percussion section. Instead of a person (or an entire band) standing beside him, a robotic shaker, tambourine, snare drum and bass drum all play together under MIDI control.

Each device is activated by an HS-311 servo—or two in the case of the snare—powered by an Arduino Uno and MIDI shield. Signals are sent to the Arduino by a laptop running Ableton Live, and servo velocity can be varied to further control sound. 

A write-up on Calderbank’s build process can be found here, including what didn’t work, plus info on sound isolation from the servos. Arduino code is available on GitHub.

Zany MIDI guitar made from barcode scanner and Arduino

You’ve seen barcode scanners register the price for your groceries, and likely in many other applications, but did you ever consider if one could be made into an instrument? Well we now know the answer, thanks to this MIDI guitar by James Bruton.

Bruton’s amazing device presents a matrix of barcodes arranged on the instrument’s four necks, allowing him to select the note to be played with a scanner gun.

The scanned code then triggers a note that’s piped to an output device via an Arduino Mega and MIDI shield. A joystick, spinner, and arcade buttons are also available for functions such as note cutoff, changing the octave, and pitch bends.

DrumKid is a handheld aleatoric drum machine

Hearing live music is certainly enjoyable, but if the musician is using a drum machine, things can eventually get static. To add a bit more spontaneity into this class of robo-musician, Matt Bradshaw has created DrumKid — a handheld, battery-powered unit that uses random numbers to determine the rhythm and sound of a beat.

The device goes through a drum sequence, with a series of LEDs to indicate its progression, but also inserts randomly generated drum hits to the original beat. It features a variety of controllable parameters to alter how it sounds when played live via four knobs and six buttons.

The DrumKid was developed on an Arduino Uno and breadboard, then transferred to a PCB for the final version that will be for sale later this year. More info on the build is available in Bradshaw’s project write-up, while code and design files are on GitHub if you’d like to make your own!

Arduino Blog 17 Sep 20:23

Desktop USB drum for some serious finger tapping

When you need a distraction, or perhaps even now, you may turn to tapping on your desk. While a good way to keep your hands active, or pass a few uninteresting seconds, if you want to get serious with your finger drumming, then the “Arduino USB Drum” by creator colonelwatch may be just the thing.

The 3D-printable device hooks onto the edge of the table, and reads taps on its pads with a pair of strain gauges. Signals are amplified and passed along to an Arduino Uno—including tap intensity—which sends MIDI data to a computer via serial. 

Code and other build info are available on GitHub, and you can see a video of it in action here.