Posts with «motion» label

Motorized Camera Slider Rides on Carbon
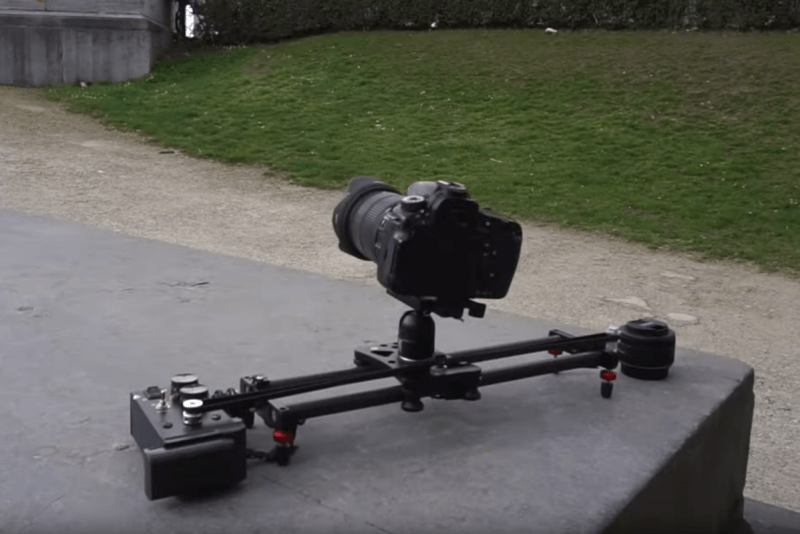
While not every camera mount needs to have six degrees of freedom, one or two can be extremely helpful in the photographic world. In order to make time-lapse shots with some motion or shots that incorporate some parallax, a moving camera mount or dolly is needed, and this small one builds upon a pre-existing, although non-motorized, camera slider.

The slider is an inexpensive model from everyone’s favorite online warehouse, with rails that are at least coated in carbon, if not made out of it entirely, to ensure smooth camera motion. To add the motorization to automatically move the camera, a stepper motor with a belt drive is used which is controlled by an Arduino. A few limit switches are added, letting the dolly perform different movement patterns automatically, and a pair of potentiometers for fine and coarse speed control are included as well, letting the camera take both time-lapse and video while using this mount at various controllable speeds.

With everything tucked into a relatively small box at one end of the dolly, the build is both accessible and functional. The code for the microcontroller is also available on the project’s GitHub page for anyone looking to replicate or build upon the project. And, for those looking to add more degrees of freedom to their camera setups, take a look at this DIY pan and tilt mount.

Make your cat behave when you are away using Arduino

The goal of this project was to create a small device, which detects movement in protected areas (e.g. tables) and allows you to speak usual phrases in your voice to the cat to control its behaviour when you are away. It’s called Cat Protector and prototyped on Arduino Uno  by Lucky Resistor, a creative guy who enjoys software development and electrical engineering:

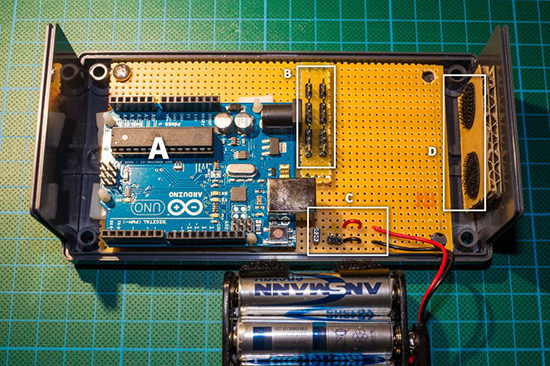
I started with a prototype, using an Arduino Uno and a large breadboard. The first step was to realize an acceptable sound output. To realize this I added a shield with SD card adapter and wrote some optimized code to stream sound from the SD card in 22.1kHz using a 12bit DAC. The amplification to a speaker completed this part of the project where I have two solutions. Next I experimented with different motion sensors to detect the motion of the cat and finished the hardware part using a dual color LED for a simple status display.

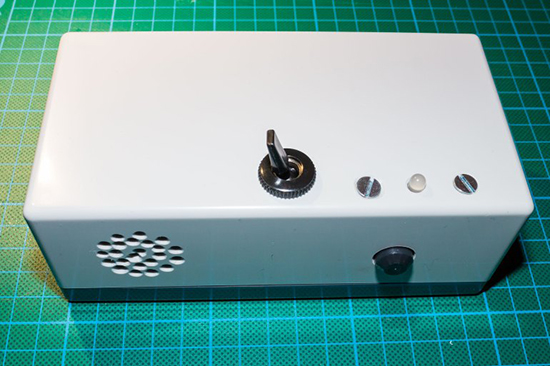
Creating a compact device from the prototype was the next challenge, I could place the whole circuit I used on a small prototyping area and squeezed everything in a small casing. From outside, the device looks simple and tidy.

He documented everything in details on his website, especially the software part:

I read so many Arduino related articles and tutorials, but most of them stop when the prototype is running. I hope this documentation helps people to see how to structure Arduino software to make it extensible and keep it readable. This is especially necessary to write more complex logic than just to blink some LEDs. Also I hope to give some inspiration how to develop the prototype to a final device.

Check the full  documentation here.

Arduino Blog 11 Nov 21:06