Posts with «mega» label

Designing an Arduino-powered Braille generator


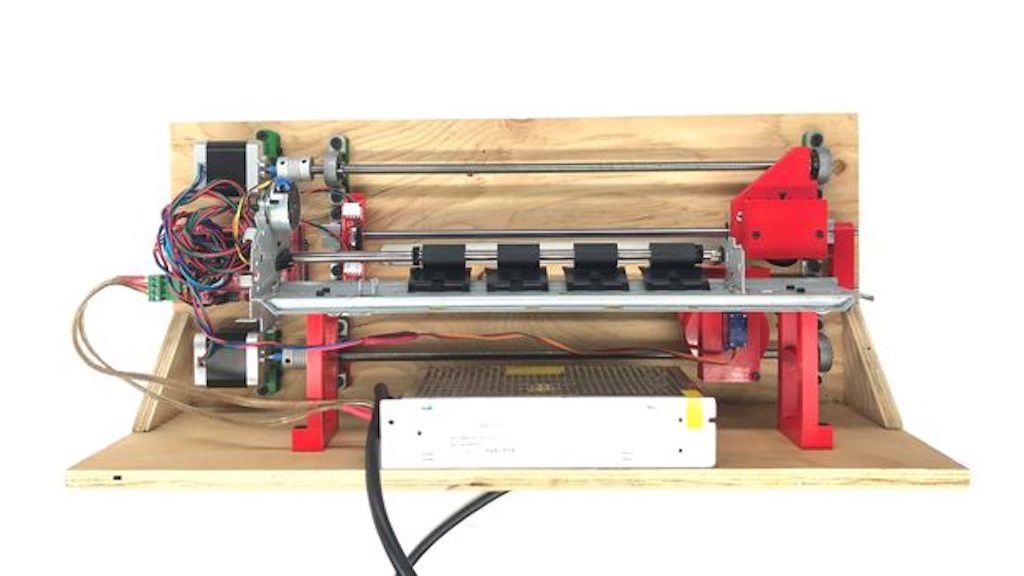
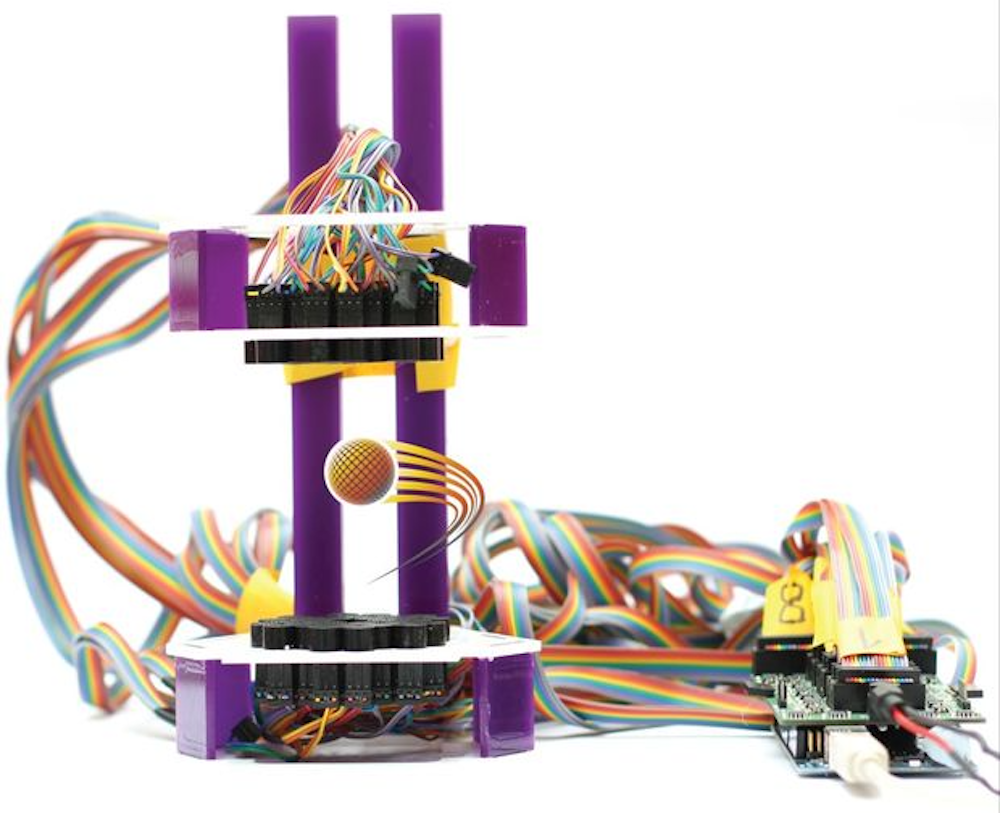
Did you know that embossing machines needed to generate Braille characters can cost thousands of dollars? After finding this out, hacker Carlos Campos decided to design and build his own using 3D-printed parts, along with an Arduino Mega and a RAMPS board for control.

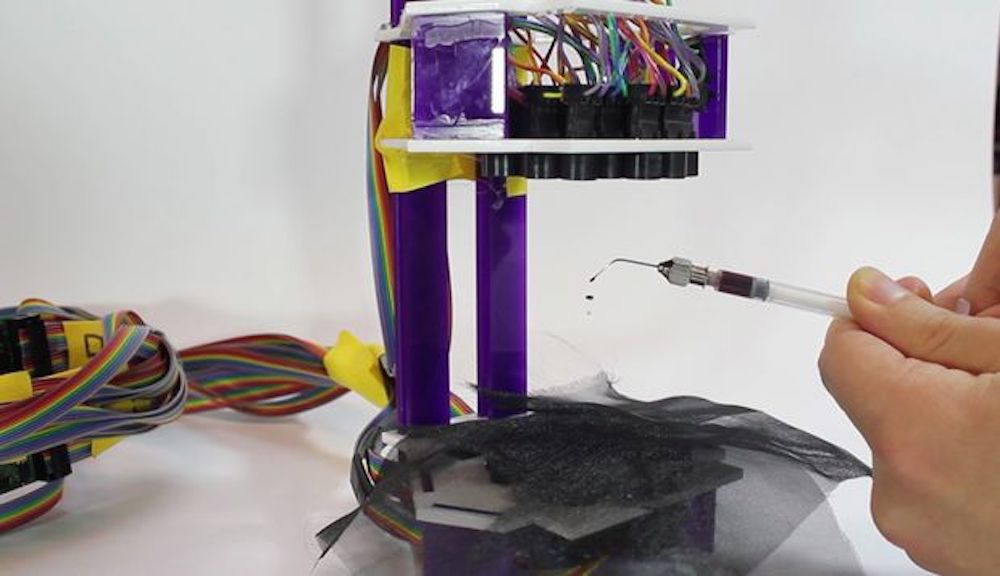
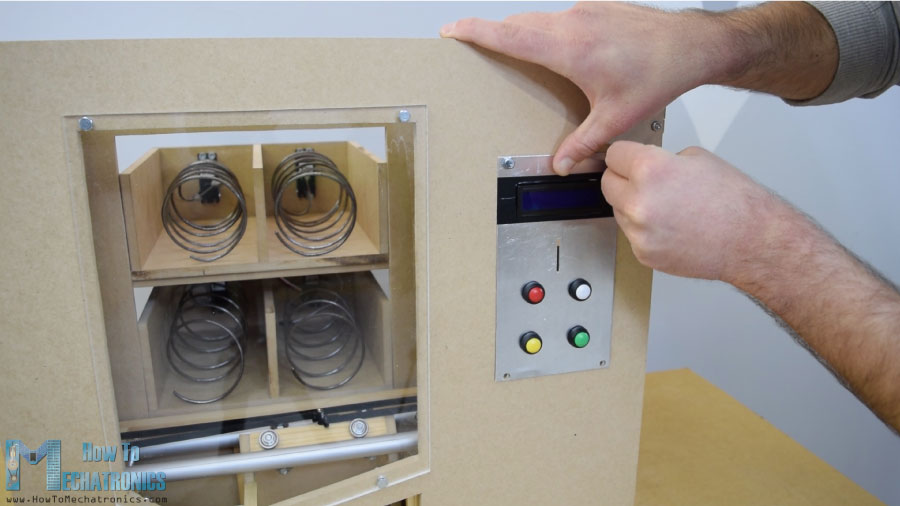
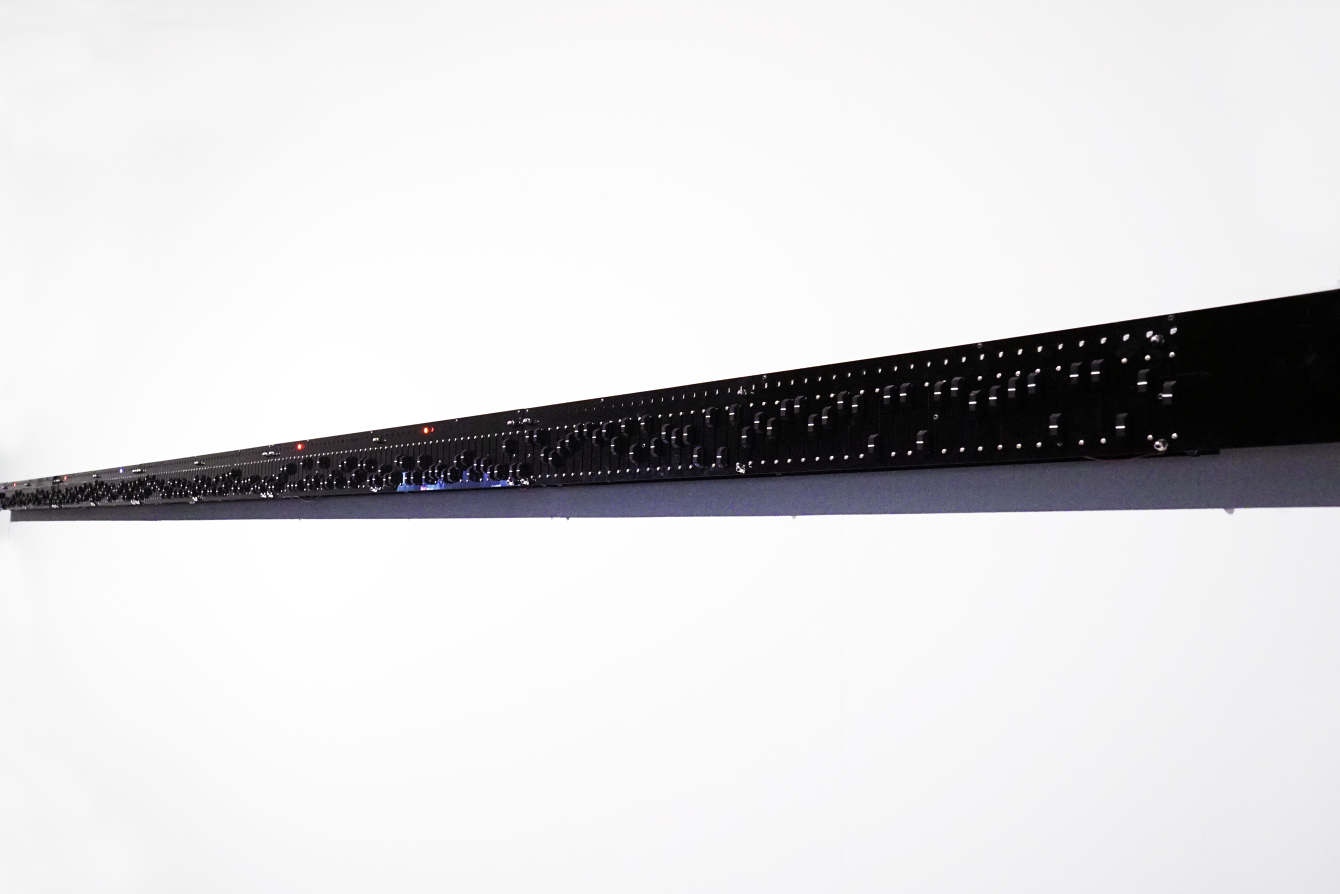
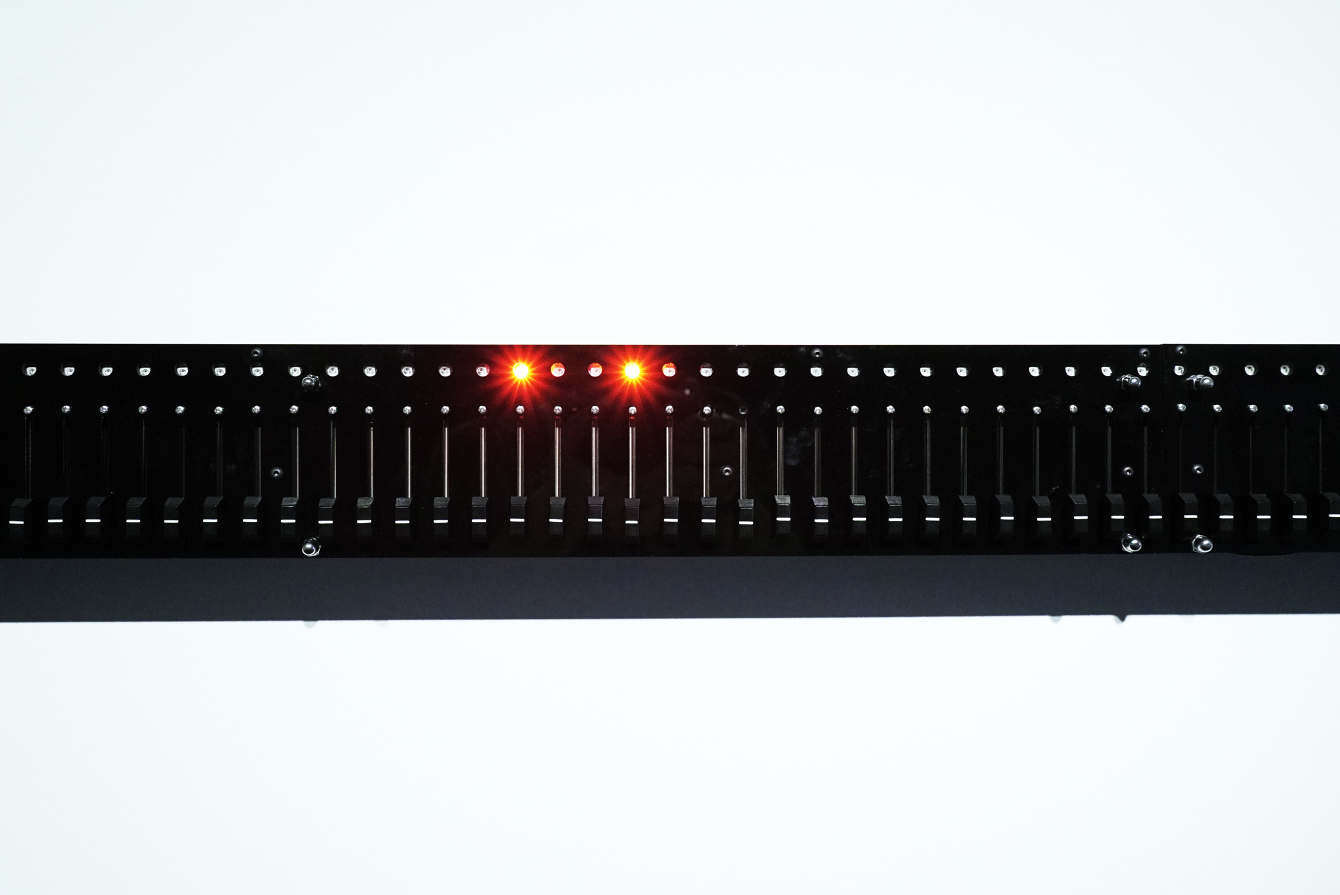
Instead of punching each dot, the device pushes a pin out onto the paper, then rolls the dot onto it from the other side, leading to a much quieter operation than normal machines.

Check out the clips below to see the pin actuator by itself and the embosser in action. More details and videos can also be found on Facebook. The project is still in the experimental stages, so collaborators are invited to help turn it into an even more useful implement.

Ultrasonically levitate particles and liquid

If you thought the power of levitation was only available to magicians (and perhaps magnets) then check out this amazing project from Asier Marzo. It uses an Arduino Mega to control an 8×8 array of ultrasonic transducers, which when carefully coordinated using a simulation program, not only can suspend a particle but cause it to move around the grid of transducers.

You can find a summary of this kind of device’s capabilities in Marzo’s write-up, including haptic feedback, use as a directional speaker, and even levitating liquids in a standing wave setup.

We present Ultraino, a modular, inexpensive, and open platform that provides hardware, software and example applications specifically aimed at controlling the transmission of narrowband airborne ultrasound. The software can be used to define array geometries, simulate the acoustic field in real time and control the connected driver boards. The driver board design is based on an Arduino Mega and can control 64 channels with a square wave of up to 17 Vpp and ?/5 phase resolution. Multiple boards can be chained together to increase the number of channels. 40 kHz arrays with flat and spherical geometries are demonstrated for parametric audio generation, acoustic levitation and haptic feedback.

You can also skip to 8:30 in the video below to see it manipulating a particle, or to 9:30 where several individual drops of alcohol and food coloring are able to float in mid-air.

Turn a flatbed scanner into a PCB UV exposure device

If you want to create your own custom PCBs, you could design it and wait for a fab house to send it back, dealing with any errors, or you could do it yourself. Hacker Andras Kabai decided to go for the second option, and made his own UV exposure tool to help him with the process using an old flatbed scanner as the base.

Rather than line the entire underside of the bed with LEDs, he cleverly repurposed the single-axis gantry that would normally hold the scanning unit to instead contain a row of LEDs to expose the PCB on top.

The project was prototyped with an Arduino Pro Mini, but was eventually supplanted by a Mega when the smaller board’s limits were reached.

Plenty of DIY PCB UV exposure tool building posts are available on the internet with total different approaches. I also designed my own, to fulfill my needs: it should be relative small and portable and the hacking/modding should be fun. ? Flat bed scanners were found as possibly good target. Compared to most of the other scanner mods, which use LED arrays or fluorescent tubes across the whole scanner bed area, my plan was to use the scanner carriage with only few LEDs and control its movement (and brightness) under the given PCB.

You can check out the device’s development in the videos below, which show off its interface and the gantry in motion.

Interact with the virtual world in a whole new way

As reported by the Creative Applications Network, “Tangibles Worlds explores the effects of tactile experience as a catalyst for full immersion in VR.”

The project by Stella Speziali takes the form of three separate boxes, along with an Oculus Rift headset. When a hand is placed in one of these boxes, the user is virtually transported to another dimension of sight and sound, controlled by IR distance sensors, flex sensors, capacitive wire, and several other devices interfaced with an Arduino Mega.

Each box contains an IR distance sensor, which detects when a hand is inserted and display the virtual world attributed to the box. This new virtual world surrounds the user. A sensor is placed on each wall within the boxes, this sensor recognizes the hand and activates an animation inside the virtual world. I tried to map the sensors in the virtual universe so that a little clue is given to the user and will lead him to trigger the animations.

The idea behind this installation is to go beyond “traditional” VR controllers for entirely new level of interaction. The video seen here gives an excellent preview of the strangeness of this type of interface, though using it with a headset and sensors would likely be an altogether different experience!

3D-printed miniature roller coaster powered by Arduino Mega

While many enjoy roller coasters, few can claim the same dedication of engineer Matt Schmotzer, who 3D-printed a 1/25th scale replica of Invertigo, a boomerang coaster at Kings Island in Ohio.

As reported on 3D Printer Chat, the CAD model took only a week to complete, but 3D printing this 4’ x 8’ creation took an incredible 450 hours. This doesn’t include the countless hours spent assembling and debugging it.

The coaster runs on an Arduino Mega, using 42 of the 54 available IO pins. This allows it to not only lift and drop the coaster, but also feature details like actuated gates and restraints to keep the tiny imaginary passengers safe.

Be sure to check it out in the video below!

DIY vending machine with Arduino

Have you ever wanted a vending machine for snacks but didn’t know where to start? With an Arduino Mega, some motors, and an infrared sensor to detect coins, Dejan Nedelkovski decided to build his own using only hand tools.

The DIY vending machine’s structure is made out of MDF, and uses wires bent into helical shapes to twist items out of four storage spaces with continuous rotation servos. While they could just drop to the bottom, Nedelkovski added a little extra flair and constructed an elevator system powered by stepper motors to gently lower the chosen treat to the exit opening.

You can see the project in action below, and find more details in Nedelkovski’s write-up here.

Creating a classroom quiz machine with Arduino

Quiz games, where contestants try to “buzz” in and answer questions make for fun televised game shows, but they can also be great for making learning fun. In order to avoid paying several hundred dollars for an official quiz machine, Instructables user “arpruss” decided to build one for his school using an Arduino Mega.

The device uses a series of CAT-6 cables to connect individual arcade-style buttons to a central control unit with RJ45 connectors, allowing each contestant to buzz in with an answer. While not approved for official competition, the system can pick out button presses down to a precision of 50 microseconds or less and displaying the order on an LCD screen, reliably determining the fastest individual nearly all of the time!

The Certamen quiz team competition from the Junior Classical League involves quiz questions on Greek/Roman subjects. Individual contestants press buzzer buttons when they have an answer. The machine keeps track of the order in which buttons were pressed, subject to the team-lockout rule that once a player on a team presses a button, the other presses from that team don’t count. The machine we built was for three teams of four players each. Additionally, so that other school groups could use the machine as a standard quiz machine, there is an option to disregard teams and just keep track of button order.

Want to create your own? Be sure to check out the project’s full tutorial here!

ASPIR is a full-size, Arduino-powered humanoid robot

Building robots can be difficult, and if you want to construct something humanoid, designing the mechanics alone can be a significant task. ASPIR, which stands just over four feet tall, looks like a great place to start.

John Choi’s 3D-printed robot can move its arms, legs, and head via 33 servo motors, all controlled by an Arduino Mega, along with a servo shield.

The documentation found here is excellent; however, it comes with a warning that this is a very advanced project, taking several months to build along with $2,500 in parts. Even if you’re not willing to make that commitment, it’s worth checking out for inspiration, perhaps parts of the ASPIR could be adapted to your own design!

An Arduino-controlled geodesic greenhouse and chicken coop

Danish industrial design student Mikkel Mikkelsen decided to do something a little different this spring, and constructed a self-sufficient geodesic greenhouse dome. His dome, which was planned using this online calculator, now stands roughly 13 feet tall, providing space for crops, along with an annex for chickens.

While this seems like a very “back to nature” project, he didn’t forget to include modern conveniences via an automation system that uses both an Arduino Nano and a Mega. The chickens can come and go through an automatic door, while ventilation windows on the top of the dome can be opened as needed. Even plant watering is controlled automatically.

The dome is also equipped with a GSM module that allows Mikkelsen to check on things using his phone via SMS, as well as a potentiometer for manually varying the watering levels and a speaker that is triggered upon entering the greenhouse.

Be sure to check out Mikkelsen’s elaborate Instructables write-up for more info on the build.

Ivy is a massive 240-step sequencer

Most musical sequencers use an array of buttons to control sounds played in 16 or perhaps 32 steps. As seen here, Moscow-based artist Dmitry Morozov (aka ::vtol::) created an installation called “Ivy” wth not 16, but 240!

The sequencer is based on an Arduino Mega along with 74HC40967 multiplexers to handle input from the 240 sliders arranged as controls for each step.  There’s also a bunch of WS2811 LEDs, which are driven by a Teensy board.

Ivy stretches five meters in length, and several “voices” represented by dots on the 1-dimensional light array travel both right and left at different speeds simultaneously. This allows it to be programmed in ways that wouldn’t be possible with traditionally-operated musical devices.

The project is created specially for Open Codes exhibition in ZKM center, dedicated to codes and programming in art. On one side, Ivy is a representation of an archaic method of electronic music programming for analog synthesizers. On the other side – gigantic scale and obsessive multiplication of simple primitive elements turns this project into an art installation, that is referring to the topic of graphic and physical organization of parameters in electronic music.

You can read more about ::vtol::’s latest sound installation here, and see it in action below!

Arduino Blog 24 Oct 19:27