Posts with «mega» label

Pressure Gauge Built In A Vacuum
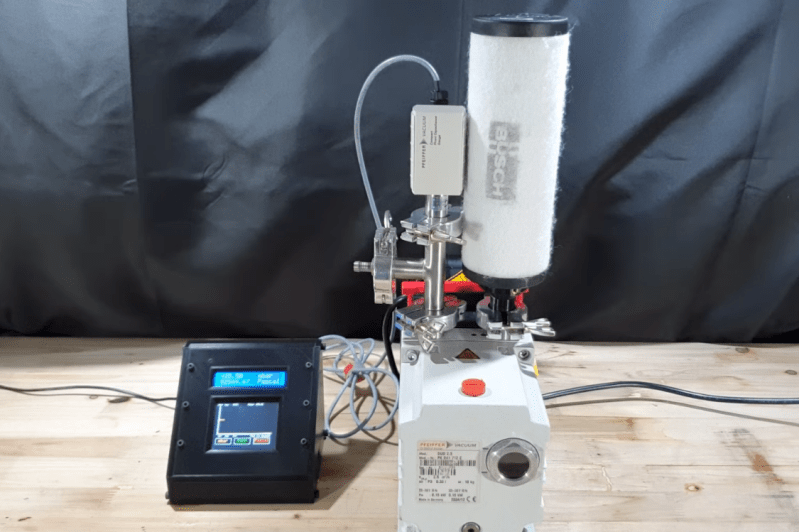
Necessity might be the mother of all invention, but we often find that inventions around here are just as often driven by expensive off-the-shelf parts and a lack of willingness to spend top dollar for them. More often than not, we find people building their own tools or parts as if these high prices are a challenge instead of simply shrugging and ordering them from a supplier. The latest in those accepting the challenge of building their own parts is [Advanced Tinkering] who needed a specialty pressure gauge for a vacuum chamber.

In this specific case, the sensor itself is not too highly priced but the controller for it was the deal-breaker, so with a trusty Arduino in hand a custom gauge was fashioned once the sensor was acquired. This one uses an external analog-to-digital converter to interface with the sensor with 16-bit resolution, along with some circuitry to bring the ~8 V output of the sensor down to the 5 V required by the microcontroller. [Advanced Tinkering] wanted a custom live readout as well, so a 3D printed enclosure was built that includes both an LCD readout of the pressure and a screen with a graph of the pressure over time.

For anyone else making sensitive pressure measurements in a vacuum chamber, [Advanced Tinkering] made the project code available on a GitHub page. It’s a great solution to an otherwise overpriced part provided you have the time to build something custom. If you’re looking for something a little less delicate, though, take a look at this no-battery pressure sensor meant to ride along on a bicycle wheel.

Hack a Day 23 Feb 16:30

Run UNIX On Microcontrollers With PDP-11 Emulator

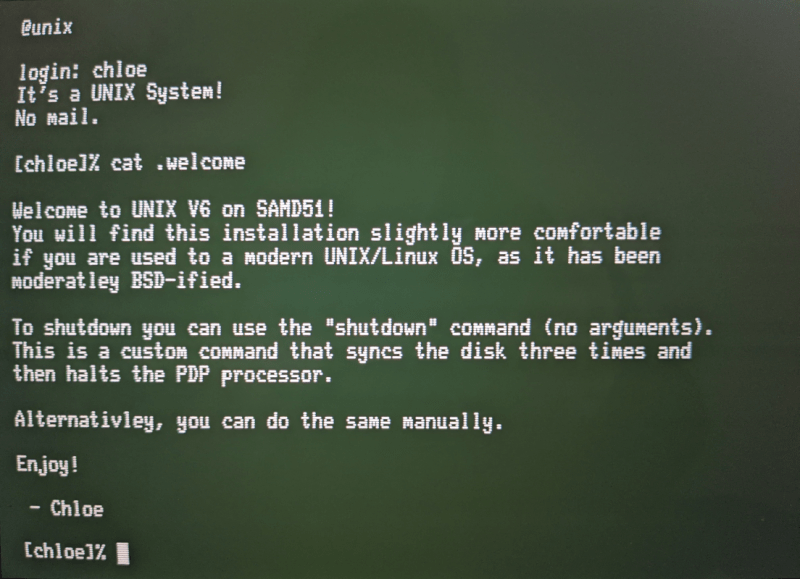
C and C++ are powerful tools, but not everyone has the patience (or enough semicolons) to use them all the time. For a lot of us, the preference is for something a little higher level than C. While Python is arguably more straightforward, sometimes the best choice is to work within a full-fledged operating system, even if it’s on a microcontroller. For that [Chloe Lunn] decided to port Unix to several popular microcontrollers.

This is an implementation of the PDP-11 minicomputer running a Unix-based operating system as  an emulator. The PDP-11 was a popular minicomputer platform from the ’70s until the early 90s, which influenced a lot of computer and operating system designs in its time. [Chloe]’s emulator runs on the SAMD51, SAMD21, Teensy 4.1, and any Arduino Mega and is also easily portable to any other microcontrollers. Right now it is able to boot and run Unix but is currently missing support for some interfaces and other hardware.

[Chloe] reports that performance on some of the less-capable microcontrollers is not great, but that it does run perfectly on the Teensy and the SAMD51. This isn’t the first time that someone has felt the need to port Unix to something small; we featured a build before which uses the same PDP-11 implementation on a 32-bit STM32 microcontroller.

Tiny Operating System For Tiny Computer

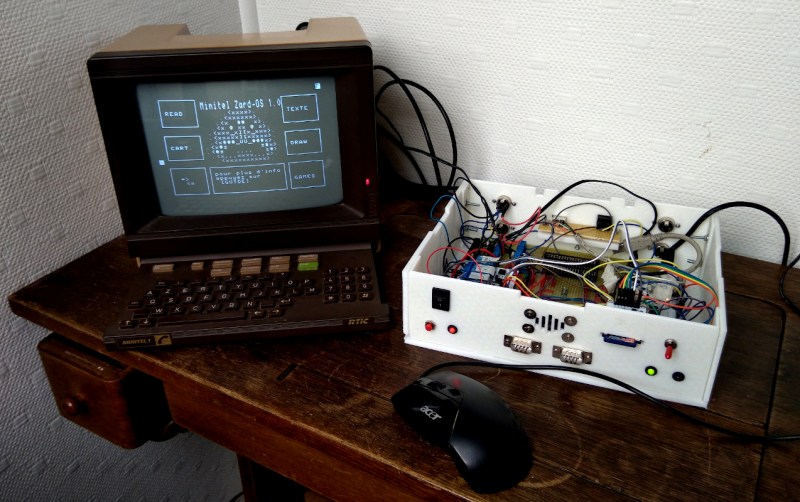
Before the World Wide Web became ubiquitous as the de facto way to access electronic information, there were many other ways of retrieving information online. One of the most successful of these was Minitel, a French videotex service that lasted from 1980 all the way until 2012. But just because the service has been deactivated doesn’t mean its hardware can’t be used for modern builds like this Arduino-based operating system. (Google Translate from French)

Called ZARDOS, the operating system is built to run on an Arduino MEGA although a smaller version is available for the Uno. The Arduino is connected by a serial cable to the Minitel terminal. It can take input from a keyboard and PS/2 mouse and displays video on the terminal screen with the same cable. There is functionality built-in for accessing data on a cartridge system based on SD cards which greatly expands the limited capabilities of the Atmel chip as well, and there is also support for a speaker and a Videotex printer.

Even though the build uses a modern microcontroller, it gives us flashbacks to pre-WWW days with its retro terminal. All of the code is available on the project site for anyone looking to build an Arduino-based operating system, although it will take a little bit of hardware hacking to build a Minitel terminal like this. Either way, it’s a great way to revive some antique French hardware similar to a build we’ve seen which converts one into a Linux terminal.

Thanks to [troisieme_type] for the tip!

Arduino Reduces Heating Costs

While almost everyone has a heater of some sort in their home, it’s fairly unlikely that the heat provided by a central heating system such as a furnace is distributed in an efficient way. There’s little reason to heat bedrooms during the day, or a kitchen during the night, but heating systems tend to heat whole living space regardless of the time of day or the amount of use. You can solve this problem, like most problems, with an Arduino.

[Karl]’s build uses a series of radiator valves to control when each room gets heat from a boiler. The valves, with a temperature monitor at each valve, are tied into a central Arduino Mega using alarm wiring. By knowing the time of day and the desired temperature in each room, the Arduino can control when heat is applied to each room and when it is shut off, presumably making the entire system much more efficient. It also has control over the circulating pump and some of the other boiler equipment.

Presumably this type of system could be adapted to a system which uses a furnace and an air handler as well, although it is not quite as straightforward to close vents off using a central unit like this as it is to work with a boiler like [Karl] has. With careful design, though, it could be done. Besides replacing thermostats, we can’t say we’ve ever seen this done before.

Thanks to [SMS] for the tip!

Hack a Day 17 Jun 00:00

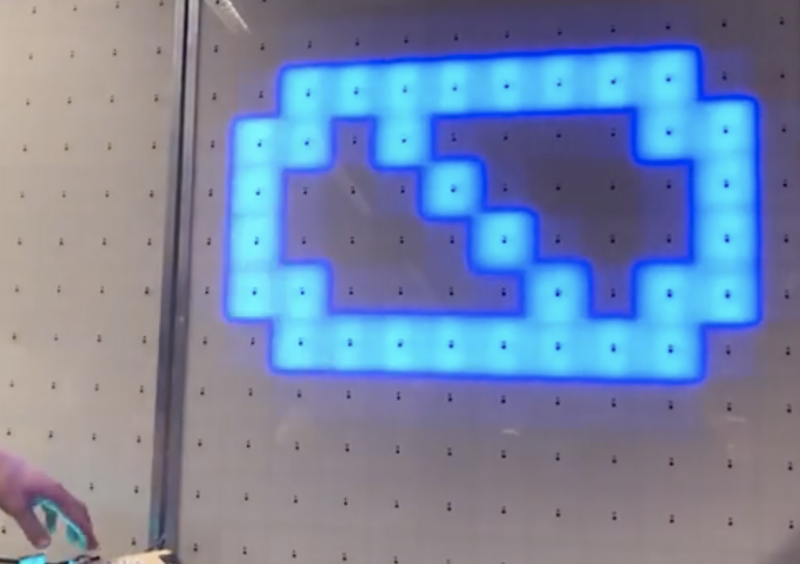
1,156 LEDs make up these dual acrylic light-up panels

What does one do with over 1,000 LEDs, white acrylic, and 288 IR sensors? If you’re Redditor “jordy_essen,” you create an interactive light panel.

In one mode, the user pull a reflective tool across the sensors to draw a paths, with potentiometers implemented to select the color. It can also be set up to play a sort of whack-a-mole game, where one has to activate the sensor in the same area where it illuminates.

For this amazing device, jordy_essen uses not one, or even two, but six Arduino Mega boards to drive the LEDs directly — in turn controlled by a webpage running on a Raspberry Pi. If that wasn’t enough hardware, an Uno is tasked with taking inputs from the color potentiometers. 

It’s a brilliant project in any sense of the word!

Pingo, the motion-detecting ping pong ball launcher

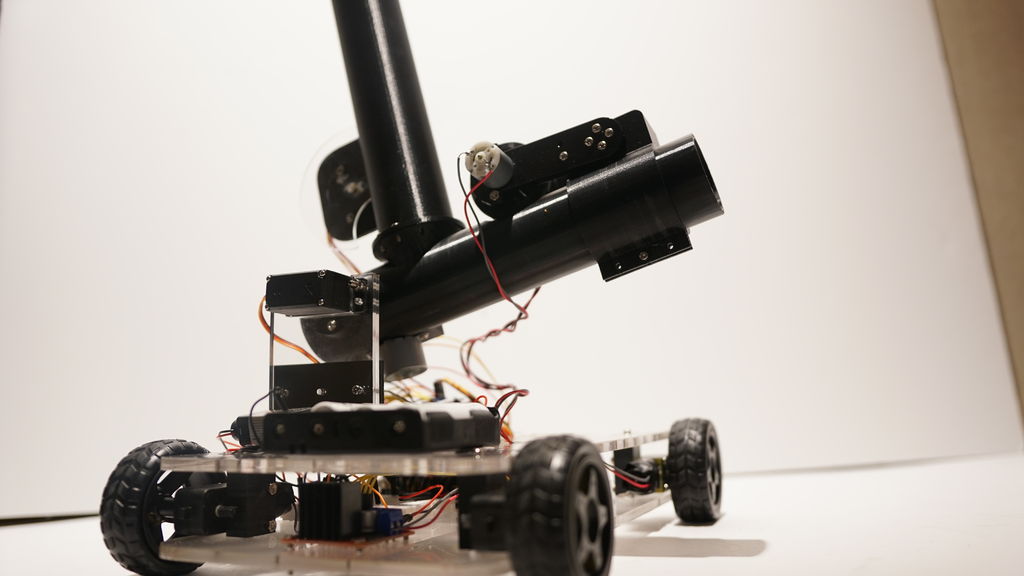
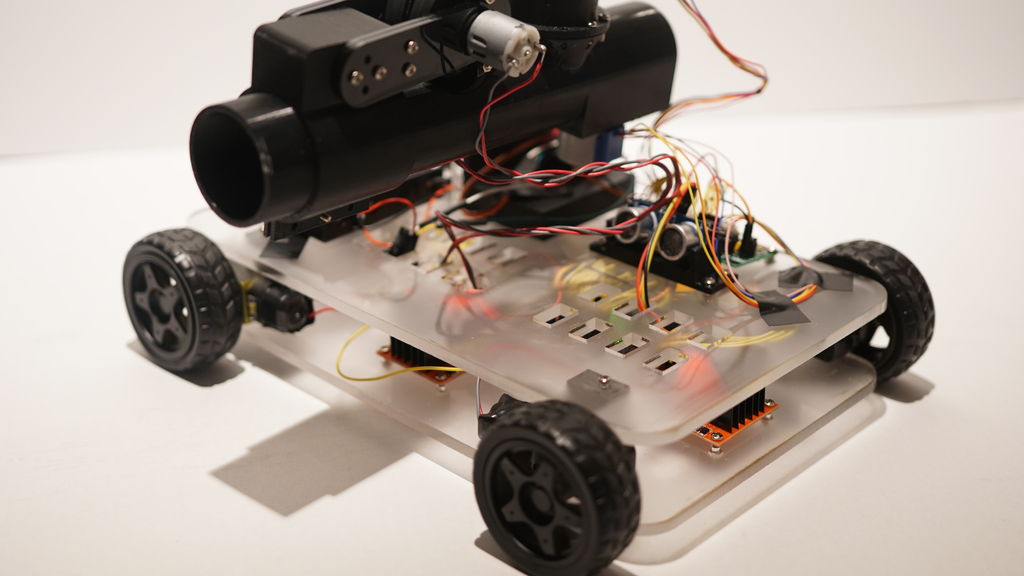
If you want to “enhance your athletic training regimen,” or perhaps just have a bit of fun with robotically launched ping pong balls, then be sure to check out the Pingo apparatus shown in the video below. This robot moves back and forth on four DC motor-powered wheels, searching for targets with an ultrasonic rangefinder.

When something comes into view, Pingo adjusts its ping pong launching tube’s angle to match the target distance, then loads a ball and flings it into the air with a pair of spinning disks. 

The device is controlled by an Arduino Mega and uses a half-dozen DC motors, a pair of steppers, and even a servo to accomplish its mission.

Arduino Blog 11 Mar 20:32
arduino  mega  robots  

Mechanical 7-segment display made with micro servos and an Arduino Mega

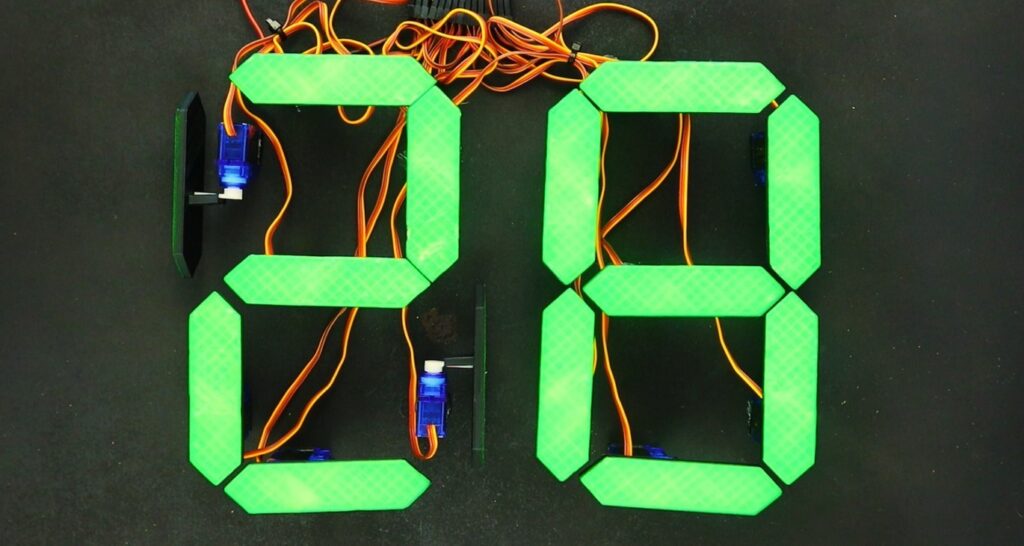
Flip displays are an interesting piece of technology, physically moving segments into place that stay put until other information is needed. Michael Klements has been especially fascinated by these devices, and after inspiration from another project, he decided to craft his own.

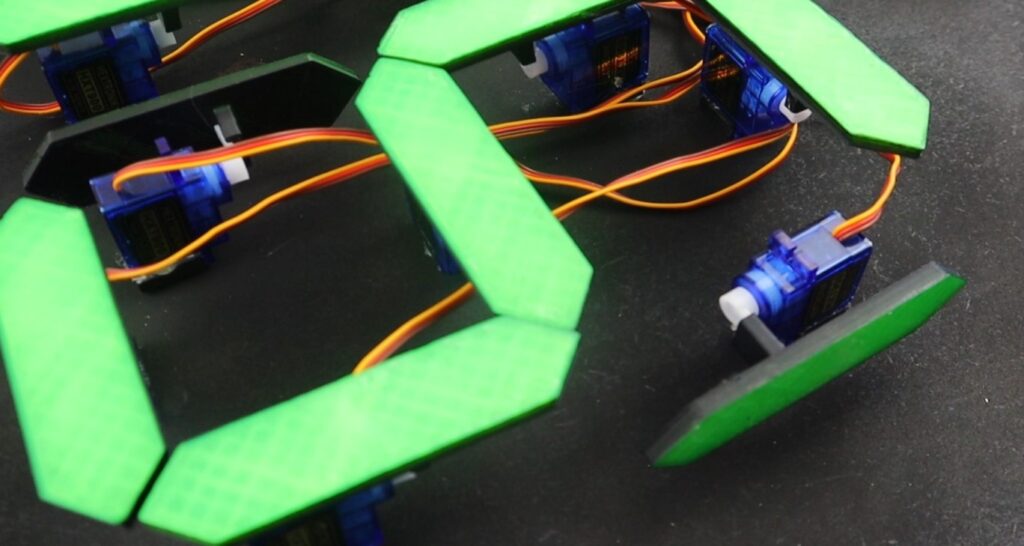
His version utilizes 14 micro servos to flip segments into a visible position, then rotate them to 90° when no longer needed. This “off” mode displays a slimmer profile, and the sides and back are painted black, making them much less visible.

An Arduino Mega, with 15 possible PWM outputs, is used to control the servos, while a hobby RC-style battery eliminator circuit provides power to the motors. 

Be sure to check out the build process and in-action shots below! 

The ZT-2020 is a portable SunVox synth

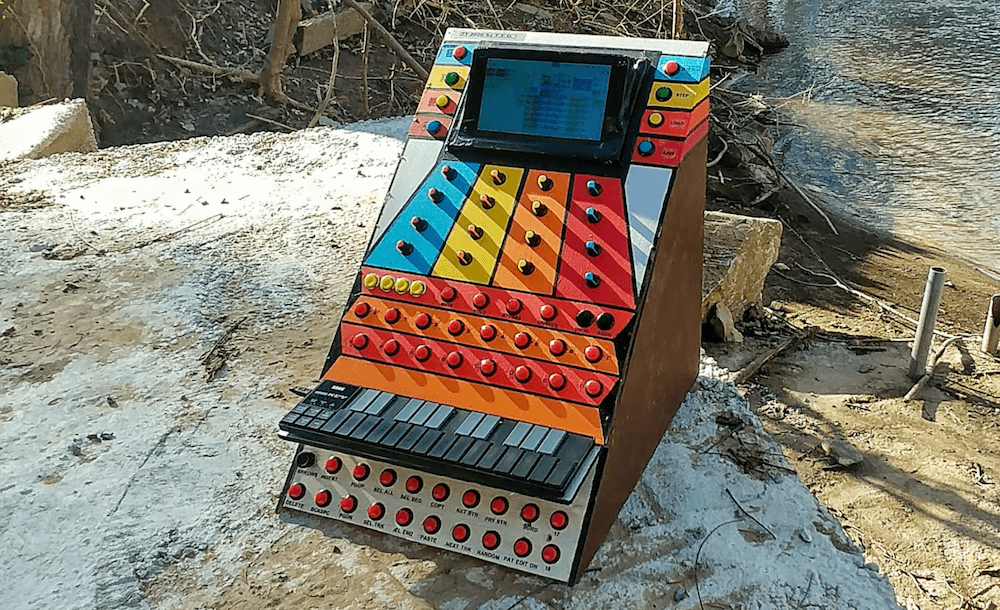
SunVox synth software allows you to create electronic music on a wide variety of platforms. Now, with his ZT-2020 project — which resembles a miniature arcade game — YouTuber “fascinating earthbound objects” has a dedicated input scheme.

This cabinet prominently features a wide array of buttons, a directional input from a PlayStation controller, and 16 potentiometer knobs. There’s also a screen on top for video output. 

Inside a Raspberry Pi runs SunVox, while most of the buttons and all of the input knobs are connected to an Arduino Mega. The Mega plays the role of MIDI controller as well, passing digital music info along to produce beautiful electronic music!

Arduino Blog 11 Feb 19:41

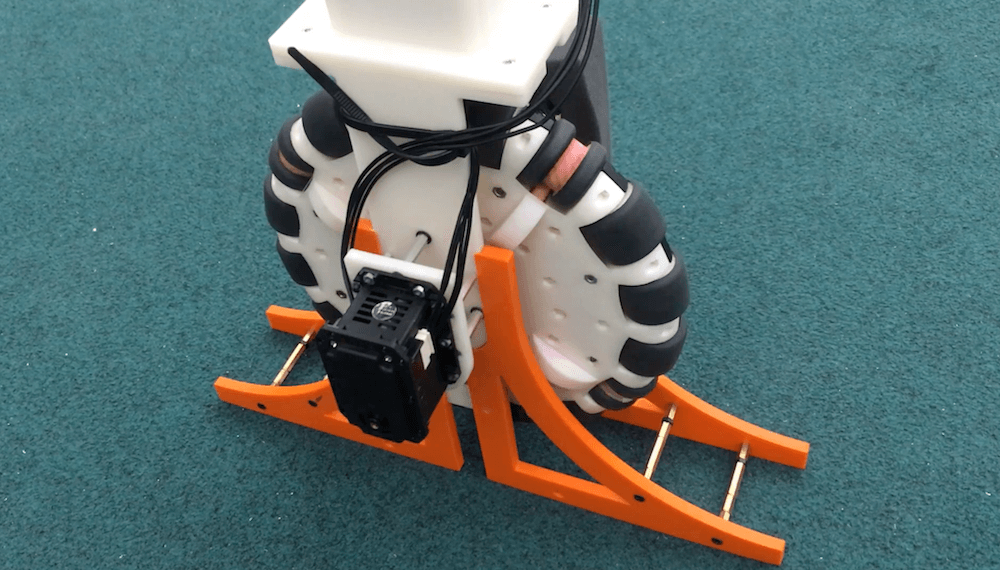
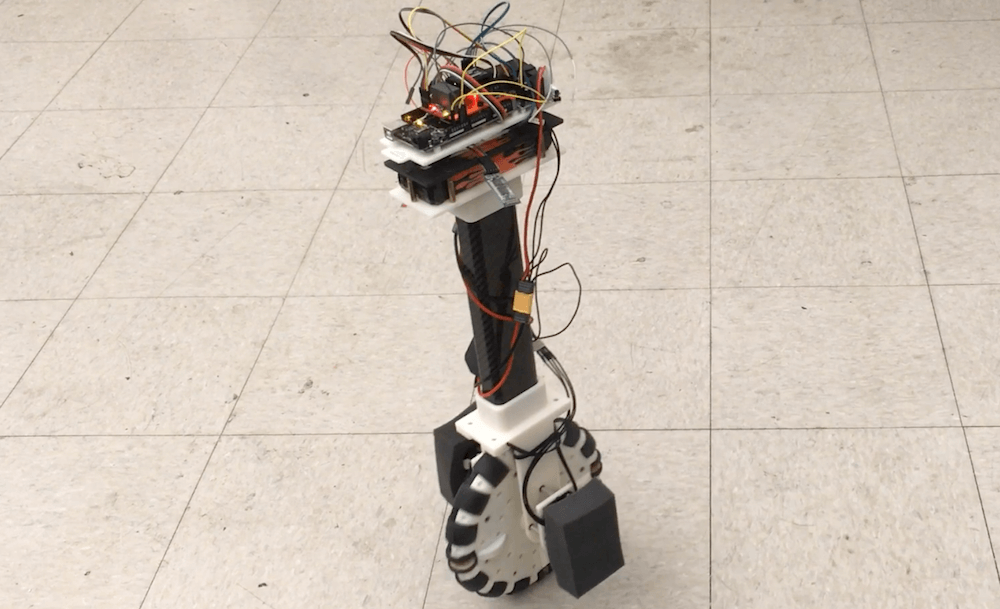
OmBURo is an Arduino-controlled unicycle robot with an active omnidirectional wheel

Omni wheels normally contain a number of rollers arranged on their circumference, allowing them to slide left and right and perform various tricks when combined with others. The rollers on UCLA researchers Junjie Shen and Dennis Hong’s OmBURo, however, are quite different in that they are actually powered, enabling a single wheel to accomplish some impressive feats on its own.

These powered rollers give OmBURo the ability to move in both longitudinal and lateral directions simultaneously, balancing as a dual-axis wheeled inverted pendulum. 

Control is accomplished via an Arduino Mega along with an IMU and encoders for its two servo motors —one tasked with driving the wheel backwards and forwards, the second for actuating the rollers laterally via helical gears and a flexible shaft. 

As seen in the video below, the robot can follow different paths via remote control, and even balance on an inclined plane. More informaton on the impressive build is available in the Shen and Hong’s research paper here.

A mobility mechanism for robots to be used in tight spaces shared with people requires it to have a small footprint, to move omnidirectionally, as well as to be highly maneuverable. However, currently there exist few such mobility mechanisms that satisfy all these conditions well. Here we introduce Omnidirectional Balancing Unicycle Robot (OmBURo), a novel unicycle robot with active omnidirectional wheel. The effect is that the unicycle robot can drive in both longitudinal and lateral directions simultaneously. Thus, it can dynamically balance itself based on the principle of dual-axis wheeled inverted pendulum. This letter discloses the early development of this novel unicycle robot involving the overall design, modeling, and control, as well as presents some preliminary results including station keeping and path following. With its very compact structure and agile mobility, it might be the ideal locomotion mechanism for robots to be used in human environments in the future.

Prototype room-scale, shape-changing interfaces with LiftTiles

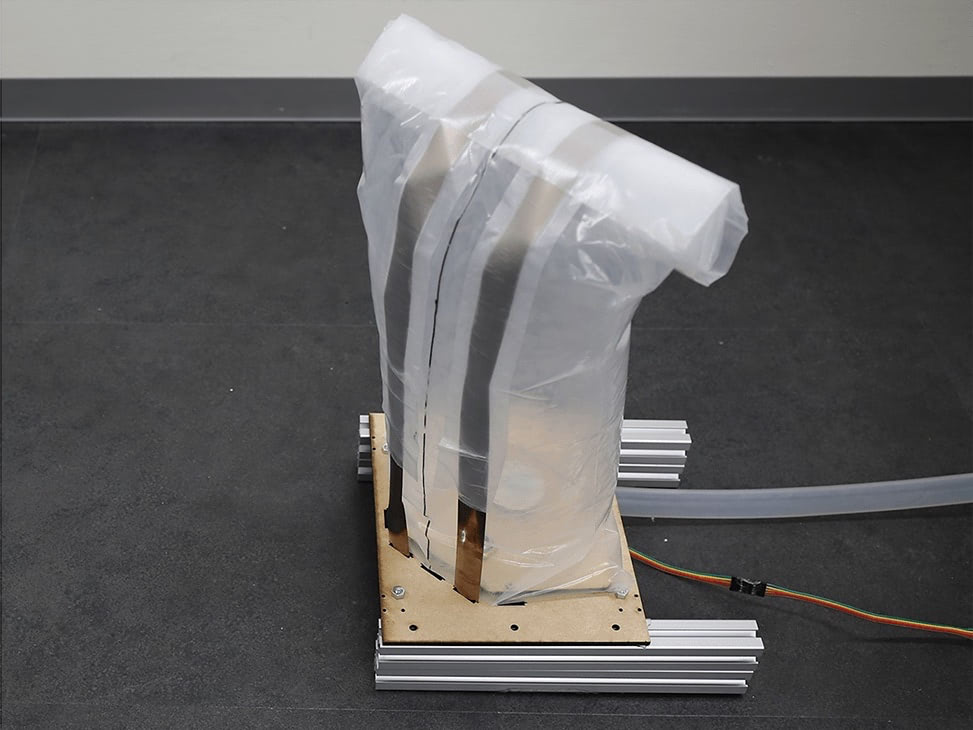
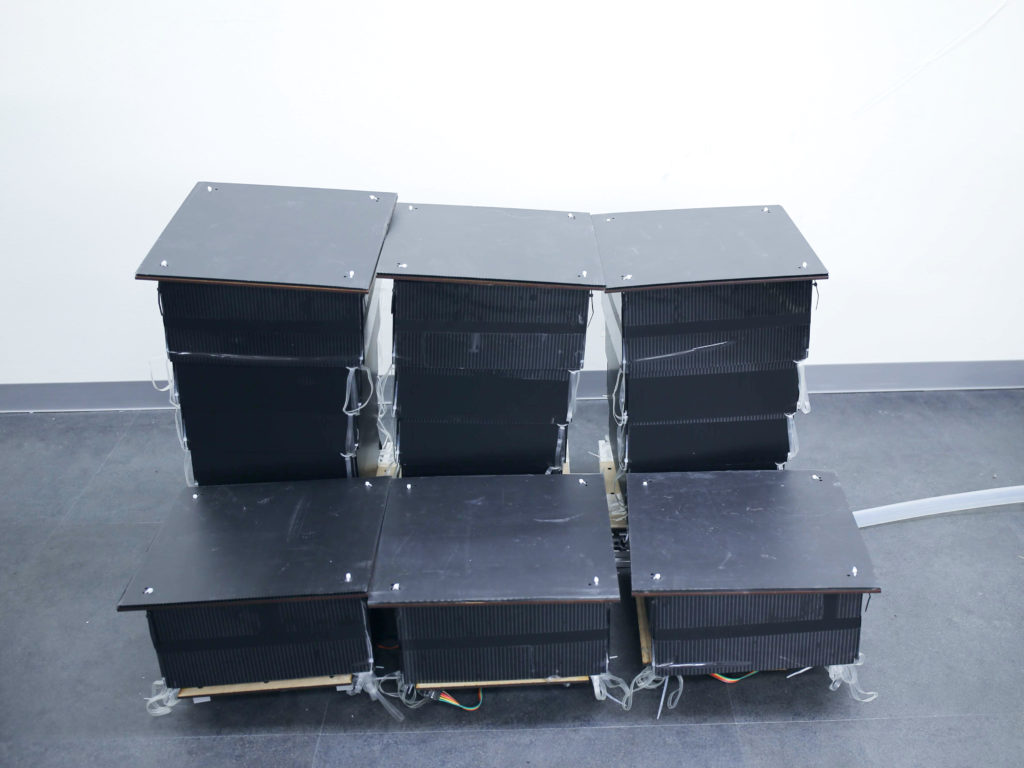
Shape-shifting interfaces, which could be deployed to create dynamic furniture, structures or VR environments, have great potential; however, creating them is often quite difficult. To simplify things, researchers from the University of Colorado Boulder have developed “LiftTiles,” modular blocks that raise to the desired height (between 15 and 150 centimeters) via air pressure and then collapse under spring force when needed.

Each pneumatic tile costs under $10 USD, weighs only 10kg each, and supports up to 10kg of weight. To demonstrate their design, the team used solenoid valves to inflate blocks and servo motors to open release valves that allow the blocks deflate and compress. 

The system is based on an Arduino Mega board, along with an SR300 depth camera to measure the height of each section and client software running on a control computer. 

More details can be found in the project’s research paper.