Recording Functioning Muscles to Rehab Spinal Cord Injury Patients
[Diego Marino] and his colleagues at the Politecnico di Torino (Polytechnic University of Turin, Italy) designed a prototype that allows for patients with motor deficits, such as spinal cord injury (SCI), to do rehabilitation via Functional Electrical Stimulation. They devised a system that records and interprets muscle signals from the physiotherapist and then stimulates specific muscles, in the patient, via an electro-stimulator.
The acquisition system is based on a BITalino board that records the Surface Electromyography (sEMG) signal from the muscles of the physiotherapist, while they perform a specific exercise designed for the patient’s rehabilitation plan. The BITalino uses Bluetooth to send the data to a PC where the data is properly crunched in Matlab in order to recognize and to isolate the muscular activity patterns.
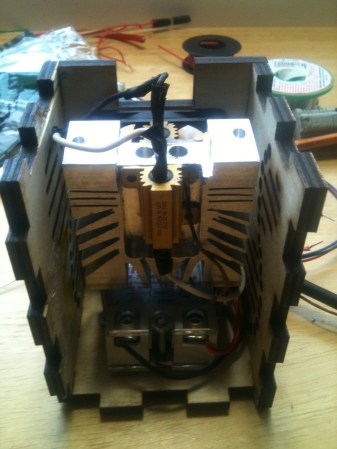
After that, the signals are ‘replayed’ on the patient using a relay-board connected to a Globus Genesy 600 electro-stimulator. This relay board hack is mostly because the Globus Genesy is not programmable so this was a fast way for them to implement the stimulator. In their video we can see the muscle activation being replayed immediately after the ‘physiotherapist’ performs the movement. It’s clearly a prototype but it does show promising results.
It reminds us of the Myoelectric Hand, with humans instead. We featured an EMG tutorial a while back for those curious about this topic. Without taking the merit out of excellent and needed medical research, we all wait for the day that all our bio-signals can be easy read and translated to, let’s say, a huge avatar robot like METHOD-2. Right? Right?…
Filed under: Arduino Hacks, Medical hacks


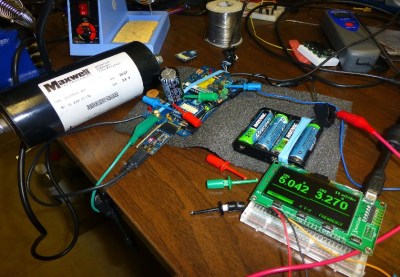


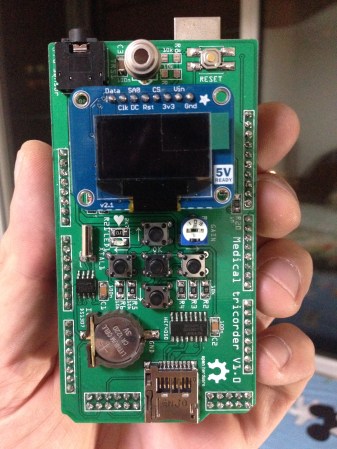 A handheld tricorder is as good a reason as any to start a project. The science-fiction-derived form factor provides an opportunity to work on a lot of different areas of hardware development like portable power, charging, communications between sensor and microcontroller. And of course you need a user interface so that the values being returned will have some meaning for the user.