Posts with «instructables» label

Add smartphone control to your rolling backpack

Have you ever hopped off the plane at LAX with a… rolling backpack, and wished it would just push itself? Using an Arduino and motor controllers, “TannerTech” made his own robo-backpack.

Carrying backpacks around is so 20th century. Modern travelers, of course, get their robotic minions to drive the bags around for them. Or at least that’s what this Maker’s vision seems to be. The backpack in question is wheeled around by two motors on mounts made out of paint sticks. Control is provided by an Arduino Mega using an H-bridge motor controller to handle the relatively high current required.

In order for a human to call the backpack to him or herself, an “Arduino bluetooth controller” Android app is used to send characters to the Mega and Bluetooth module in the bag. Electronics are housed inside of a pencil case, making this a surprisingly accessible project.

You can find out more on TannerTech’s Instructables page, and see a demo of it below!

Geared clock measures time linearly

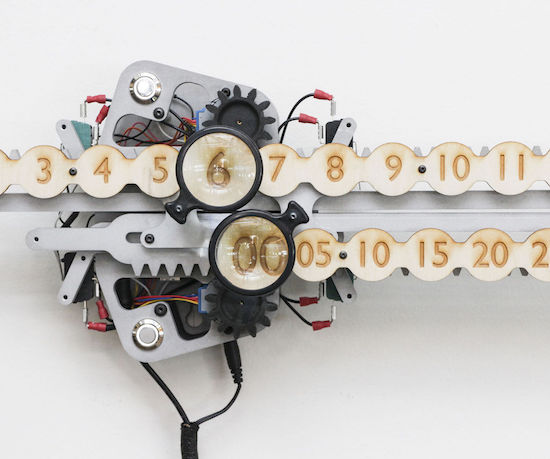
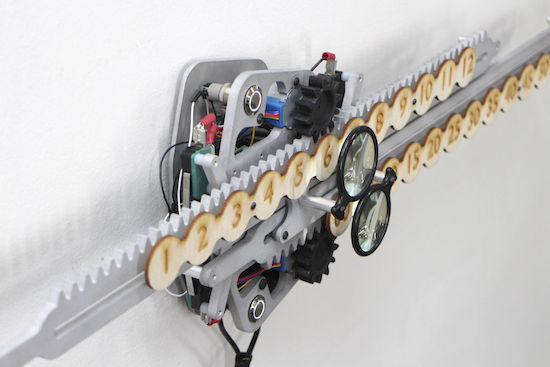
Jonathan Odom, a full-time designer at Instructables who goes by the name “JON-A-TRON,” decided to make a clock illustrating time’s linearity.  What he came up with was a beautifully crafted (robotically manufactured at the Pier 9 workshop, that is) clock that uses two rack and pinion assemblies to move a line of numbers for hours on top of another line signifying minutes.

The minute “hand” is divided up into five-minute intervals, which seems to him to feel less neurotic than being precise down to the exact minute. Magnifying glasses are used to magnify an hour and minute number, reminding onlookers to focus on the present.

The clock is actuated using an Arduino Uno with a motor driver, controlling a stepper motor for each “hand.” It’s an incredible build, and nicely illustrated. Whether or not you have access to the tools needed to recreate this exact clock, perhaps this concept will inspire something similar!

Be sure to check out Odom’s clock Instructables write-up here and see a demo of it below!
Selectively silence a landline phone with Arduino

Silencing a smartphone at night isn’t difficult, but if you have a landline, Arduino can help!

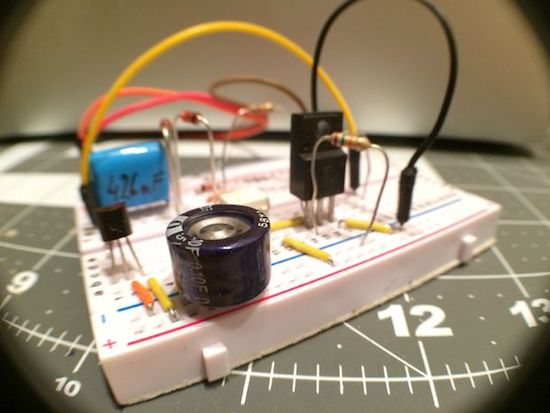
Before computer hacking/modding became accessible, the next best thing was to creatively explore the phone system via custom electronics. Though this pursuit, known as “phone phreaking,” has largely gone away, some people still have landlines. As “MolecularD” shows in this Instructables writeup, with a few components you can creatively trick your phone into not ringing on your end, while appearing to the caller to simply ring and ring as if no one is home.

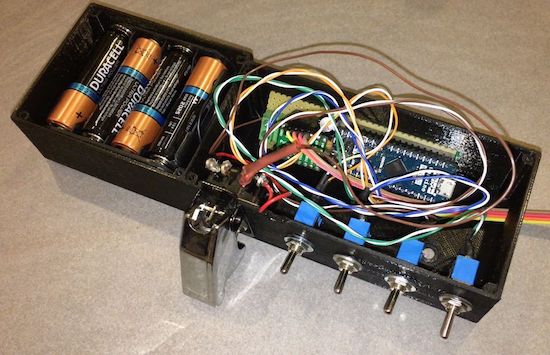
In order to make it much more useful, MolecularD hooked up an Arduino Mega with a real-time clock module to turn the device on and off depending on the time of day. Now calls from phone solicitors, or “IRS agents” at 4 in the morning can be eliminated automatically. As noted, this may or may not be legal where you live, so attempt it at your own risk!

Motorize any camera slider with Arduino!

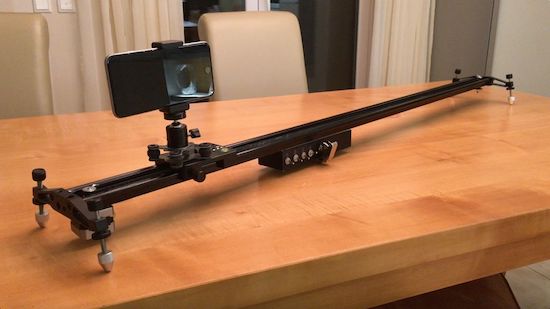
Using a stepper motor, an Arduino Micro, and various mechanical bits, “Max Maker” shows us how to motorize a camera slider.

According to his video below, “There are many cheap sliders available, but none that are motorized.” On the other hand, in this project he demonstrates that with a little bit of work, and an excellent attention to detail, you can make the conversion yourself.

Even if you’re not interested in this kind of application, the video reveals some interesting tricks, such as transferring a hole pattern using tape at 0:30, and using nail polish/recessed lettering to label switches at 3:55. The slider can be set to slide down the rail between 10 seconds and 8 hours depending on your video or photography needs. Video results, seen around 5:00 in, are really amazing!

You can find more details on how to create a slider like this on the project’s Instructables page.

Laptop control box provides speedy access to apps

If you need to quickly launch certain apps on your MacBook Pro, Carl Gordon has your solution using an Arduino Nano.

Although the TV ads for your notebook computer would perhaps have you believe that everyone who uses it is a DJ, artist, or rock climber, chances are you just use it for a handful of programs and folders over and over. If this sounds like you, you can at least speed up access to them using Gordon’s “Laptop Control Box.”

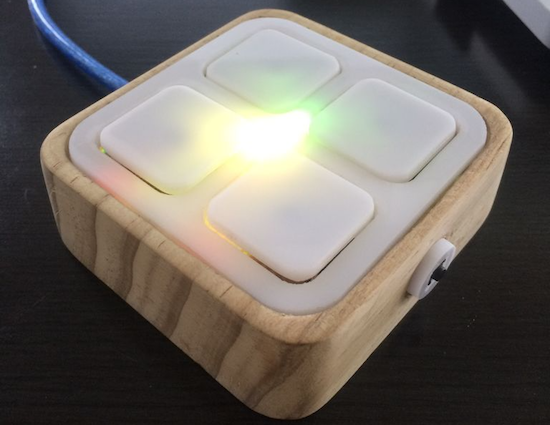
As seen below, the box acts as a grid of shortcuts to your favorite applications, with a button to select sets of programs and an embedded RGB LED module to show you which set is active without having to look at the screen. Control on the computer side is accomplished with Processing, and though it might look like its window needs to be active in the video, it can work in the background as well.

This version currently gives me to access 24 different functions which are divided into six categories of four functions for ease of use, these categories include: tools, media, browser, utilities, social and lifestyle. Categories can be navigated through using the small button on the side and each category is visualized with a unique color by an RGB LED within the device, illuminating the plastic buttons from underneath.

Check out how to make this handy little gadget in Gordon’s Instructables write-up here.

Remotely control a sumo bot with a gaming wheel

Using an Arduino Uno, Nano, and two Bluetooth modules, engineering student “Roboro” can now remotely control his sumo robot.

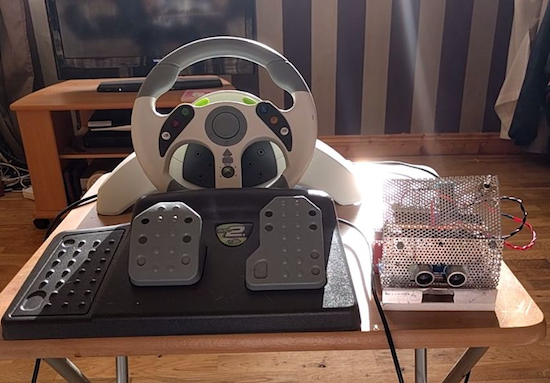
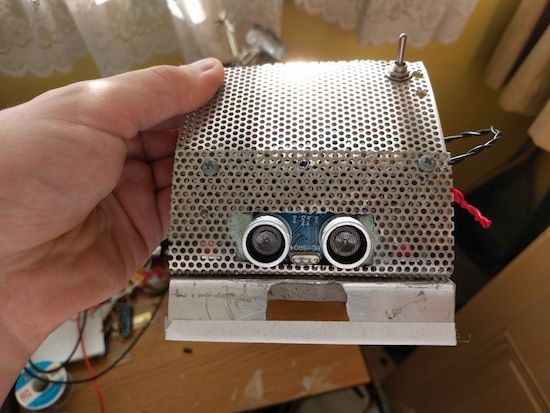
Like many hackers, Roboro had an old gaming controller that he wasn’t using, in this case an Xbox steering wheel and pedals. Naturally, he converted it into a controller for his sumo robot, which can now be driven manually. This involved wiring the wheel controls into an Uno; the smaller Nano was used onboard the bot.

Rewiring a controller is nothing new, but what is also quite interesting from a hack point of view is that the Arduinos communicate over Bluetooth. When initiated, the controller connects itself to the robot, which can then be driven around (as long as it doesn’t get stuck in the hardwood).

You can see more details of this build on Roboro’s project page.

Make sure guests never miss your house with these numbers

If you’d like for someone to visit you, it’s quite helpful if you have the house number displayed somewhere on your premises. Rather than simply rely upon someone reading the numbers as they drove by, “Superbender” has decided to do something a bit different make his home stand out.

During the day, you can identify Superbender’s residence by the giraffe mailbox, but to help point the house out by night, he came up with the glowing Arduino Uno solution seen in the video here.

The numbers were cut on a scroll saw and RGB LED strips were added in the back to enable them to illuminate. The setup allows for one color per night, or the numbers can change every three seconds in “party mode.”

The software was tested on an Uno, then transferred to an ATmega328P in a DIY control board. You can read more about this project on Instructables and watch a demo of it below!

Bring some zen to your living room with this CNC end table

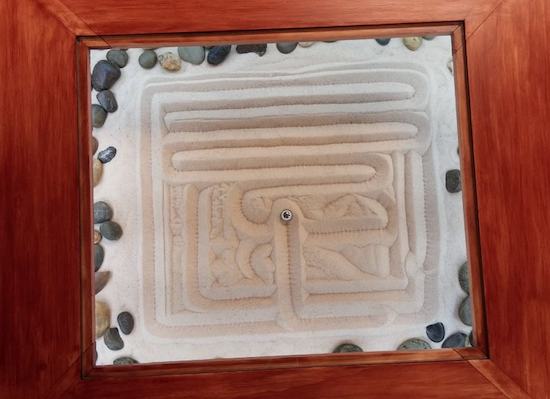
Why settle for a some boring furniture, when you can have your own sand and rock display powered by an Arduino Uno and stepper motors instead?!

According to his write-up, Instructables user “MakrToolbox” gets many ideas that never leave the pages of his Moleskin notebook. Although it has to be difficult to decide which ones gets to live in reality, this Zen Garden CNC End Table seems like it was a great build choice.

The table consists of a piece of plate glass covering a “garden” of sand and stones. On top of this is a metal ball that moves around via a joystick on the side of the table, traversing the sand and making interesting shapes, like a giant Etch A Sketch. The ball is pulled around with a magnetic servo-powered gantry system underneath.

Look like something you’d love to have in your living room? Be sure to check out the project’s page for more!

A DIY Laser Scanning Microscope

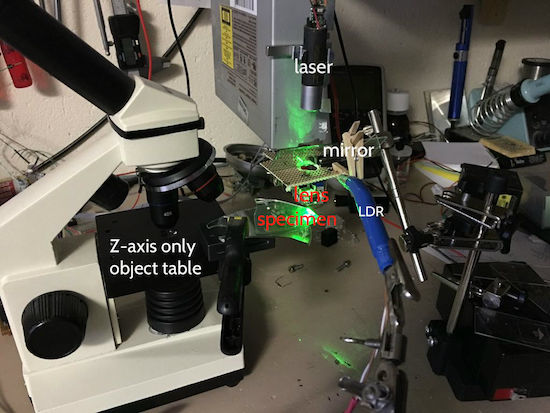
With a DVD pick-up, an Arduino Uno, a laser, and an LDR, Instructables user “Venkes” has managed to create a DIY Laser Scanning Microscope (LSM).

A laser microscope works by shining a beam of light on a subject in an X-Y plane. The intensity of the reflected light is then detected by a photoresistor (or LDR) and recorded. When the various points of light are combined, you get an image.

Obviously you need a very small laser beam. Since a DVD laser unit has to work with the extremely small bit markings on these disks and has coils to steer the lens built-in, this seems like a logical choice to use with a custom microscope. Though it took quite a bit of effort to make, it’s capable of 1300x magnification to attain a resolution of 65,6536 pixels (256 x 256) in an area of .05 x .05mm. Results start around 3:00 in the video below.

More details of this impressive build can be found on the project’s Instructables page.

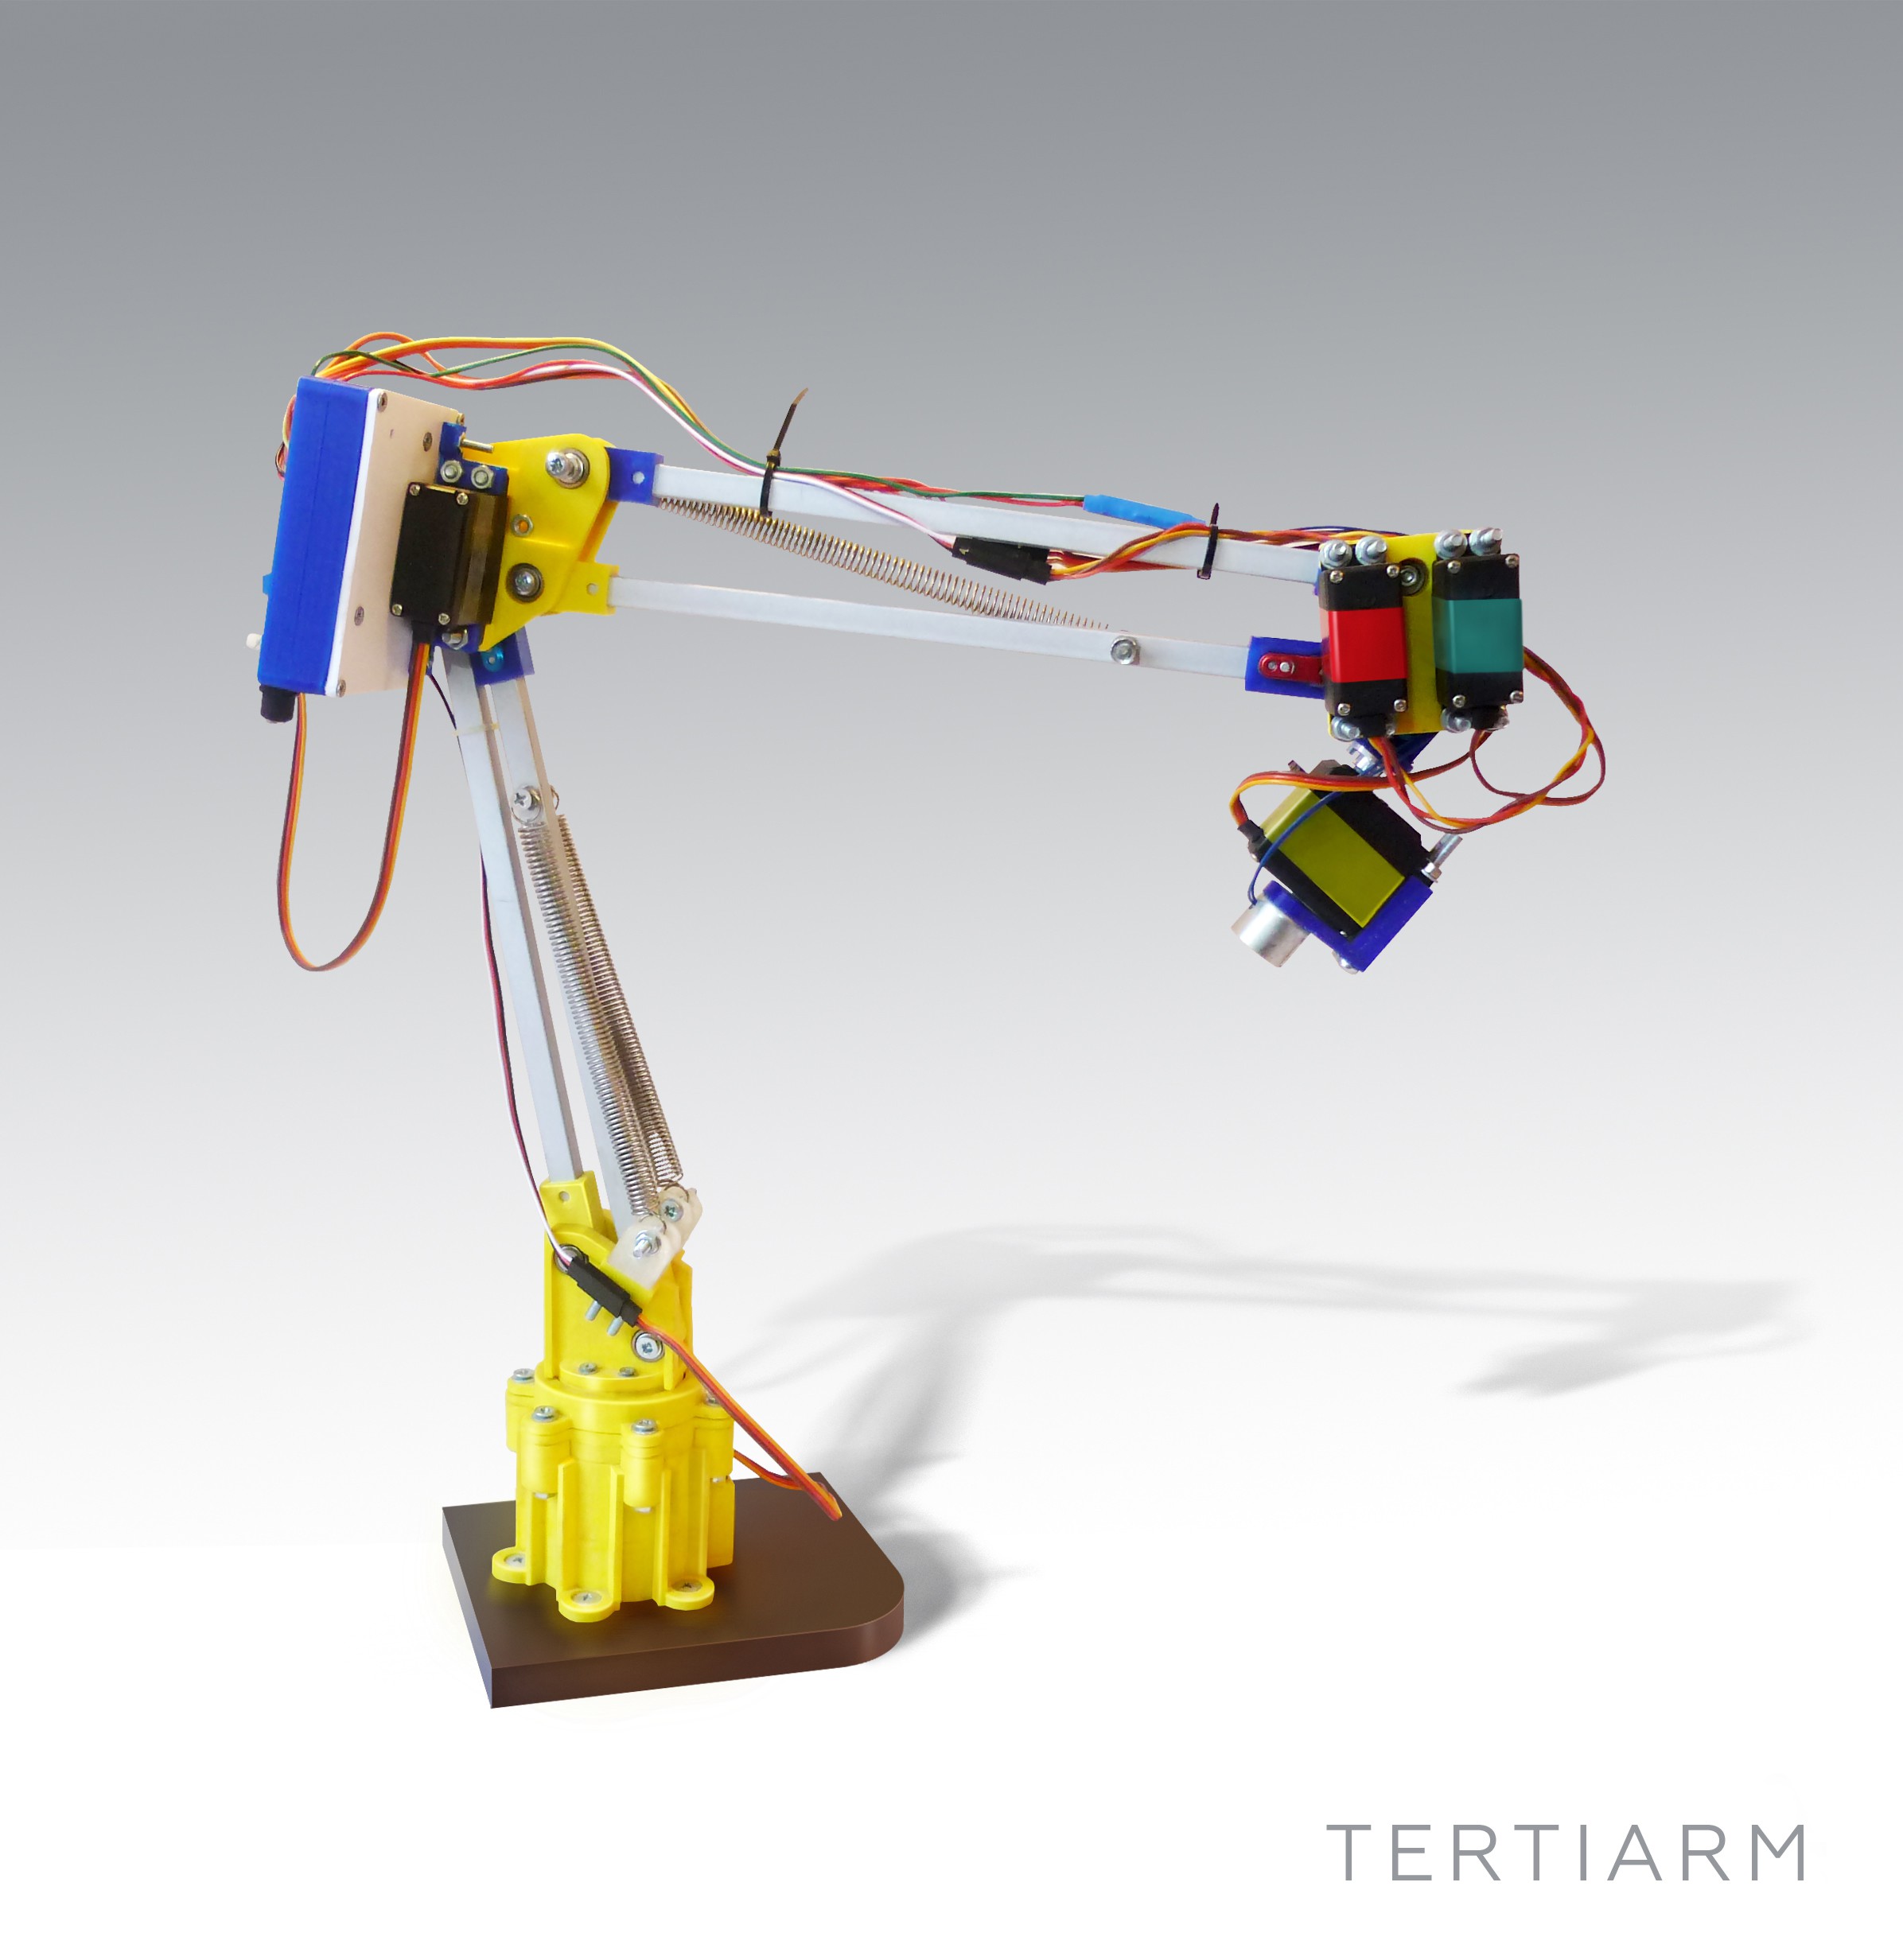
Tertiarm - low cost, 3d printed robot arm based on Ikea lamp

Primary image

What does it do?

Move things, push buttons, etc.

Cost to build

Embedded video

Finished project

Complete

Number

Time to build

Type

URL to more information

Weight

read more

Let's Make Robots 07 Feb 15:54