Arduino Garage Door Opener is Security Minded

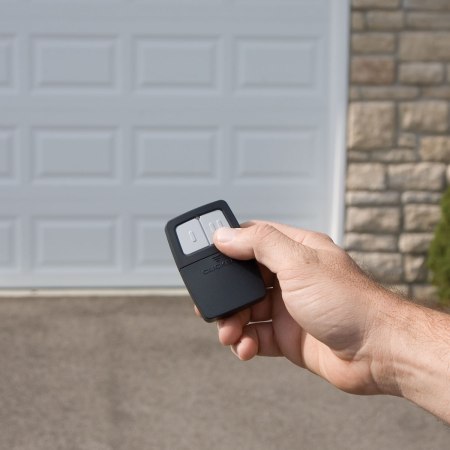
Do it yourself garage door openers must be all the rage nowadays. We just got word of another take on this popular idea. [Giles] was commissioned by his friend to find a way to control the friend’s garage door using a smart phone. The request was understandable, considering the costly garage door remote and the fact that the buttons on the expensive remote tended to fail after a while. The inspiration for this project came from some YouTube videos of other similar projects. Those projects all paired an Arduino with a Bluetooth headset in order to control the door from a mobile phone. [Giles] understood that while this would get the job done, it wouldn’t be very secure. Bluetooth headsets typically connect to mobile phones using a four digit PIN. Many of them have known default PINs and even if the default is changed, it wouldn’t take very long to guess a four digit PIN. [Giles] knew he had to find a more secure way.
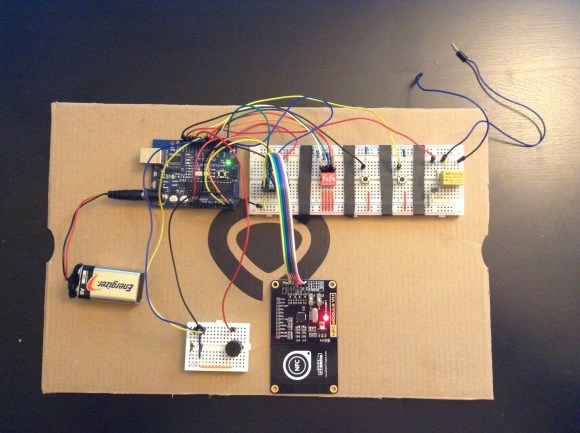
While WiFi was an option, [Giles] decided that having the garage door hooked up to the internet would likely be a security risk, even if it did offer some potential interesting use cases. He therefore opted to stick with Bluetooth, but decided to use the Seedstudio Bluetooth shield instead of a basic headset. The electronics are relatively simple. [Giles] simply plugged the Bluetooth shield into an Arduino Uno. [Giles] did have one problem with the Bluetooth shield though. The Bluetooth module did not accept many standard AT commands. He needed a way to force a disconnect of a mobile device if it failed authentication. After digging around, he discovered that the module had some extra exposed pads that he could likely use to accomplish that goal. The only problem was that they were expecting a 3.3V signal, and the Arduino works at 5V. The solution was simple. He setup a basic voltage divider using two resistors. This lowered the 5V signal from the Arduino to the required 3.3V. This provides the communication functionality to the mobile phone. He then realized that he could use a simple 12V automotive relay to control the garage door. To control the relay, he used the Freetronics relay control shield. The end result is a relatively simple stack of shields hooked up to a relay.
For the smart phone interface, [Giles] started out by trying to write a native Android application. Having little experience in Android development, he soon realized that it was going to take him longer than anticipated to get anything usable this way. He then decided to use SL4A. SL4A provides a scripting environment for Android and supports several different scripting languages. [Giles] was then able to write a Python script that can be executed on the smart phone. Many people would be tempted to write a really simple script that would just open the door and connect without any real thought about security. After all, this is a one-off obscure garage door opener. Security through obscurity! [Giles] is smarter than that.
He instead implemented a challenge handshake authentication mechanism between the Python script and the Arduino. This would ensure that users are authenticated before permitting commands to be executed, and also help prevent replay attacks. The process works like this. First the smart phone connects to the Arduino. The Arduino then generates a pseudo-random string and calculates the expected response, based on a pre-shared key. The phone then receives the string and sends back the appropriate response. If it doesn’t match, the Arduino disconnects the phone. If it does match, the phone then sends back a request for a different pseudo-random command challenge string. Once the phone receives this new string, it is able to use that string in conjunction with a second pre-shared key to generate a one-time use command. Assuming it was calculated correctly, the Arduino will then run the command to open or close the door. If it doesn’t match the phone gets disconnected. All of this is to help prevent replay attacks. Any attacker watching the airwaves would not be able to simply record the signals or commands and play them back. This is because every time the authentication and commands are transmitted, they must be different based on the pseudo-random seed.
While everything seems to work mostly fine, the Arduino tends to crash after about six door cycles. [Giles] believes this may be caused by the MD5 library he is using but has so far been unsuccessful in trying to fix this bug. He also thinks his Python script is messy and somewhat unstable. He’s decided to publish his programs to the internet in hopes that someone else may have the time and drive to figure out what’s going on.
Filed under: Arduino Hacks


