Analyze your world with the WiSci portable spectrometer
Spectroscopy is an incredible tool for chemical analysis–and now you can make your own Bluetooth-enabled device with an Arduino Pro Mini.
If you took advanced chemistry classes, you may have had the opportunity to work with a spectrometer. It probably seemed like a magical gadget, identifying the chemicals in a substance through its light characteristics unlike the experimental methods you previously had to use.
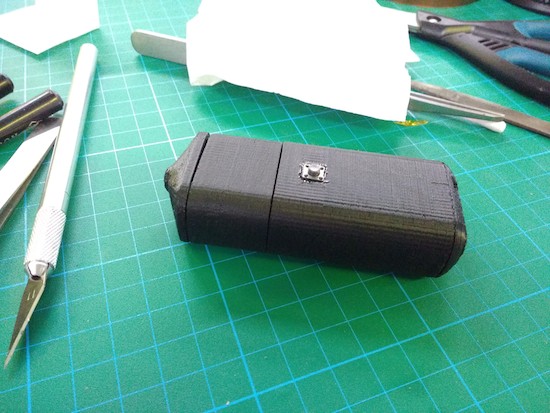
Using off-the-shelf components–including an Arduino, a Bluetooth module, an LED, optical filters, and a LiPo battery–housed inside a 3D-printed case, the WiSci aims to take this tool out of the lab, and into the “real world.” By following the instructions on its project page, you can build one for just under $250.

What’s really neat is that the portable spectrometer can even scan a fruit and then wirelessly send the data over to an accompanying Android app to tell you whether or not the fruit is ripe. (You can view its IEEE Spectrum article for a little more background on that!)
A spectrometer is a very powerful tool. By analysing intensity/wavelength pairs of the interacted EM radiation with the material under study, detailed information like its chemical composition, crystal structure and other elemental information can be extracted. It can also be used for food analysis. For example, it can reveal adulteration in milk or oil and analyse toxins to understand causes of food poisoning to name a few uses.
To create your own, check out its Hackaday.io page here.