A DIY interactive book that uses digital gestures
Digital and craft maker lab Tazas recently worked with a group of master students on an interactive book/prototype to reflect on how gestures like swiping have become as natural as shaking hands. Digital Gestures is a metaphor of the human body’s physiological senses, which identifies 10 actions inherent to our daily interactions with technology: drag and drop, spread and squeeze, swipe, double tap, scroll, zoom, rotate, draw, press, press and hold.
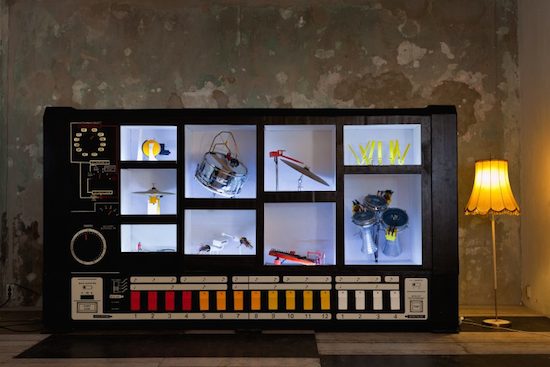
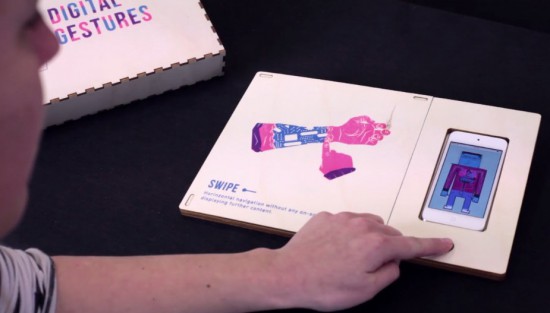
The project was brought to life using four basic electronic components and some digital fabrication: a web server (VPS), an AtHeart Blend Micro Bluetooth module linking objects to the elements contained on the server, an iPod Touch connected viewing medium and conductive ink. All the elements are arranged on a laser cut wooden base, while an iPod digitally decrypts the printed* pages filed on its left.
To play, the viewer places an illustrated page on the support and touches a specific key point beforehand determined as conductive. When touching, the viewer has the ability to interact on the screen in order to understand the illustrated use. This experimental reflection raises many questions about the conditioning that man receives from the machine by accepting these precepts without altering their function. What will become of our so-called ‘daily’ gestures? Will our close to real behavioral experiment be upset? Answers that require that ‘use must be done.’
You can see how it magically works below!