Monitor your well with an ultrasonic fluid level meter
After discussing how their grandfather used to monitor well levels outside of a summer cottage in order to avoid emptying it, Instructables user “karlli” and his brother decided to take on this task themselves. Instead of checking it manually, they used a pair of Arduinos to do this for them.
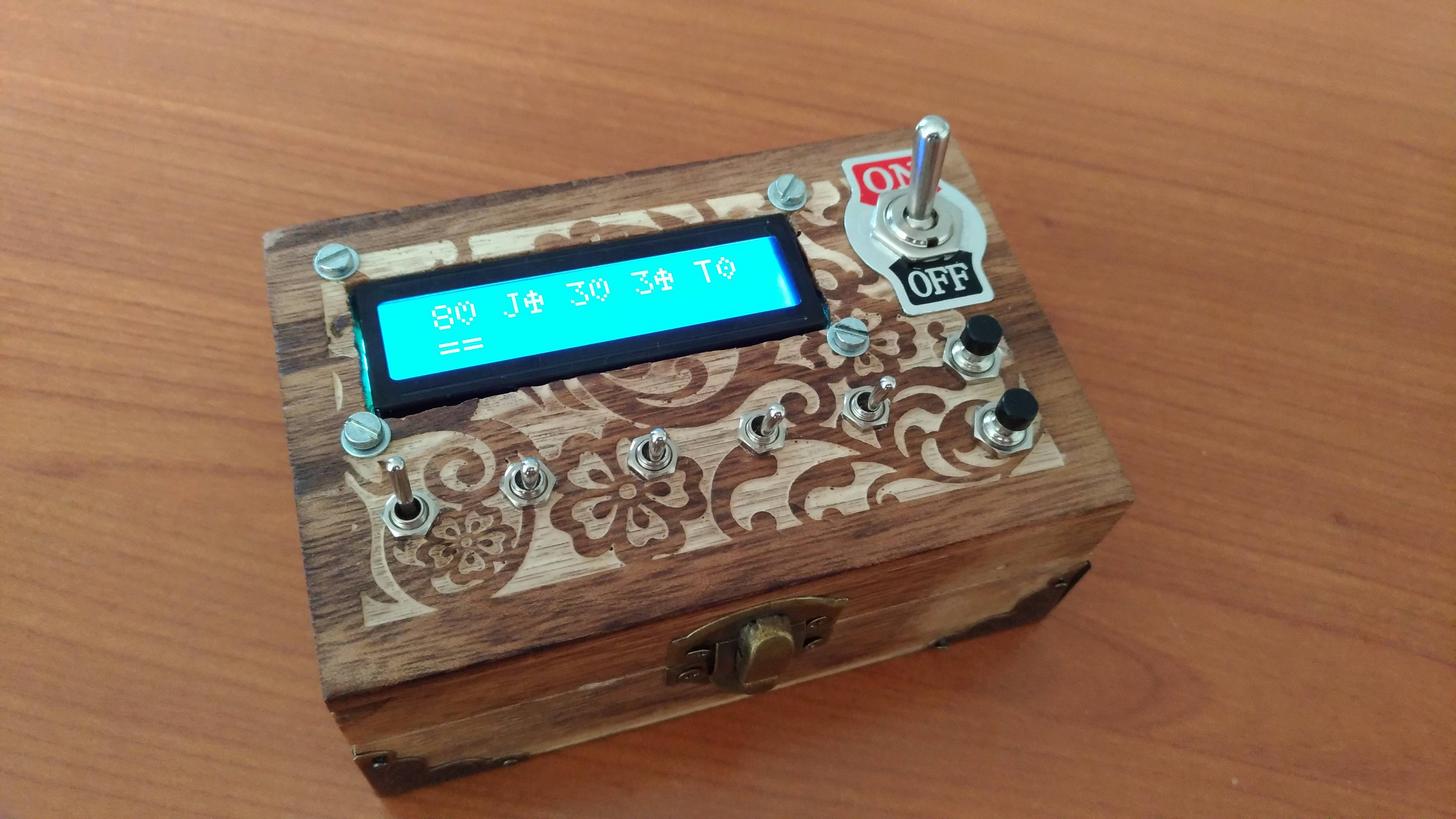
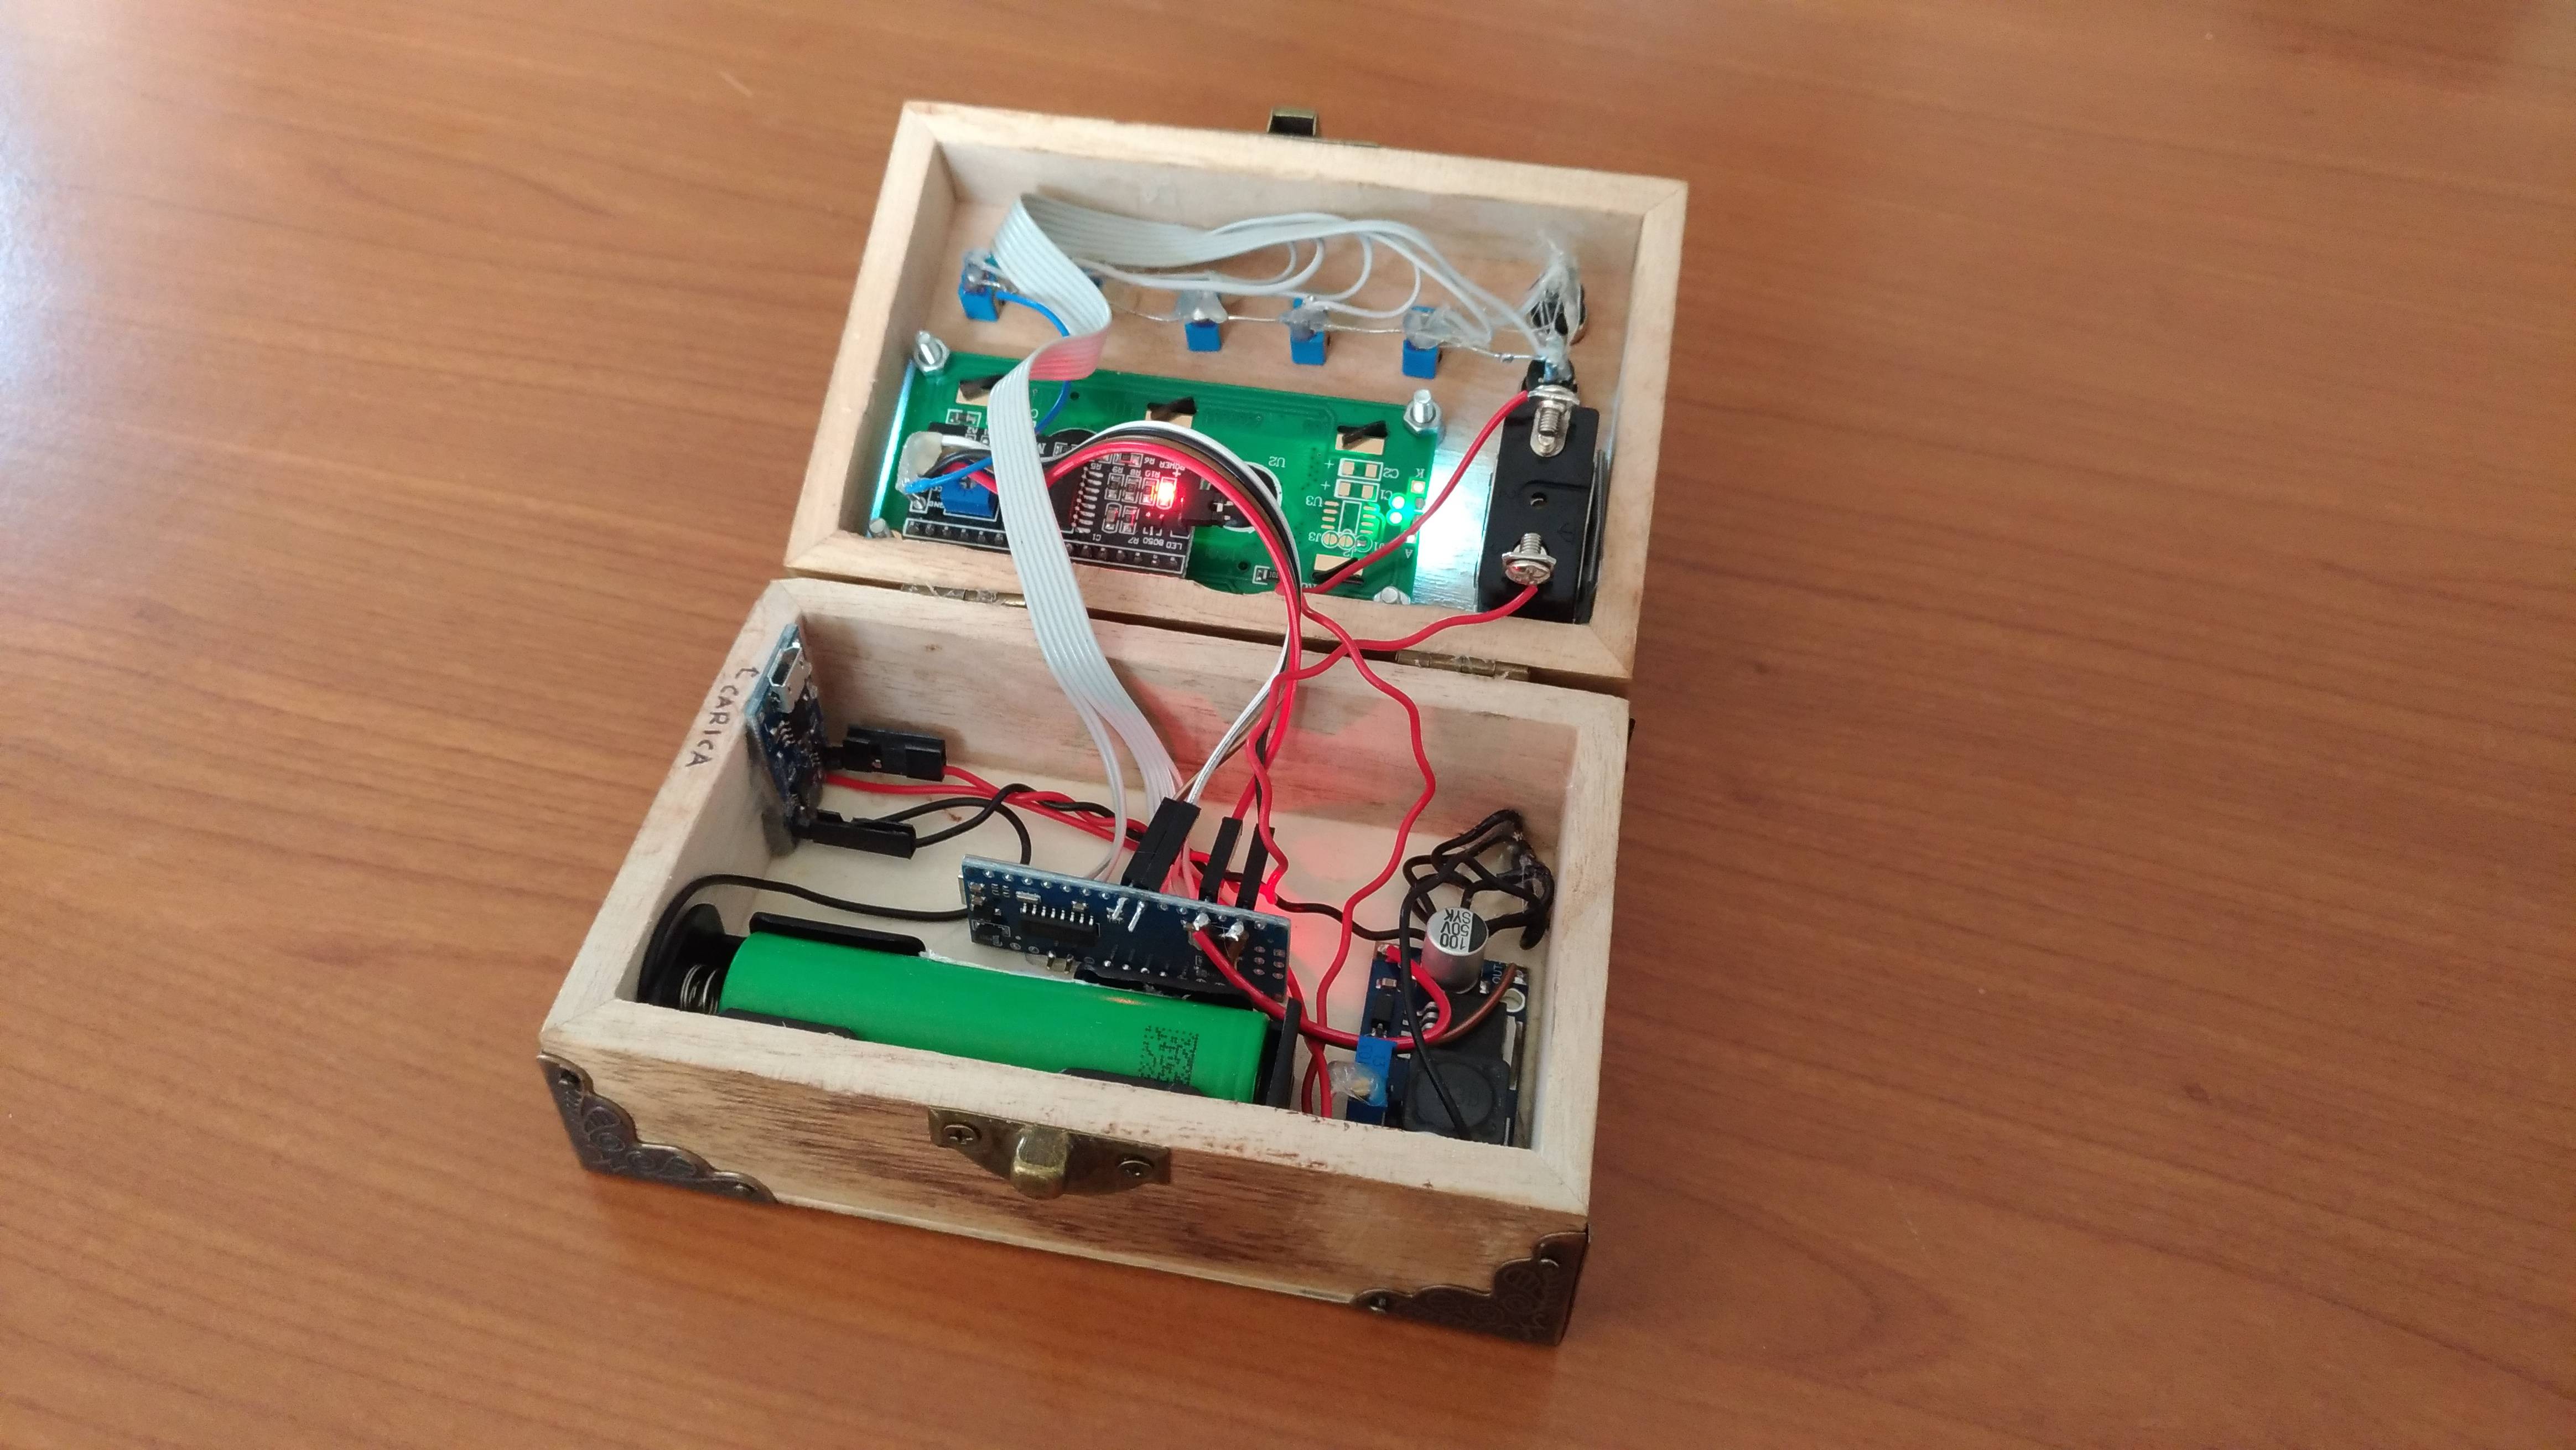
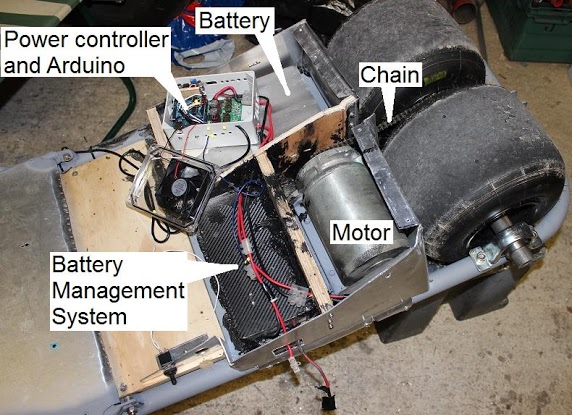
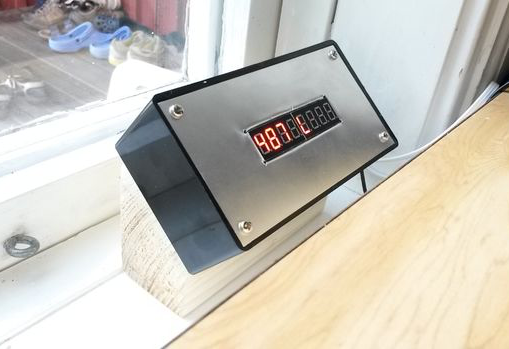
One board sits above the well and senses water level with an ultrasonic sensor, while the other receives this data, calculates the volume of water remaining, and displays it nicely for those in the house to see.
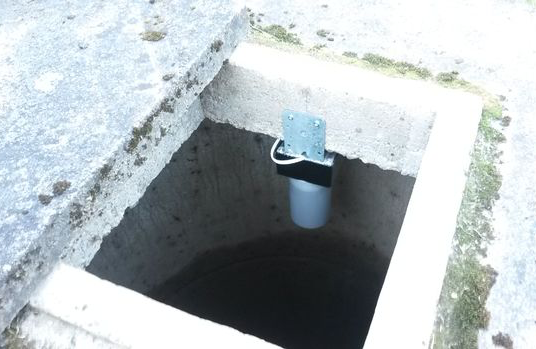
Because the well is located about 25m from the house and we wanted the display indoors, we opted for using two Arduinos with a data link in between. You can easily modify the project to use just one Arduino if this is not the case for you. Why not use wireless data transfer? Partly due to simplicity and robustness (the wire is less likely to be damaged by moisture) and partly because we wanted to avoid using batteries on the sensor side. With a wire, we could route both data transfer and power through the same cable.
According to the write-up, volume can be calculated to an accuracy of ± one liter. In practice, the setup responds to a flushed toilet or running the tap for a few minutes, and shows the well refilling overnight!