Posts with «featured» label

12-year-old maker creates his own Flappy Bird console

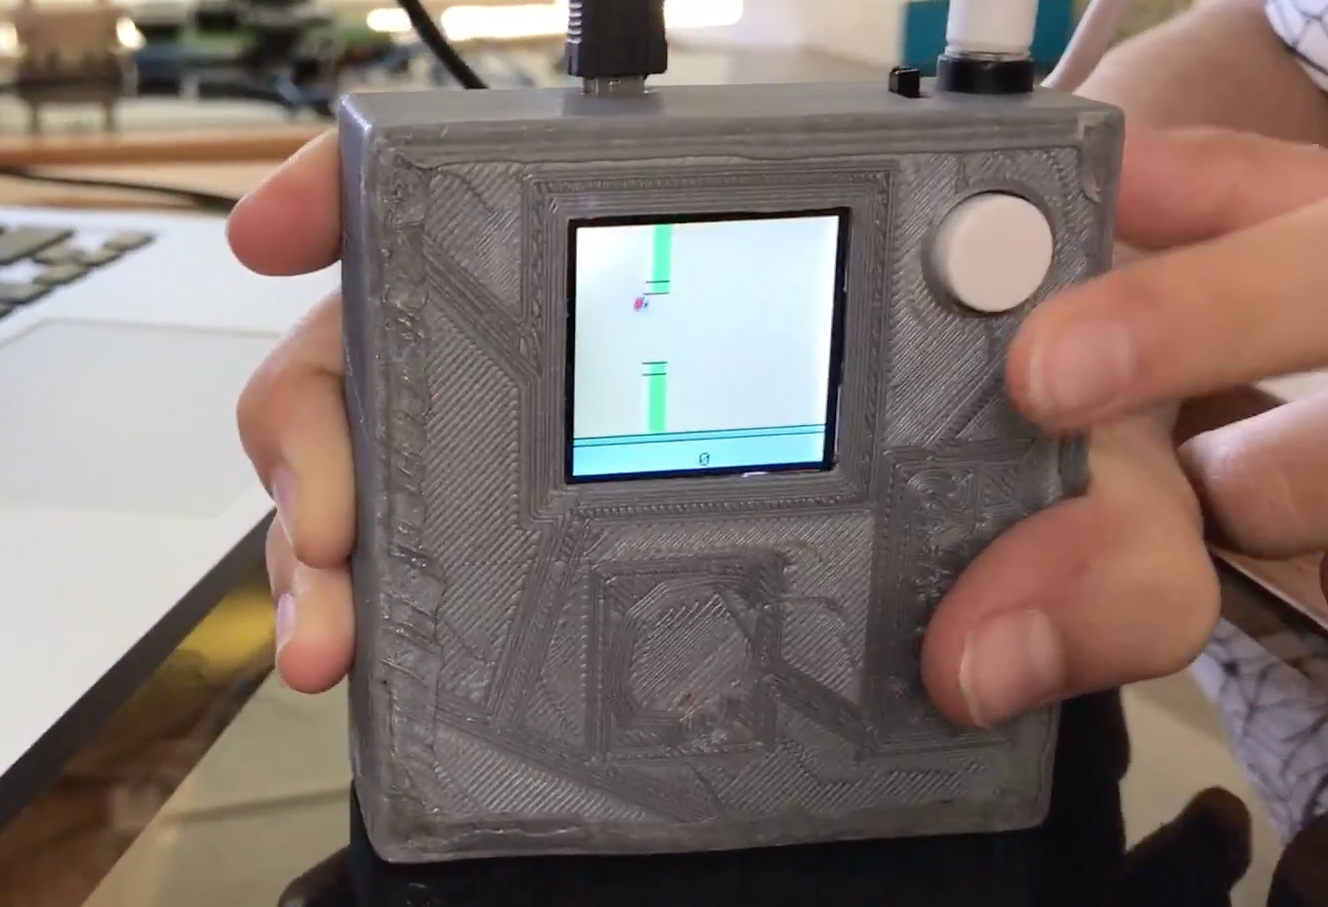
12-year-old Savva Osipov has grown so far up hearing tales of the old Soviet Union from his father, including about the gadgets and technology that was then available. One particular device that caught his attention is the “Nu, pogodi!” portable game that his dad saved from that time. This inspired him to build another simple handheld, a Flappy Bird console, running on an Arduino Nano.

The project’s software is based on code by Themistokle Benetatos, and he designed and 3D-printed a custom case to tie all the necessary game elements (Arduino, screen, battery, speaker, button, etc.) together.

As shown in the video below, it looks like a lot of fun. If you want to create your own, you can find more details in his write-up here!

Creating moving, wirelessly-controlled train LED displays with Arduino

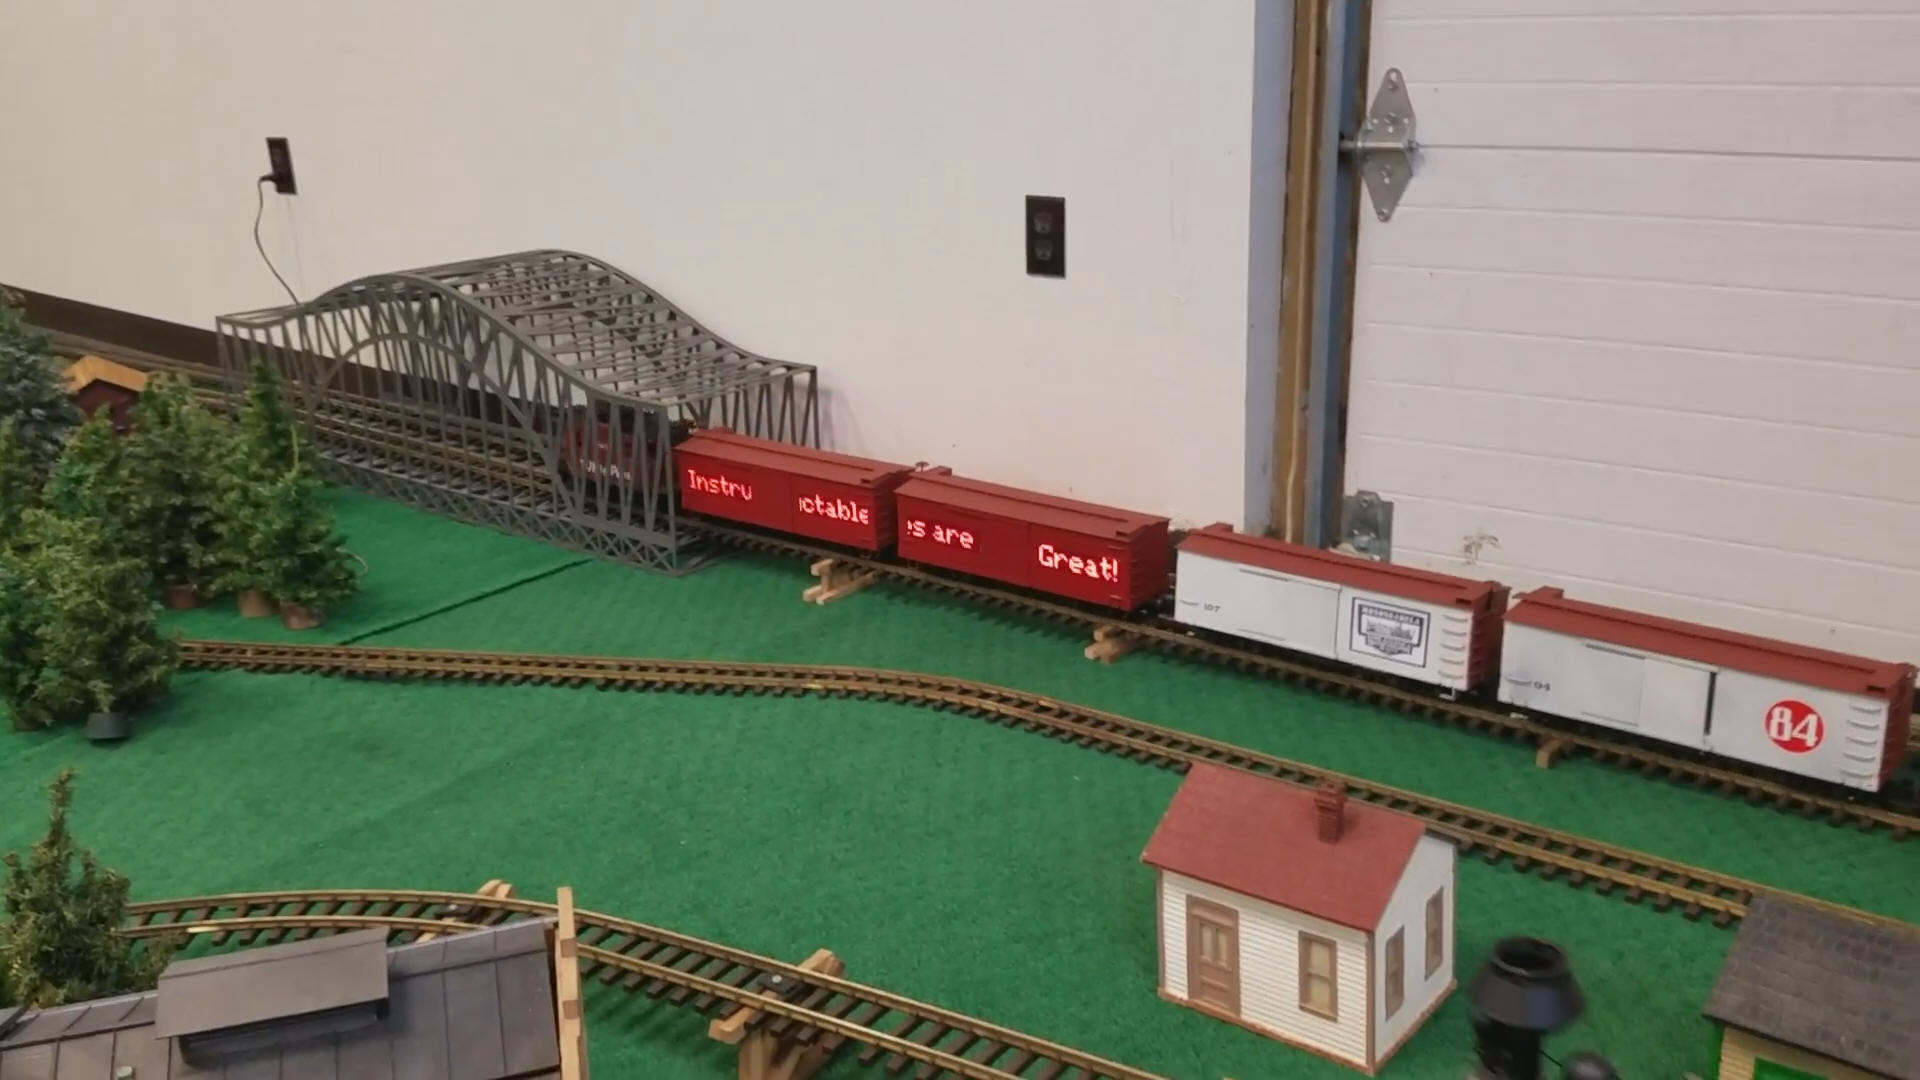
In order to make his model trains stand out, David G. Bodnar has been working on the best way to integrate 8×8 displays into the cars.

Through the process he’s come up with several great techniques, including a red filter to help them “pop,” as well as wiring things in such a way that sets of LEDs can be used on either side to show the same message.

An Arduino Pro Mini and Nano are used for control, while a Bluetooth module with an Android terminal program enables him to change the text remotely.

I have used LED matrix displays for a number of different projects over the last few years.  These 8×8 LED units have a controller that allows an Arduino to talk to them sending text or graphic information that can be displayed.  These small units can be daisy-chained together to create a long, scrolling display.

While the displays are visually appealing and easy to use they might not get the amount of attention that one would hope they would generate at a train show or other public train display. With this in mind I decided to build an on-board train display using three 8×32 LED boards. Each board is mounted on a car with the three connected together to crate one long scrolling message board. To make things even more interesting and compelling to visitors the display’s message can be changed remotely with a cell phone or computer.

Whether you’re interested in enhancing model trains, or simply want to hear more about integrating LED matrix displays into your next project, you can find more details on Instructables and on his website here.

ASK.ME is an interactive Magic 8 Ball that you can walk into

What goes on inside of a Magic 8 Ball when you ask it a question and shake? Sure, as an adult you might guess that it’s some sort of fluid and a geometric shape that floats to the surface; but if you envision it though the mind of a child, there could be an entire colorful word that computes, queries a database, or even magically ascertains the answer.

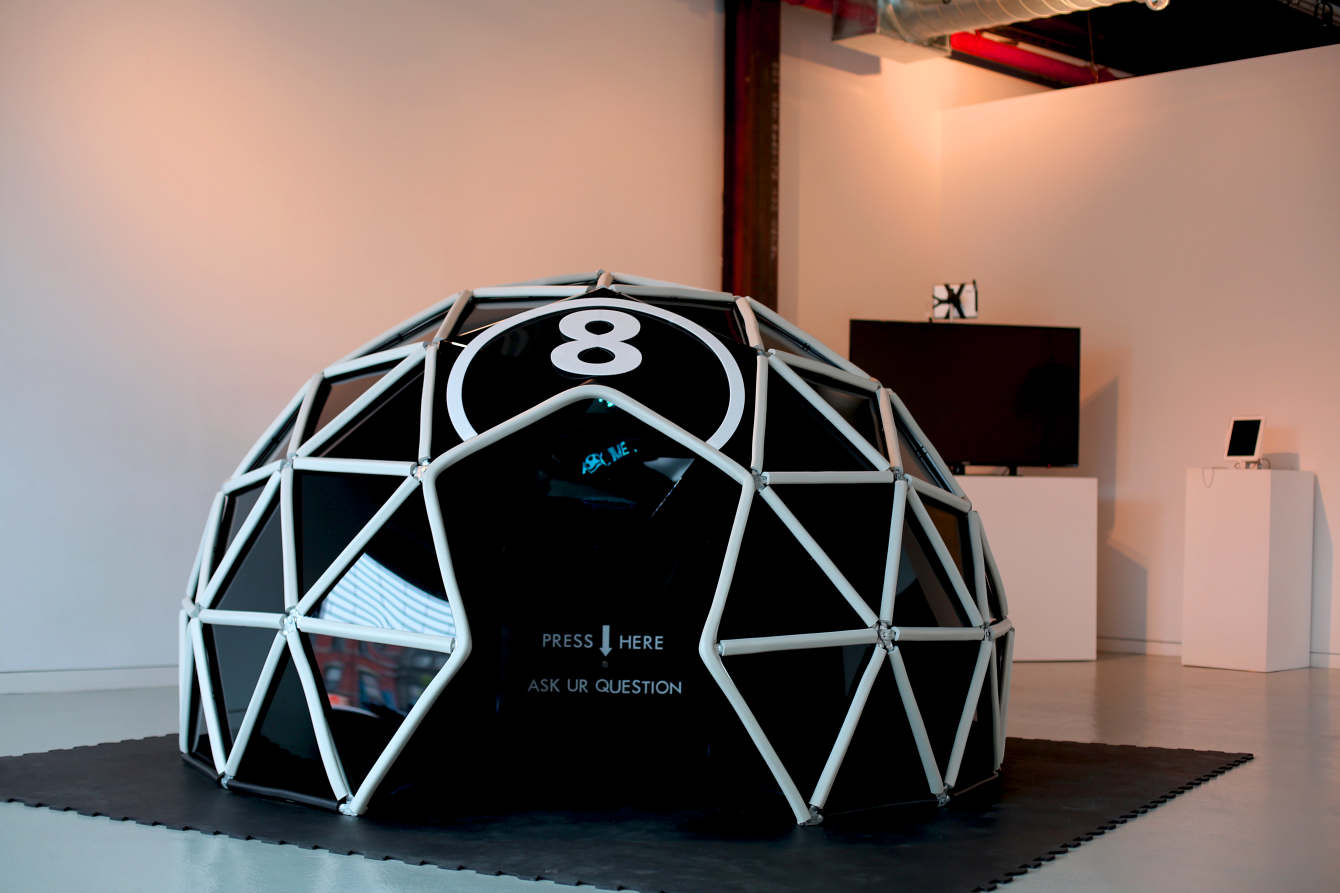
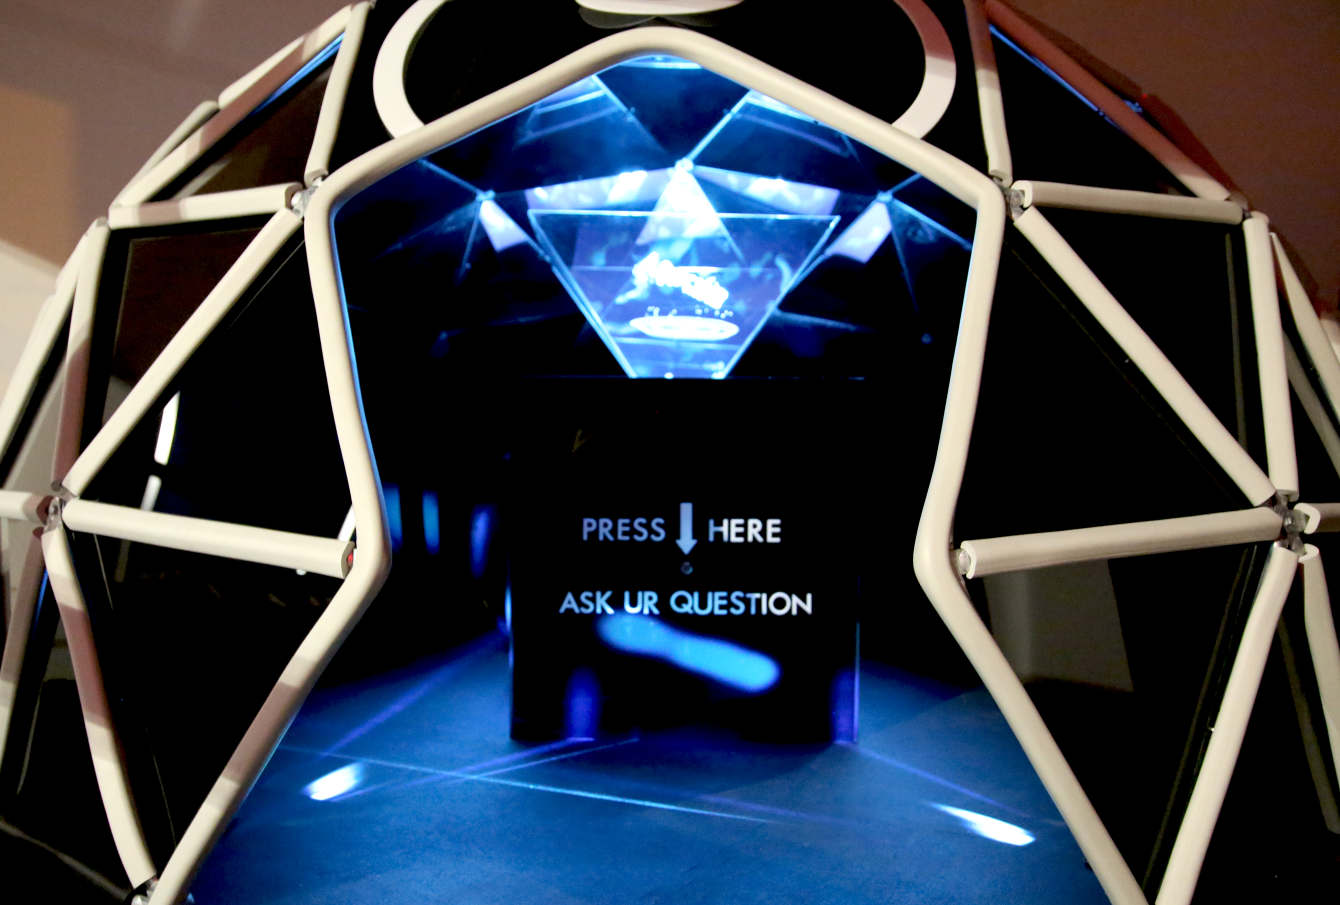
ASK.ME is an Arduino-controlled installation by Joan Raspo that brings this imaginary world to life as a geodesic dome that you can walk into. As a visitor enters inside, their presence is detected and they are greeted with a holographic image that invites them to ask a question.

After pushing a button, ASK.ME allows you time to inquire whatever you have on your mind, then comes back with the response. The dome itself is lined in mirrors, along with a reflective floor and blue fiber optic lighting, creating an immersive interactive experience.

Once activated, the “ASK.ME” hologram changes and presents the visitor with a hologram, linked to audio, asking the visitor “What is Ur question?” Next, a hologram that says “It’s loading” gives the visitor time to ask their question and in ten seconds a holographic answer and audio appears. This gives the visitor the experience of “talking” to a seer—making it seem very human.

You can find more details on the amazing project here, or watch Raspo’s demo below!

Arduino IDE 1.8.5: Hotfix for macOS High Sierra Users

In case you haven’t noticed, our team has just released Arduino IDE 1.8.5This time the changelog is fairly small, as it mainly solves a (rather important) problem being encountered by macOS users who just updated to High Sierra (10.13).

If you are not using English as system language, any version of Arduino you launch will lack the menu in the system bar. Every Java application is experiencing the same problem, so it will probably be solved by Apple in the near future.

In the meantime, IDE 1.8.5 recognizes when the menu bar is not being displayed and replaces it with a Windows-style one. It may not be the prettiest thing, but at least it works!

If you want to recover the old menu bar while keeping the whole system in your normal language, you can issue a single command on Terminal:

defaults write cc.arduino.Arduino AppleLanguages '(en)'


Thank @AdrianBuza for the workaround. Issuing this command will make Arduino IDE in English, however you can still change the language under “Preferences” without losing the macOS integration.

Maker builds an Arduino-controlled, chess-playing robot

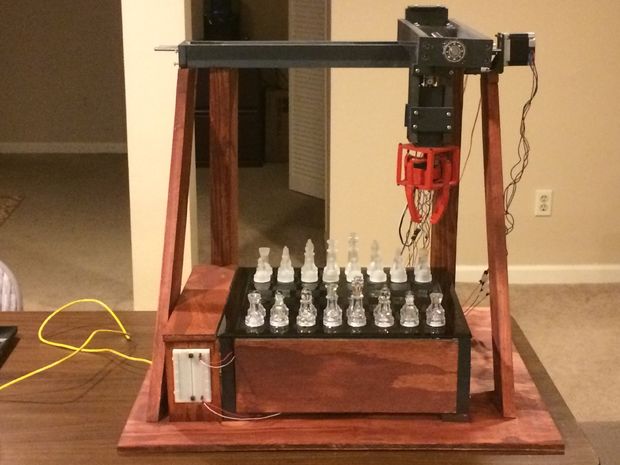
While playing board games on a computer screen can be entertaining, this experience lacks a certain tangible aspect. YouTuber RoboAvatar decided to take things into the third dimension with a chess machine that uses an XYZ gantry system and gripper to move pieces as needed.

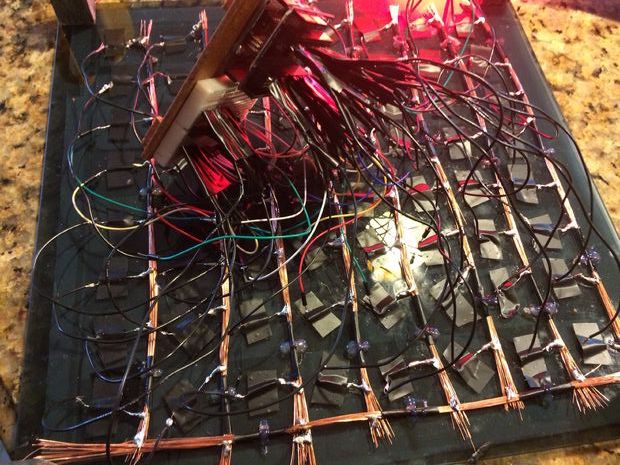
Instead of a vision system, RoboAvatar’s robotic device uses 64 reed switches (one for each square) to tell an Arduino Uno where the magnetized pieces reside. The project also features a Mux Shield and a pair of MCP23017 I/O expander chips, providing a total of 93 available pins.

While the Uno controls the physical motion and sensing of the board, a computer runs a Python program that does the chess game calculations and sends this information to it. You can see the machine demonstrated in the first video below. The second gives an overview of how it was made.

Want to build your own chess-playing robot? More details can be found over on Instructables.

Introducing the Arduino MKR WAN 1300 and MKR GSM 1400!

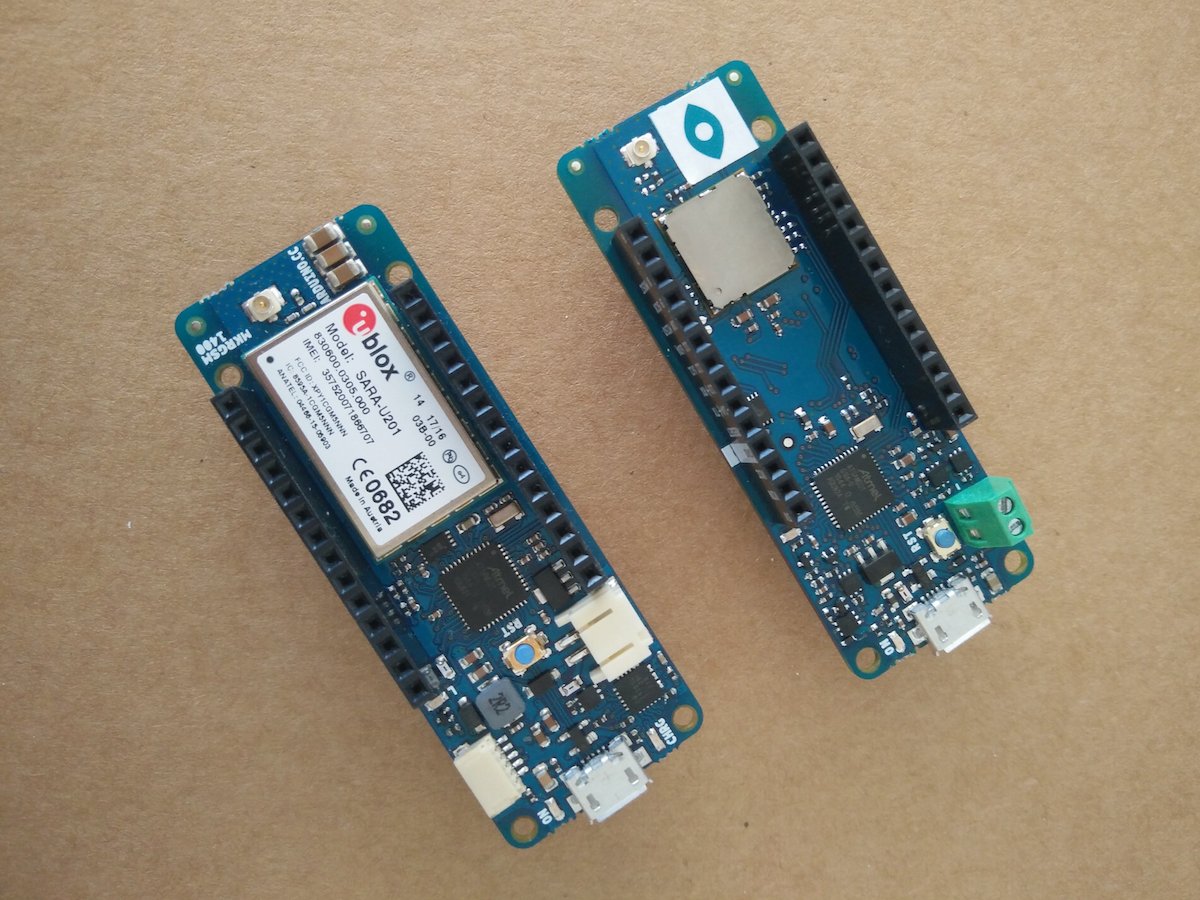
First unveiled over the weekend at World Maker Faire New York, Arduino has introduced a pair of new IoT boards with embedded LoRa and GSM capabilities.

The Arduino MKR WAN 1300 and MKR GSM 1400 are designed to offer a practical and cost-effective solution for developers, makers and enterprises, enabling them to quickly add connectivity to their projects and ease the development of battery-powered IoT edge applications.

Both of the highly compact boards measure just 67.64 x 25mm, together with low power consumption, making them an ideal choice for emerging battery-powered IoT edge devices in the MKR form factor for applications such as environmental monitoring, tracking, agriculture, energy monitoring and home automation.
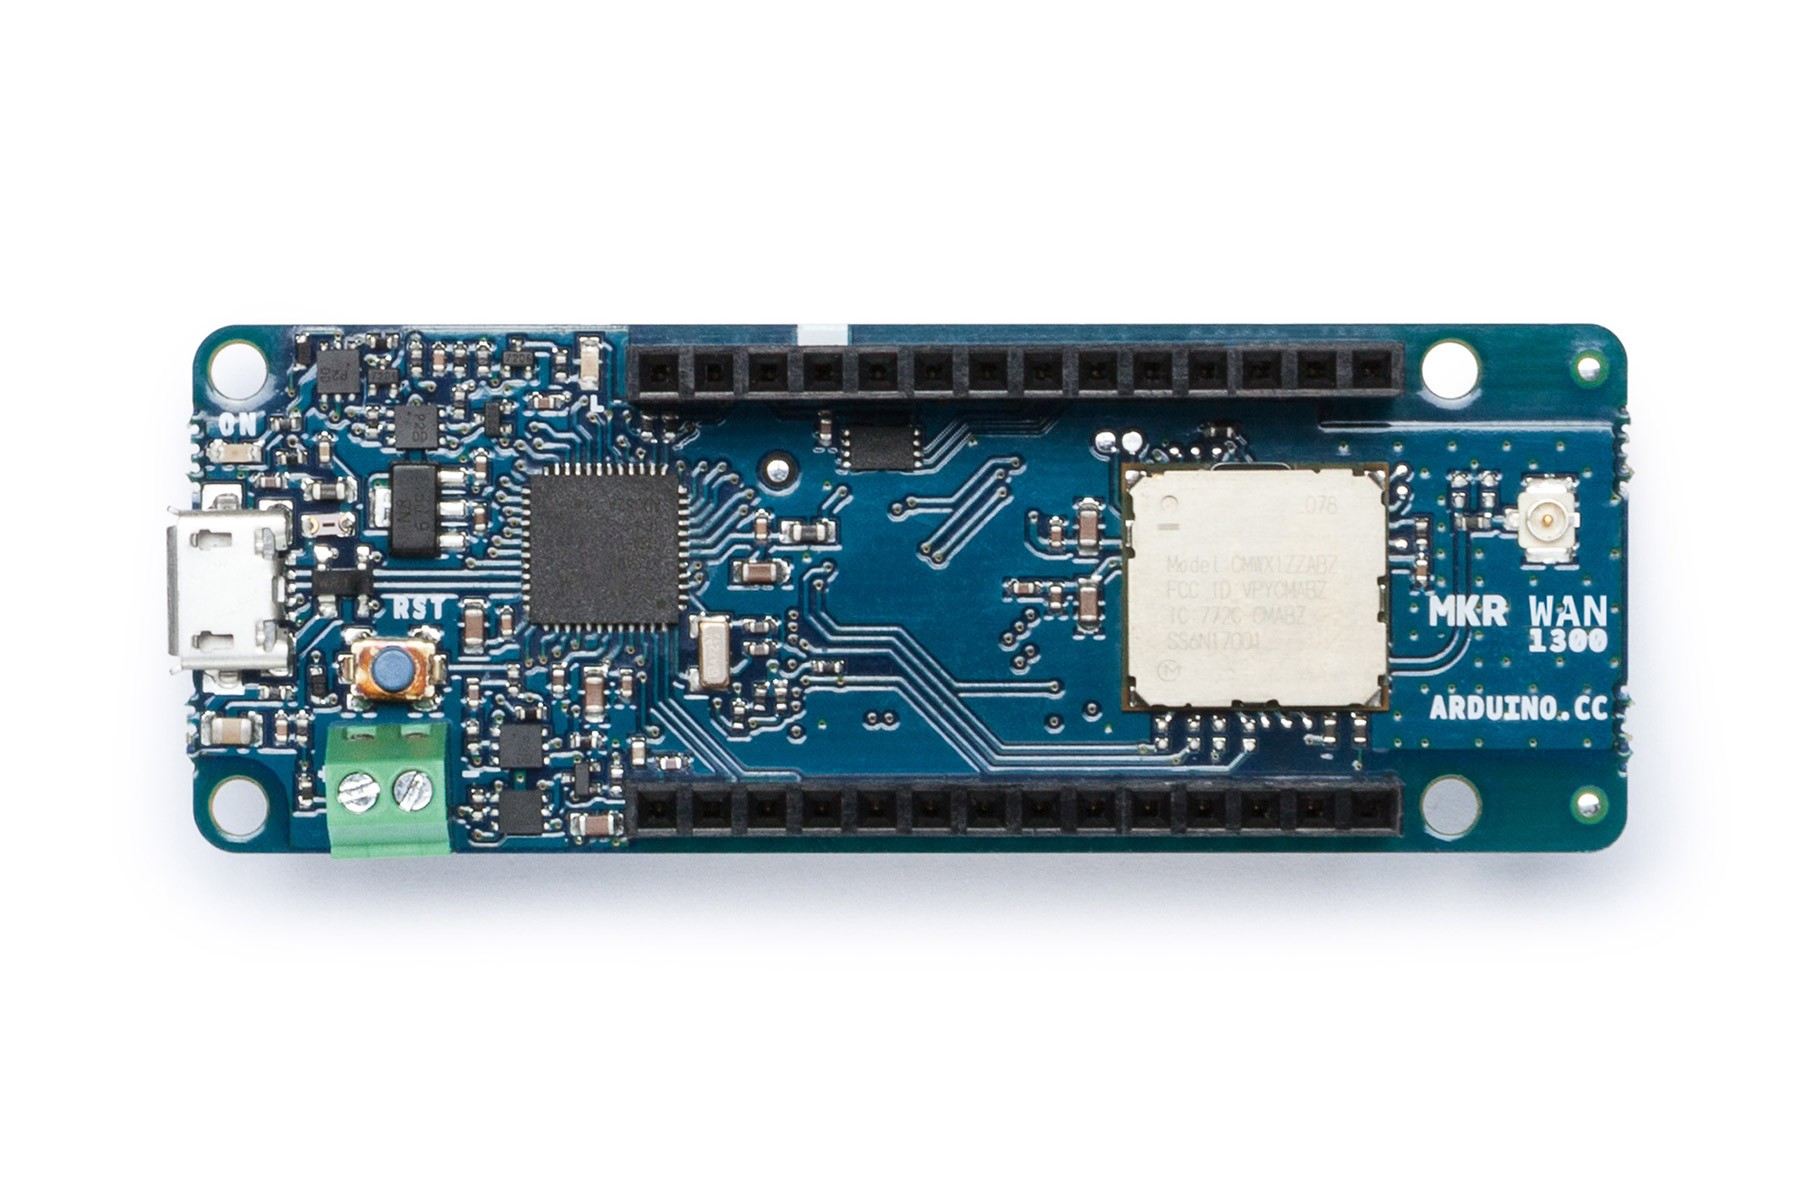
Offering 32-bit computational power similar to the Arduino MKR ZERO board, the MKR WAN 1300 is based around the Murata LoRa low-power connectivity module and the Microchip SAM D21 microcontroller, which integrates an ARM Cortex-M0+ processor, 256KB Flash memory and 32KB SRAM. The board’s design includes the ability to be powered by either two 1.5V AA or AAA batteries or an external 5V input via the USB interface – with automatic switching between the two power sources.

In addition, the MKR WAN 1300 offers the usual rich set of I/O interfaces expected with an Arduino board, and ease of use via the Arduino IDE software environment for code development and programming. Other features  include an operating voltage of 3.3V; eight digital I/Os; 12 PWM outputs; and UART, SPI and I2C interfaces.
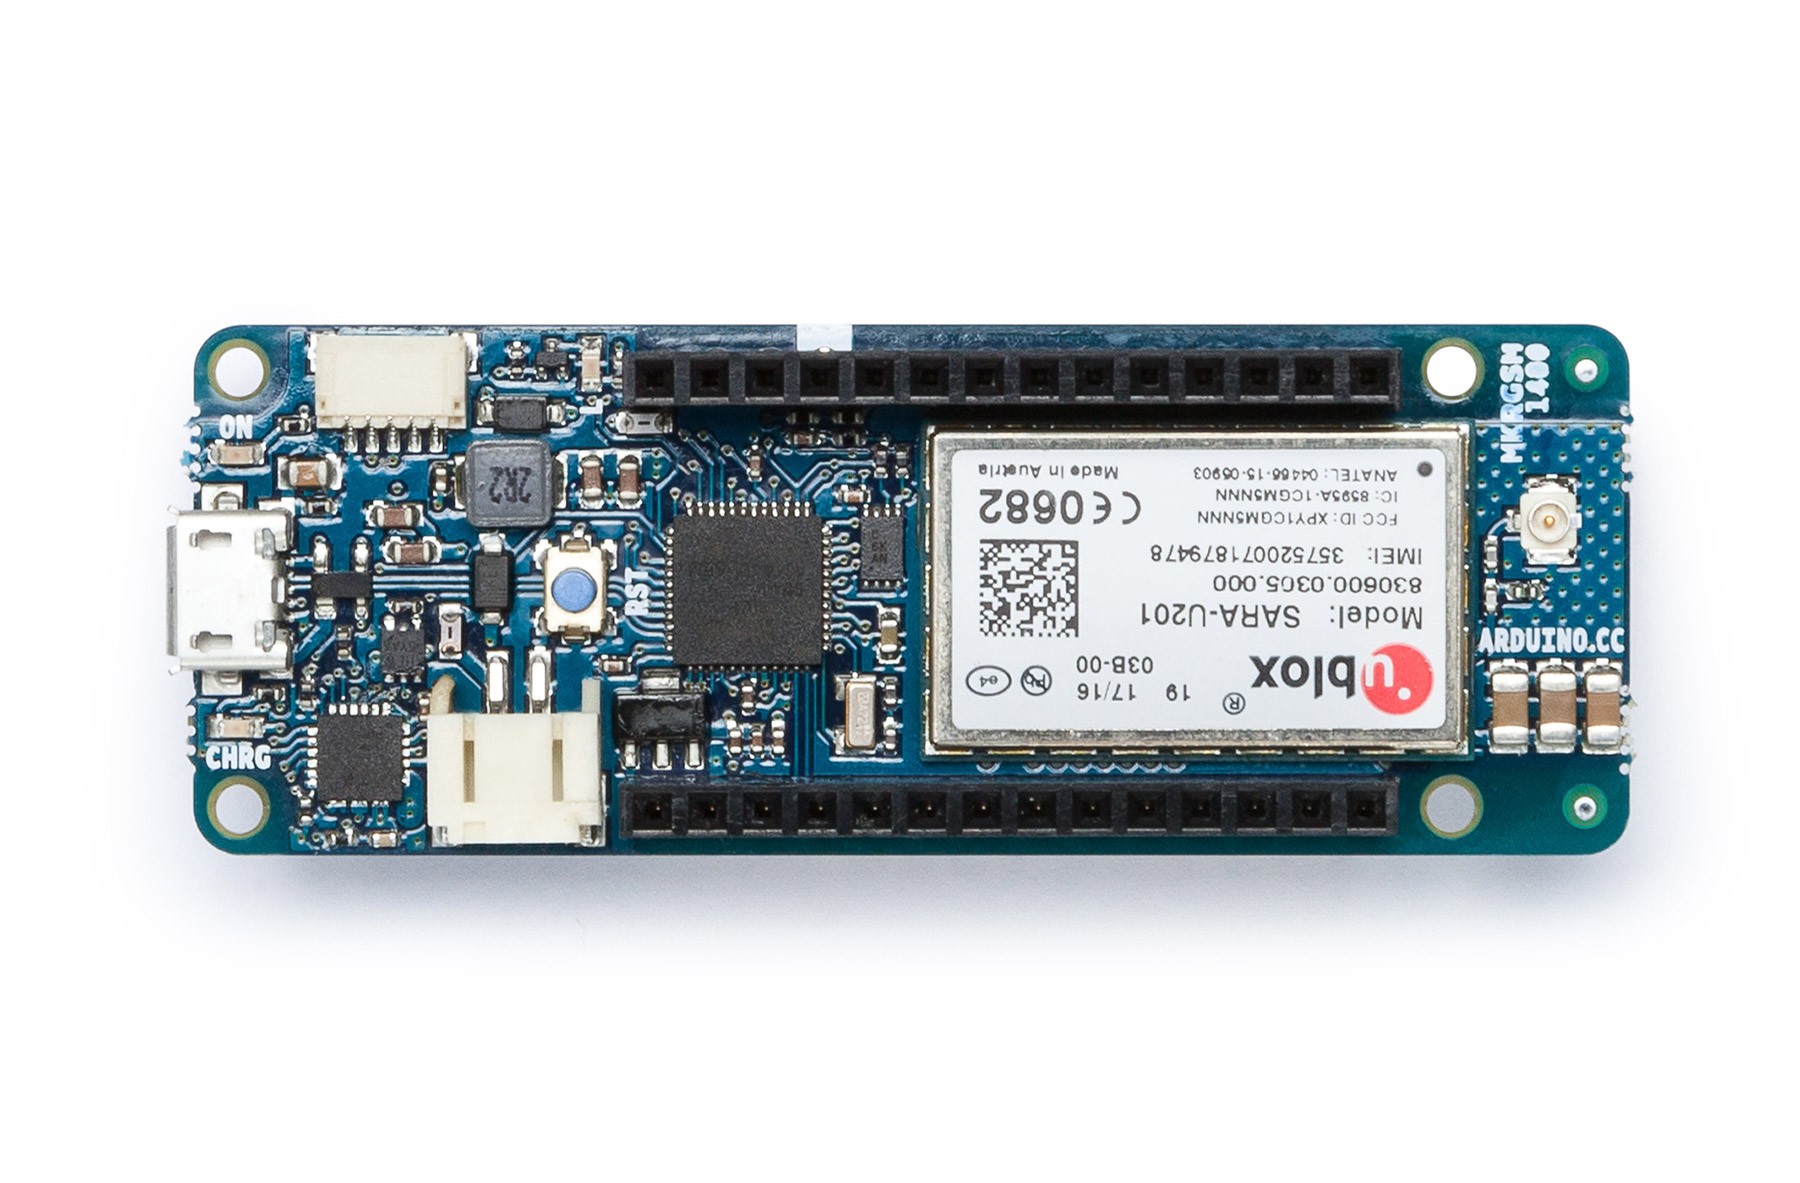
Like the MKR WAN 1300, the Arduino MKR GSM 1400 is based on the SAM D21, but integrates a u-blox module for global 3G communications. The board features automatic power switching, however, it uses either a 3.7V LiPo battery or an external Vin power source delivering 5V to 12V. While the USB port can also be used to supply 5V to the board, the MKR GSM 1400 is able to run with or without the battery connected.

The MKR GSM 1400 provides a rich set of I/O interfaces including: eight digital I/Os; 12 PWM outputs; UART, SPI and I2C interfaces; analog I/O including seven inputs and one output; and eight external interrupt pins.

Both boards are now available for pre-order on the Arduino Store.
Add voice control to your 3D-printed desk lamp

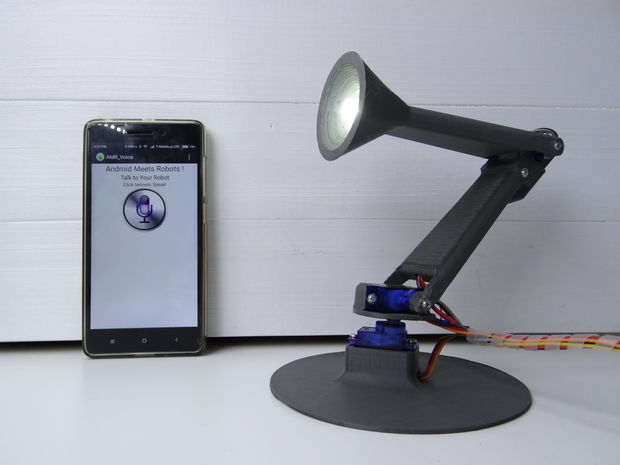
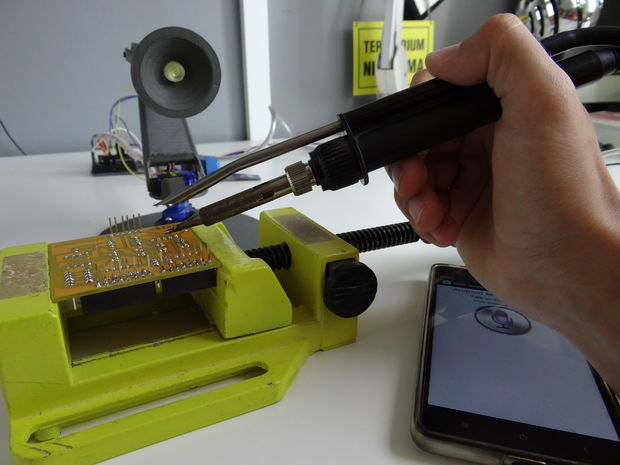
Nikodem Bartnik had a small problem. When soldering, he had to move his light around in order to properly see what he was working on. In order to avoid this constant interruption, he built a 3D-printed lamp capable of manuevering like a small robot arm under voice command.

An Arduino Uno controls the light’s movement directly via three servos, and a relay flips the switch on and off. Instead of adding voice recognition hardware to his robotic light, he cleverly linked it with an Android app over Bluetooth, using his phone to translate spoken words into serial commands.

Although great for soldering, this device can certainly come in handy when reading books or even finding your way to bed at night. Want to create your own? You can find more details on Bartnik’s Instructables page here.

Build an affordable telemetry system with Arduino

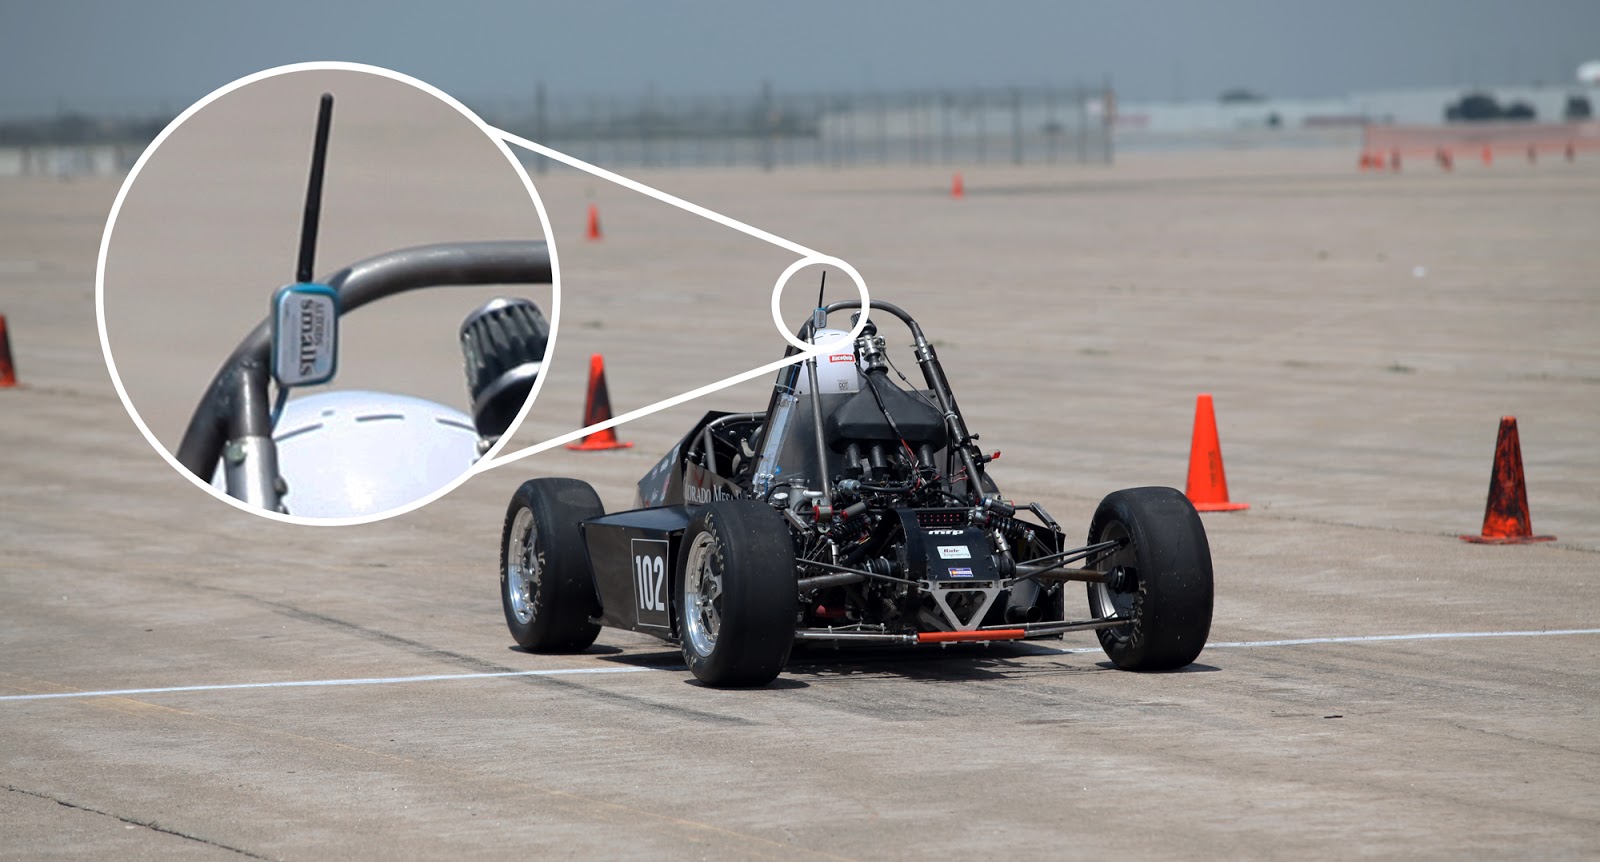
While Arduino boards are useful for simple robotics and control applications, as outlined on William Osman’s blog, they can also be employed for data tracking to help engineers verify and modify a race car’s suspension design.

In this case, Osman decided to use a Pro Mini, a three-axis accelerometer, and an nRF24L01 module to implement a vehicular telemetry system for under $20. A second Arduino and 2.4GHz transceiver make up the base station, which is connected to his computer via USB.

While getting the raw data is interesting, he’s able to take the project to the next level using a free software package called COSMOS from Bell Aerospace. Although not initially user-friendly, it does allow those willing to conquer its learning curve to visualize data in real-time without spending thousands on software.

Be sure to check out his blog post or the video below for more information on the inexpensive telemetry system!

Turn a card catalog into an audio memory chest

When you travel, you likely collect photographs and knick-knacks that can be displayed nicely for yourself and others. David Levin, however, took this one step further and used an MP3 recorder to capture the sounds of the places he and his wife have visited. But how does one show off sounds? Levin has a clever answer for that in the form of his Arduino-based Audio Memory Chest.

The project uses a recycled card catalog to hold items from each place traveled, and when one drawer is pulled out, a magnet and Hall effect sensor tells an Arduino Pro Mini which drawer has been opened. A serial MP3 player module then produces a random audio file recorded at that location, treating the user to both the sights and sounds of the region! 

My wife and I have been lucky enough to travel all over the world together during the past few years. Wherever we go, I collect little knick knacks, souvenirs, and ephemera. I also use a little MP3 recorder to capture sounds (marketplaces, street sound, music, etc). It’s always amazing to listen to these later—they immediately bring you back to a place, far better than a photograph alone could.

Monitor your well with an ultrasonic fluid level meter

After discussing how their grandfather used to monitor well levels outside of a summer cottage in order to avoid emptying it, Instructables user “karlli” and his brother decided to take on this task themselves. Instead of checking it manually, they used a pair of Arduinos to do this for them.

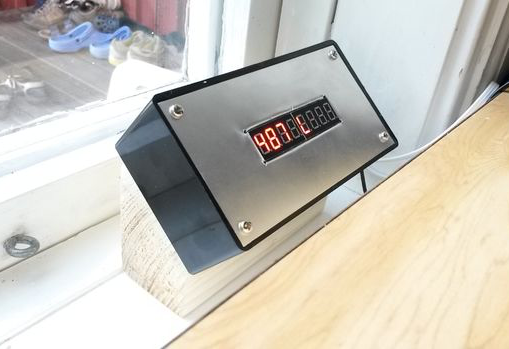
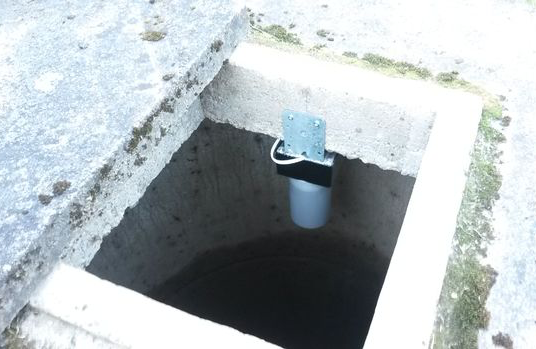
One board sits above the well and senses water level with an ultrasonic sensor, while the other receives this data, calculates the volume of water remaining, and displays it nicely for those in the house to see.

Because the well is located about 25m from the house and we wanted the display indoors, we opted for using two Arduinos with a data link in between. You can easily modify the project to use just one Arduino if this is not the case for you. Why not use wireless data transfer? Partly due to simplicity and robustness (the wire is less likely to be damaged by moisture) and partly because we wanted to avoid using batteries on the sensor side. With a wire, we could route both data transfer and power through the same cable.

According to the write-up, volume can be calculated to an accuracy of ± one liter. In practice, the setup responds to a flushed toilet or running the tap for a few minutes, and shows the well refilling overnight!