Making Music with Clojure and Bananas
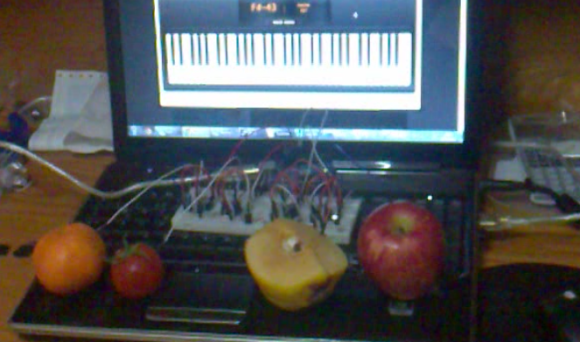
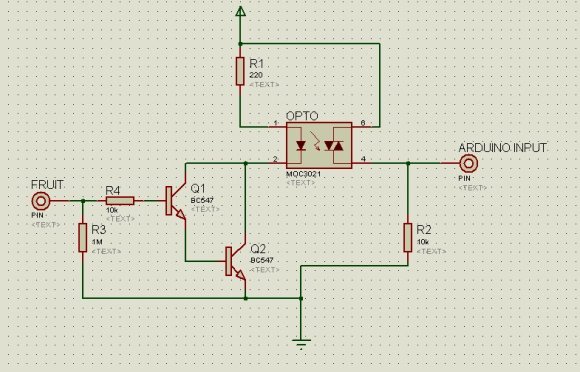
At this point, the banana piano is a pretty classic hack. The banana becomes a cheap, colorful touch sensor, which looks sort of like a piano key. The Arduino sets the pin as a low-level output, then sets the pin as an input with a pull up resistor. The time it takes for the pin to flip from a 0 to a 1 determines if the sensor is touched.
[Stian] took a new approach to the banana piano by hooking it up to Clojure and Overtone. Clojure is a dialect of Lisp which runs in the Java Virtual Machine. Overtone is a Clojure library that provides tons of utilities for music making.
Overtone acts as a client to the Supercollider synthesis server. Supercollider has been around since 1996, and provides a wide array of sound synthesis functions. Overtone simply tells Supercollider what to do, letting you easily program sounds in Clojure.
The banana piano acts as an input to a Clojure program. This program maps the banana to a musical note, then triggers a note on Overtone’s built-in piano sampler. The result is a nice piano sound played with fruit. Of course, since Overtone and Supercollider are very flexible, this could be used for something much more complex.
After the break, a video of the banana piano playing some “Swedish Jazz.”
Filed under: musical hacks


