Turning A Car Into A Computer Mouse
[William Osman] and [Simone Giertz] have graced our pages before, both with weird, wacky and wonderful hacks so it’s no surprise that when they got together they did so to turn Simone’s car into a computer mouse. It’s trickier than you might think.
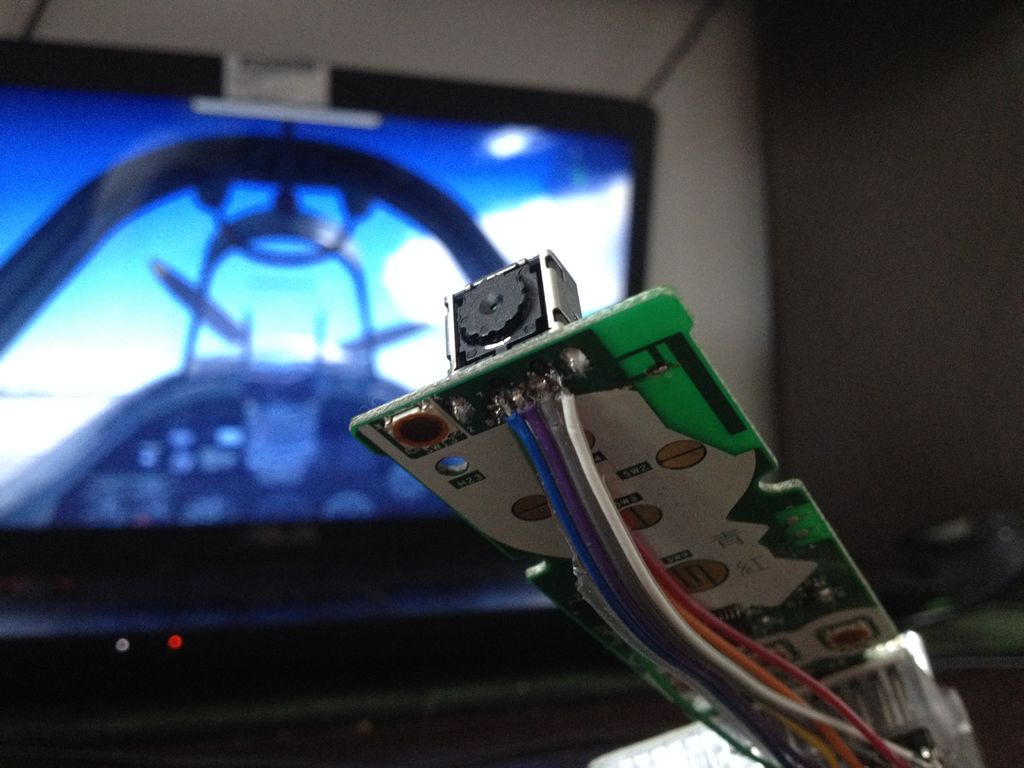
They started by replacing the lens of an optical mouse with a lens normally used for a security camera. Surprisingly, when mounted to the car’s front bumper it worked! But it wasn’t ideal. The problem lies in that to move a mouse cursor sideways you have to move the mouse sideways. However, cars don’t move sideways, they turn by going in an arc. Move your mouse in an arc right now without giving it any sideways motion and see what happens. The mouse cursor on the screen moves vertically up or down the screen, but not left or right. So how to tell if the car is turning? For that, they added a magnetometer. The mouse then gives the distance the car moved and the magnetometer gives the heading, or angle. With some simple trigonometry, they calculate the car’s coordinates.
The mouse click is done using the car’s horn, but details are vague there.
And yes, using the carmouse is as fun as it sounds, though we still don’t recommend texting while driving using this technique. Watch them in the videos below as they write an email and drive a self-portrait of the car.
A perhaps safer but equally fun approach is to turn your car into a game controller by tapping into the car’s CAN bus and converting the steering wheel, peddle and other messages into joystick commands.