The MKR family gets bigger with two new IoT boards!
We’re excited to announce two new wireless connectivity boards to help streamline Internet of Things development, the MKR WiFi 1010 and MKR NB 1500.
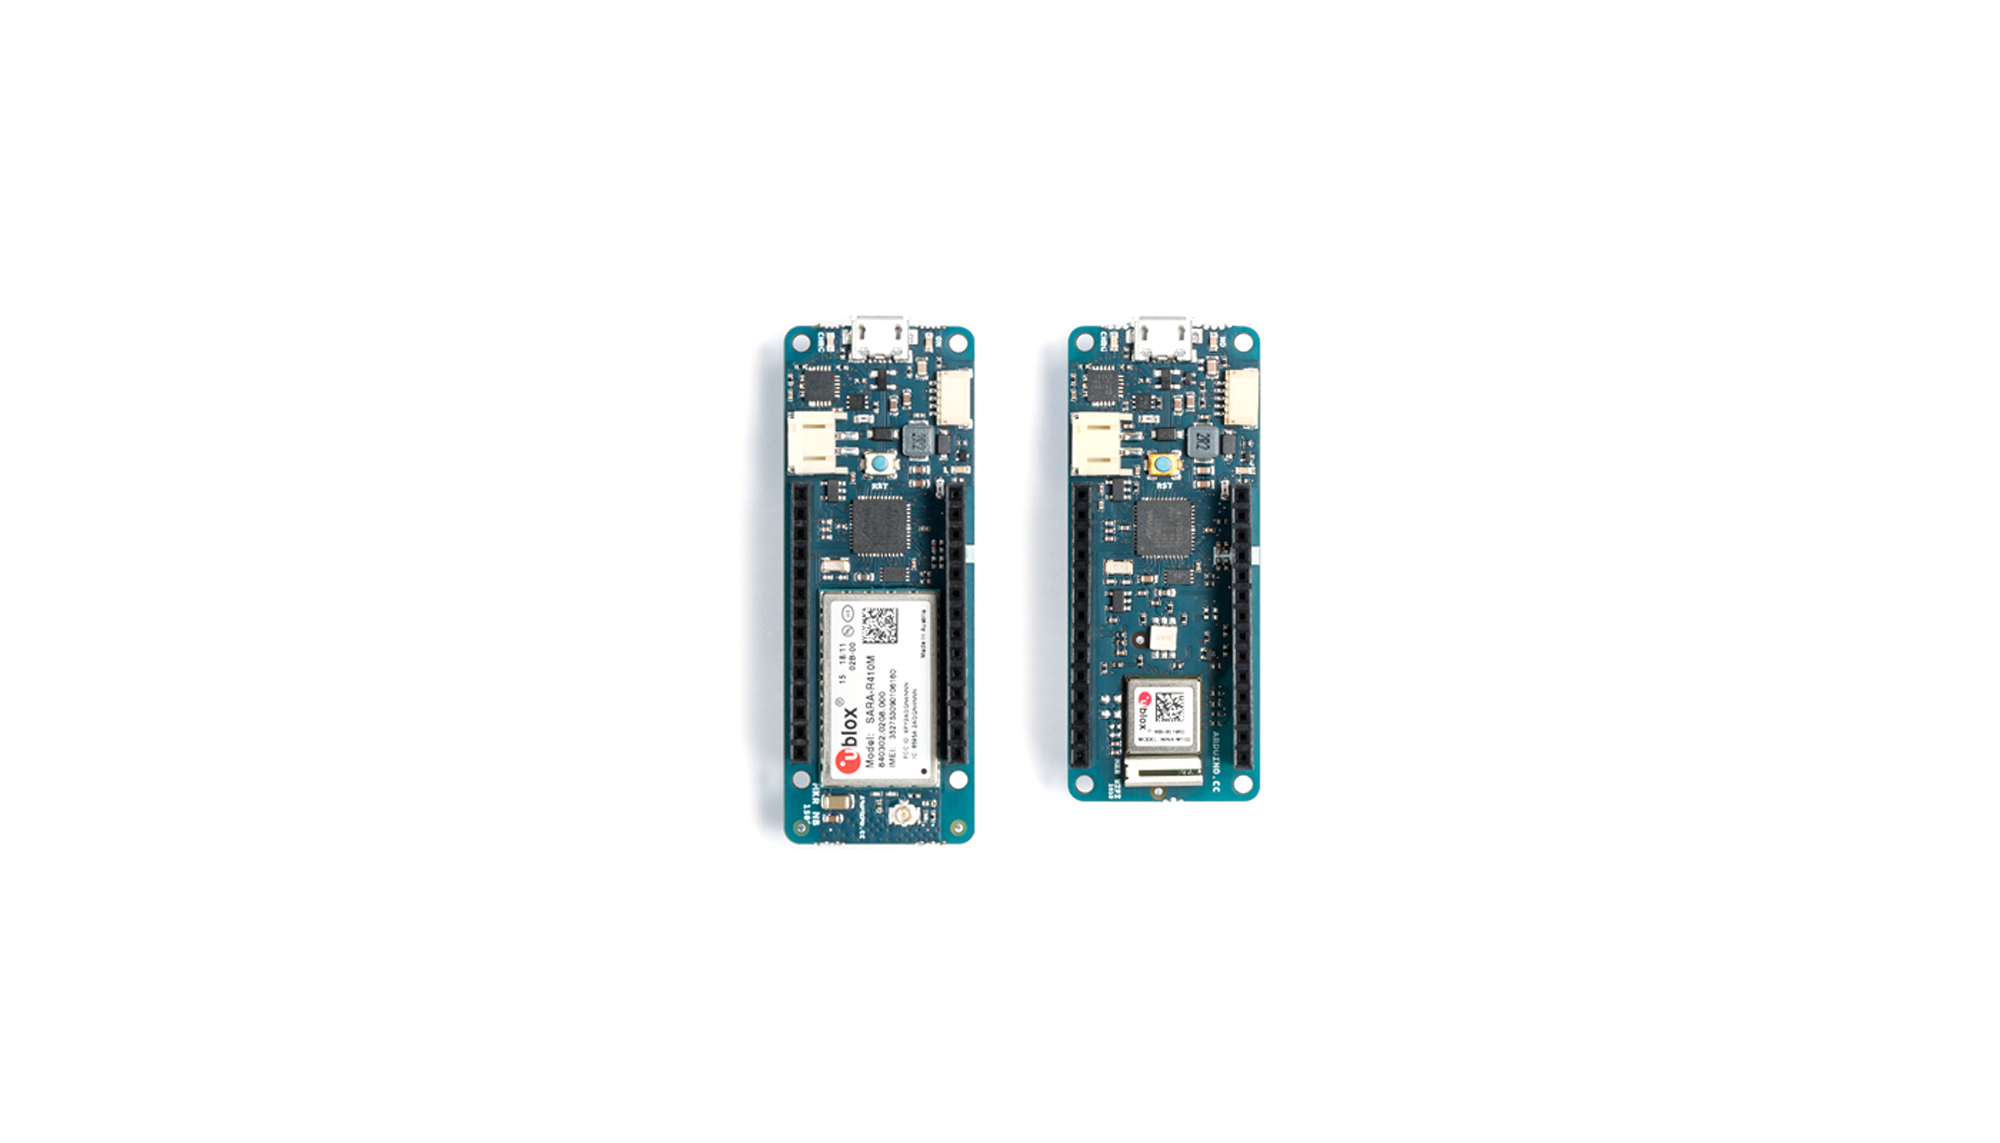
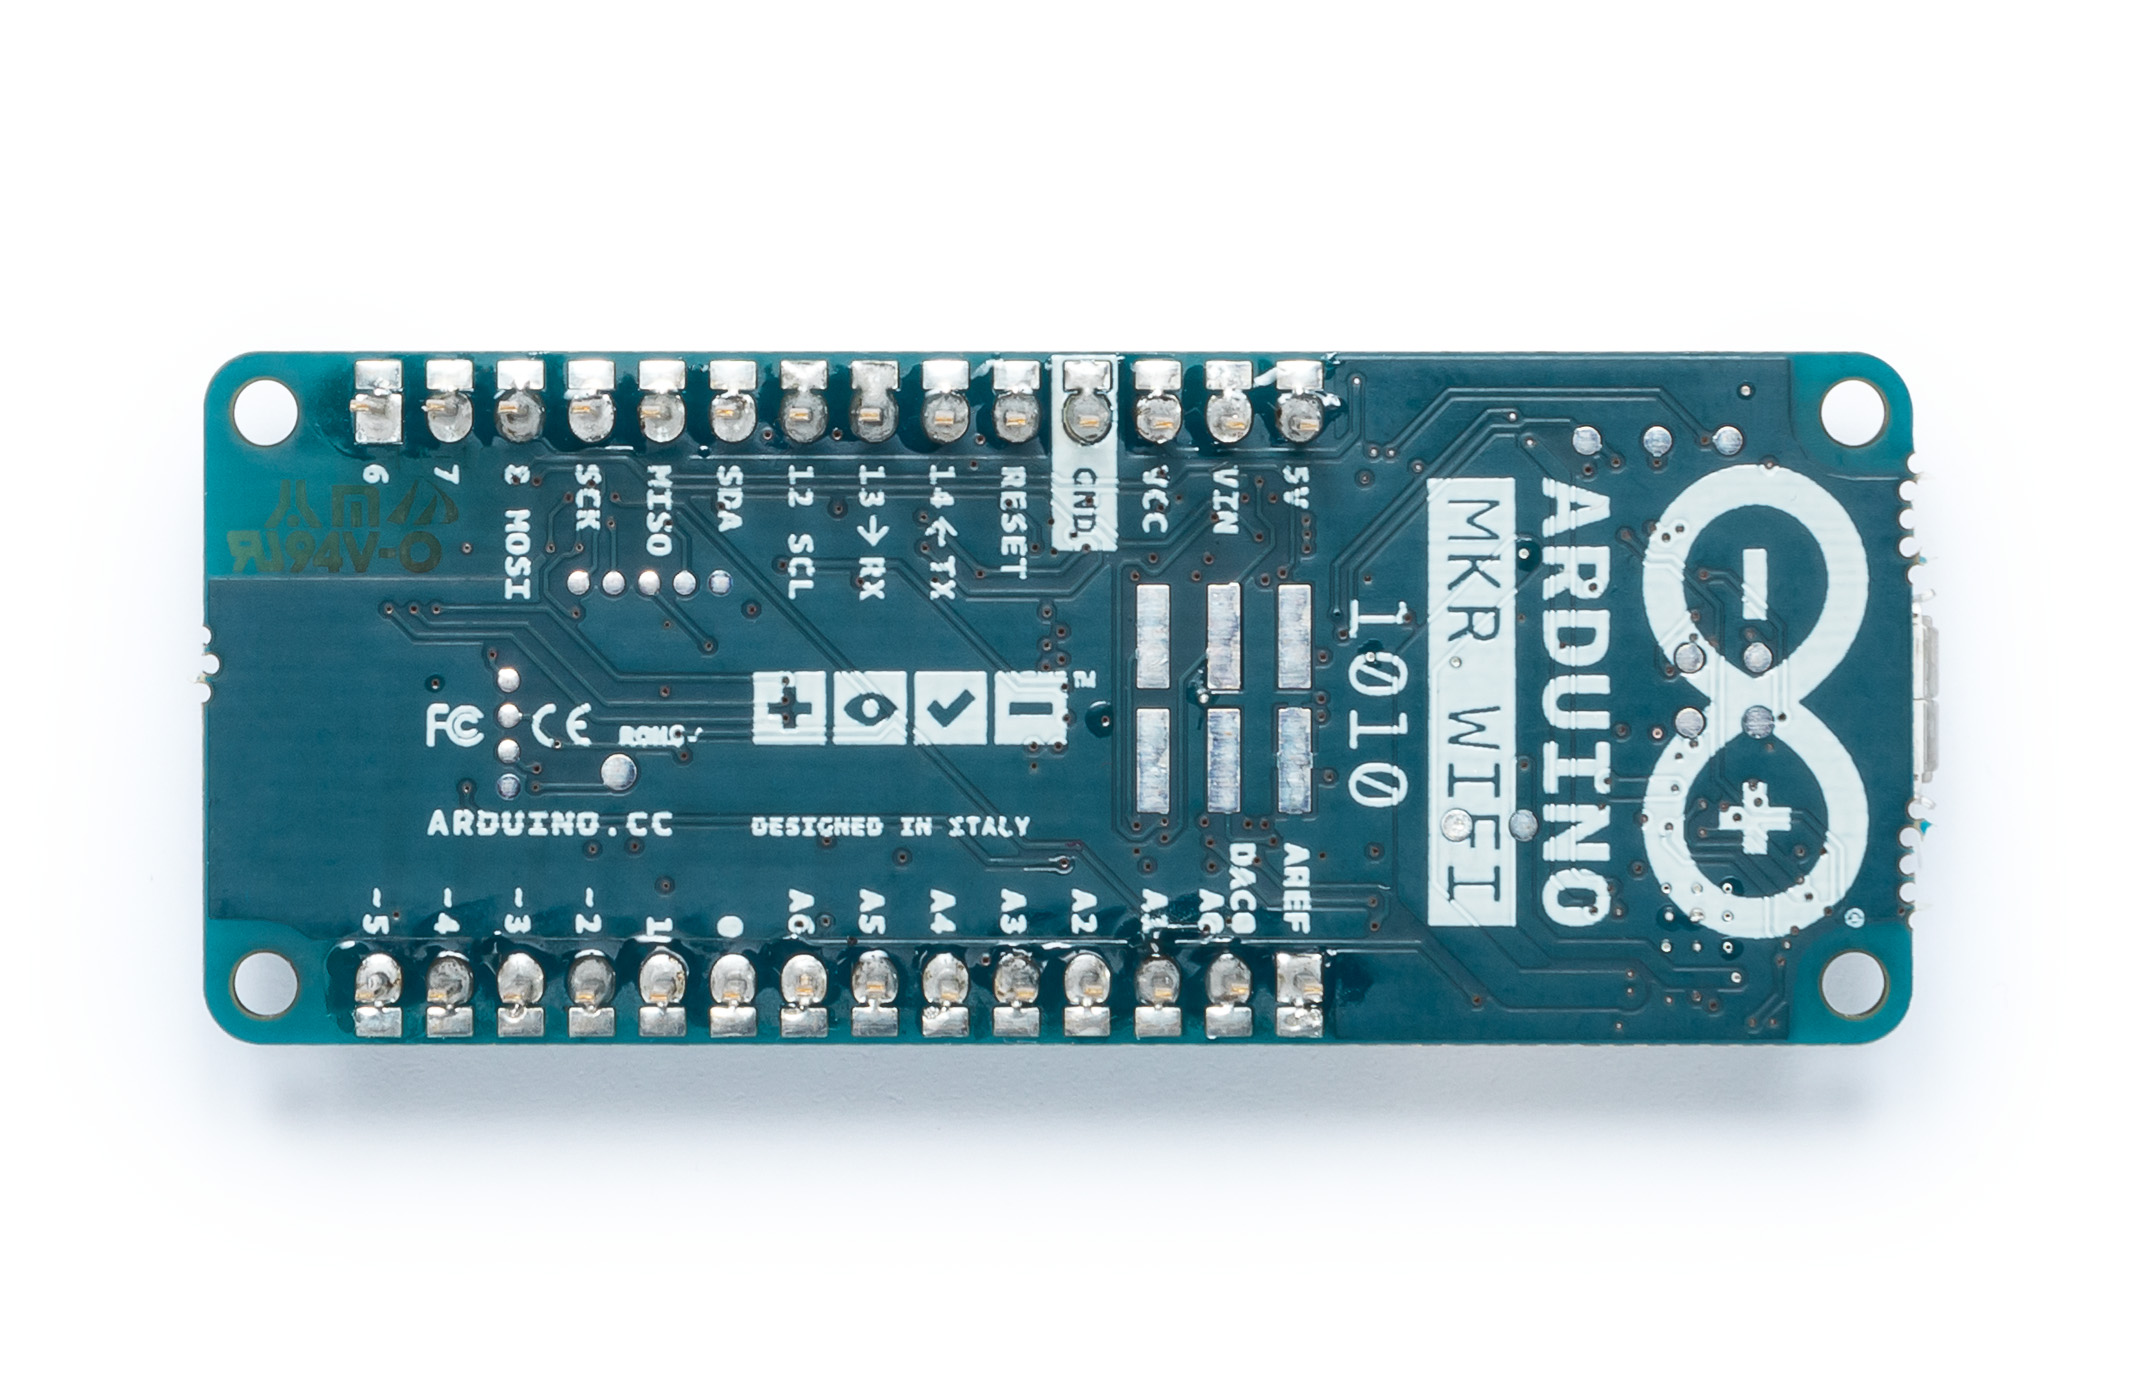
The first of the boards is the MKR WiFi 1010, which offers low power consumption and has been designed not only to speed up and simplify the prototyping of WiFi-based IoT applications, but also to be embedded in production IoT applications that require WiFi connectivity. The board is an evolution of the existing Arduino MKR1000, but now comes equipped with an ESP32-based module manufactured by U-blox. This key element delivers 2.4GHz WiFi and Bluetooth communications capability, along with leading RF and power performance: the ESP32 is a highly flexible device that provides adjustable power output, enabling optimal trade-offs between communication range, data rate, and power consumption.

Fully compatible with the Arduino IT cloud, the MKR1010 also offers simple migration from other Arduino boards, and uses open-source WiFi firmware, which makes it easy to reprogram for upgrading or to repair any security flaws. A significant feature is the MKR1010’s two standalone programmable processors – the first based on ARM processor core technology, the second based on a dual-core Espressif IC – making the board a high-performance solution that can distribute its workload across its dual-processor system. Another major feature is the integration of a secure authentication module – Microchip’s ECC508 – which uses crypto authentication to secure TLS network communications and connections.
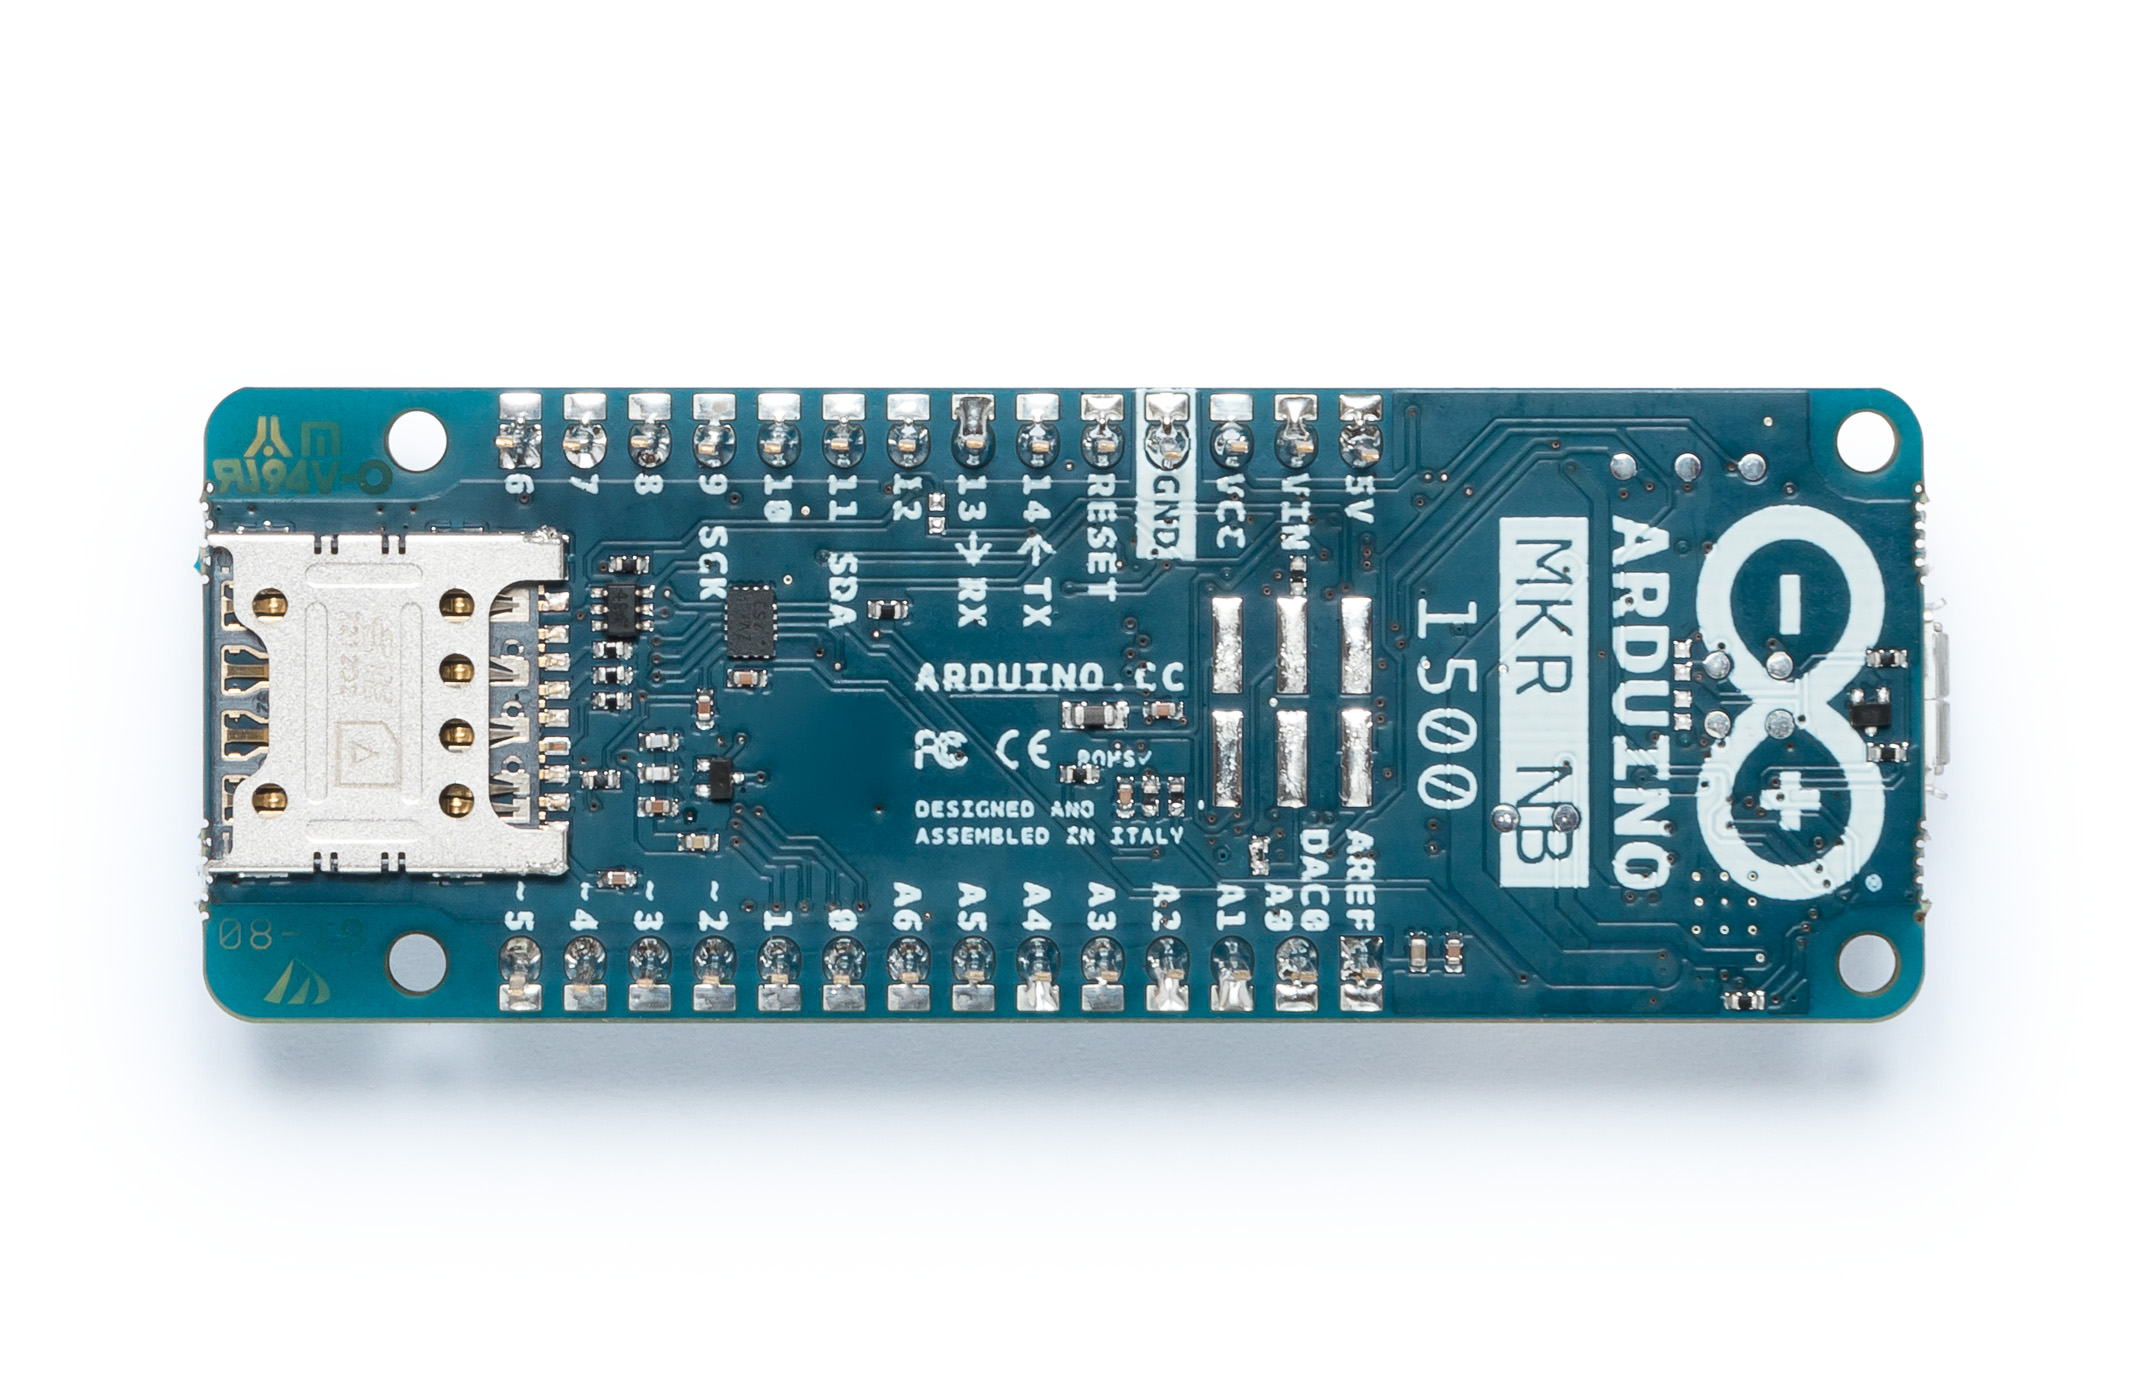
The second board to be introduced is the MKR NB 1500, which employs the new low-power NB-IoT (narrowband IoT) standard, designed to work over cellular/LTE networks. When combined with the ease of use of the Arduino ecosystem, the MKR1500 becomes an excellent choice for applications in remote areas such as on-field monitoring systems and remote-controlled LTE-enabled modules.
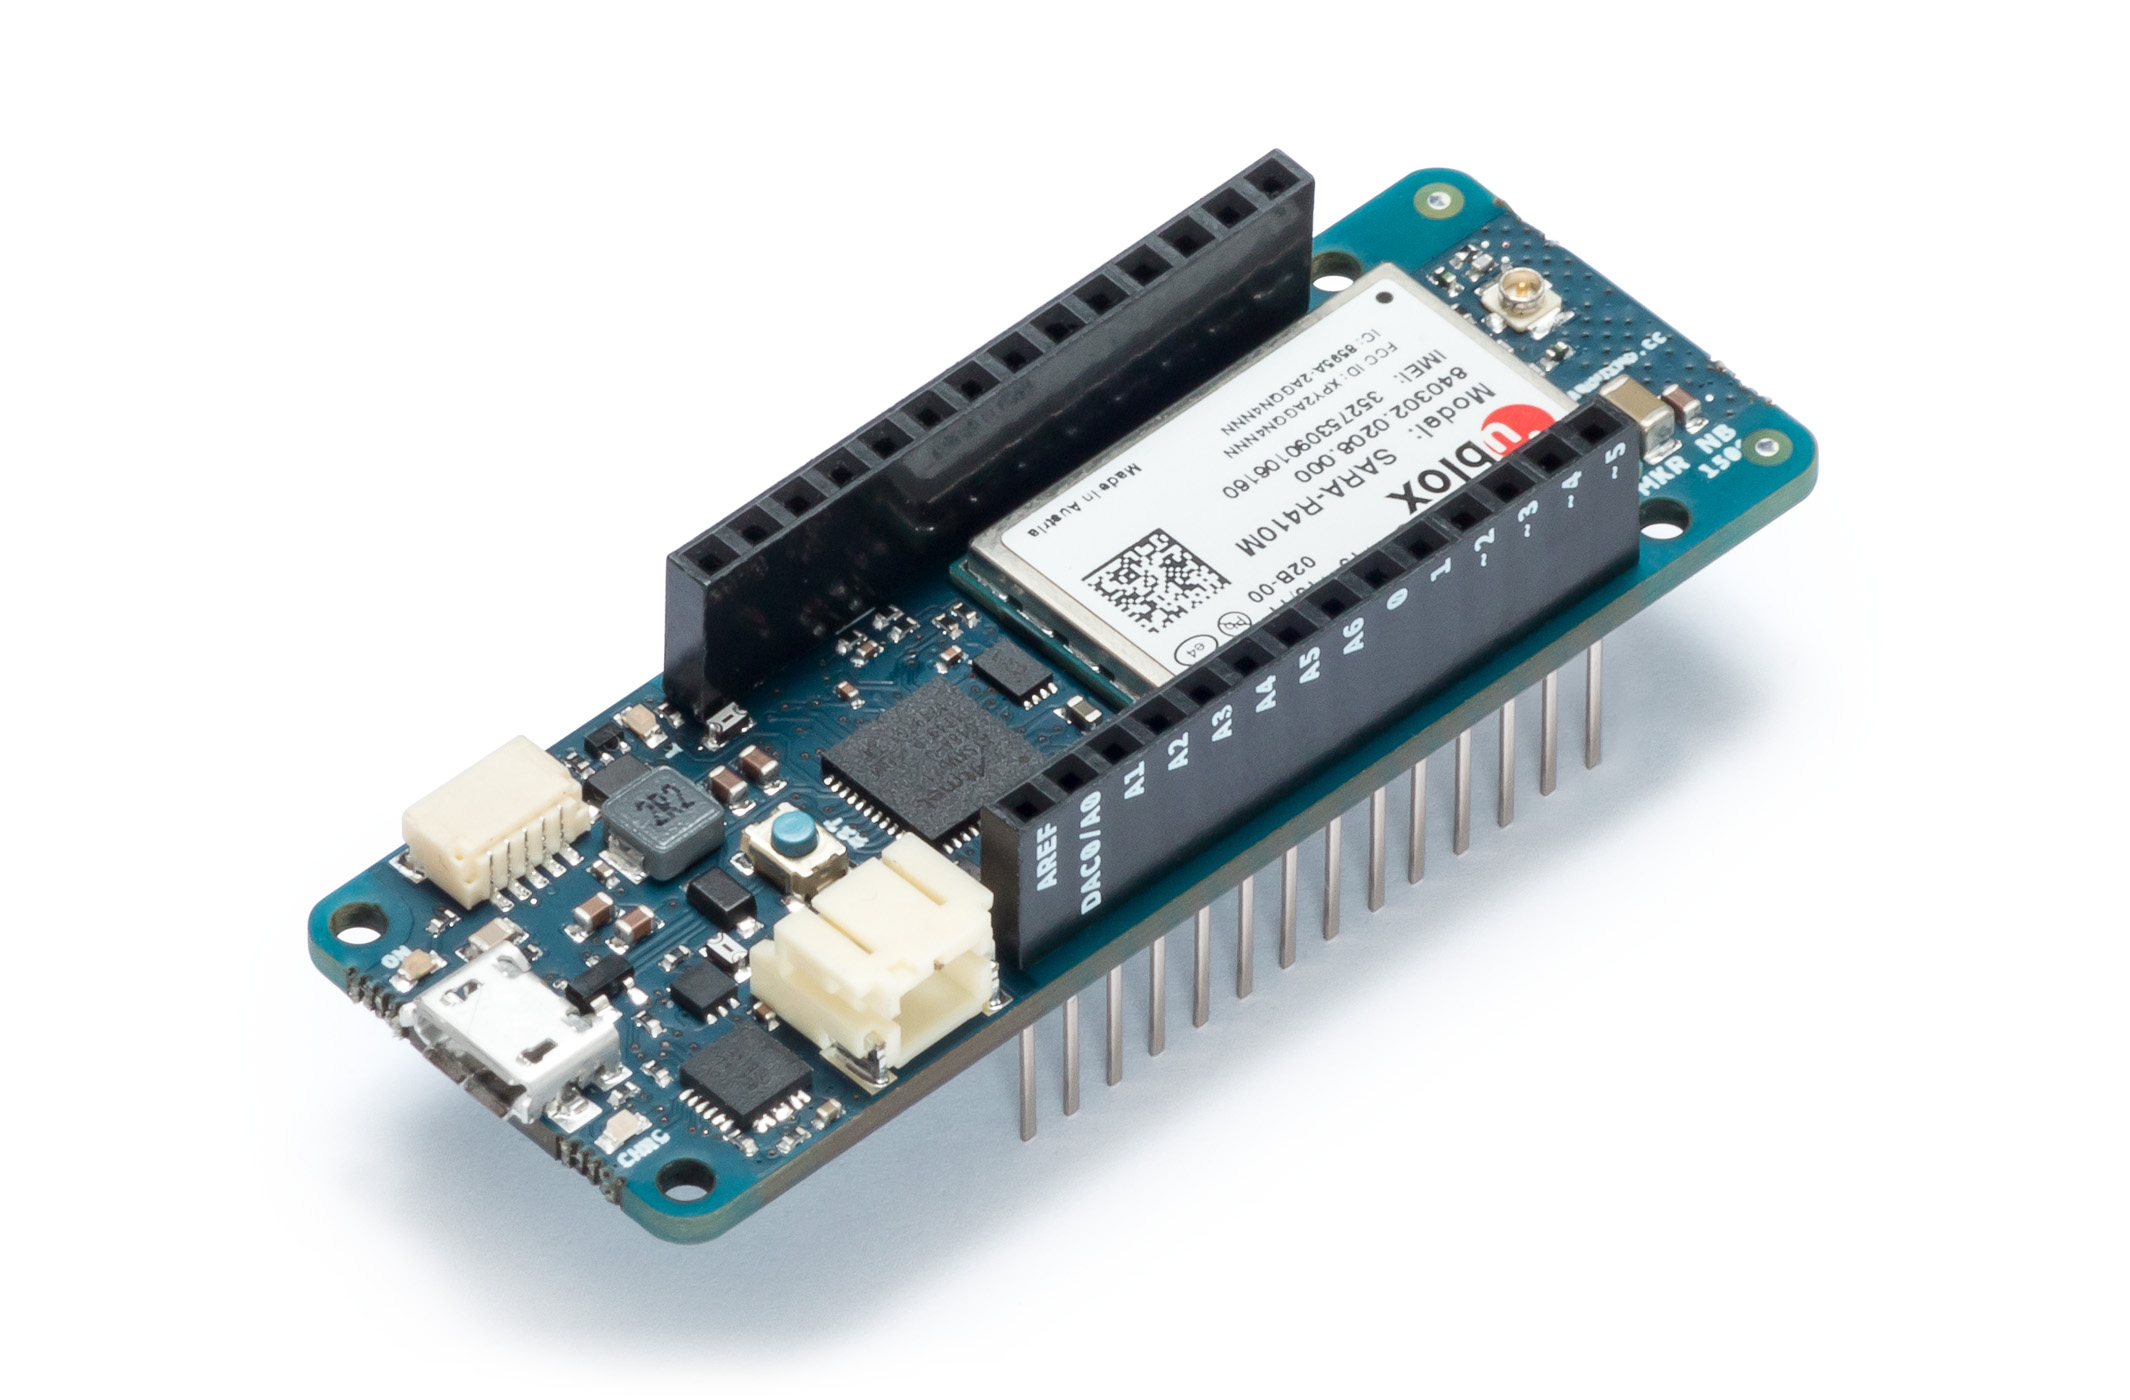
Designed for global deployment, it supports transmissions via AT&T, T-Mobile USA, Telstra, Verizon over the Cat M1/NB1 deployed bands 2, 3, 4, 5, 8, 12, 13, 20 and 28. The NB-IoT communications technology makes use of existing LTE cellular networks and delivers significantly faster communications than alternative IoT networks such as LoRa and Sigfox, while also having a low impact on battery consumption. In addition, when compared to typical GSM or 3G cellular connectivity, wake up times and connections are much faster, which enables significant power saving. Importantly, both of the new boards are fully compatible with the Arduino Uno, Mega and existing MKR hardware. Also common to both boards is their MKR footprint, as well as the same wide range of available interfaces, including I2S, I2C, UART and SPI. Both boards also operate at 3.3V and offer input/output options including 22 digital I/Os – 12 with PWM outputs – and seven analog inputs.
“The new boards bring new communication options to satisfy the needs of the most demanding use cases, giving the users one of the widest range of options on the market of certified products,” said Arduino co-founder and CTO Massimo Banzi.
“NB-IoT and CAT M1 are gradually becoming a reality in many countries in the world. With MKR NB 1500 we wanted to create a versatile and standard technology to democratize the access to the new networks, enabling our customers to take advantage of this big opportunity early on,” said Fabio Violante, CEO of Arduino. “We strongly believe the MKR NB 1500 has all the ingredients to become the go to product for many professional use cases”.
“As far as the MKR 1010 is concerned, we had the opportunity to learn a lot from all the WiFi products that we had on the market for several years. Based on customers’ feedback we thought it was now time to release a new ultra reliable board that was suitable for a variety of use cases that were difficult to support with other products,” added Fabio Violante. “The other aspect that we love about the products is that the firmware of the WiFi part is developed by us and open-source, opening new opportunity for continuous improvements and contributions from the community.”
Both the MKR WiFi 1010 and the MKR NB 1500 will be available on the Arduino online store starting in June 2018.