Posts with «arduino nixie clock» label

Vintage-style clock made from individual LEDs
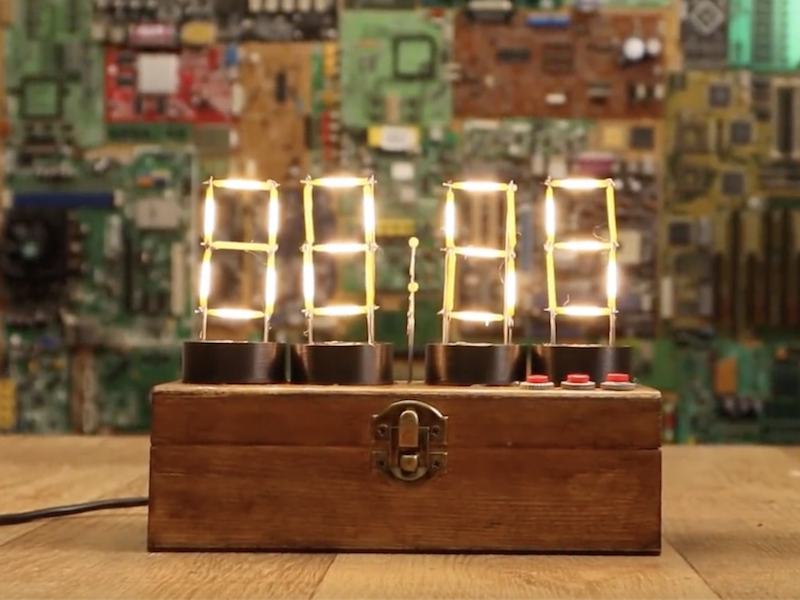
If you’ve ever wanted a vintage-style timepiece, or to test your soldering abilities, this clock by YouTuber Electronoobs will let you do both at once. 

It features four display modules that resemble Nixie tubes, each made out of LED filaments soldered onto a steel wire frame. If you find soldering enjoyable and relaxing, this is likely a good project for you; though if not, there are of course other options. 
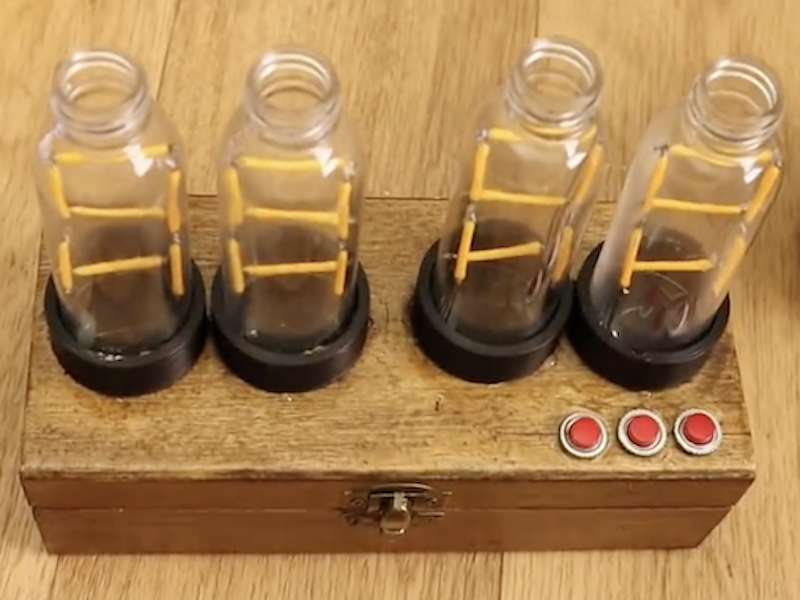
The device is controlled by an Arduino Nano, along with a MAX7219 display driver to power the LEDs as needed. An RTC module keeps things “ticking” at the correct pace, and a pair of buttons on top of the wooden enclose allow the time to be adjusted as needed.

I’ve made some “Nixie” tubes. These are actually 7-segment displays made with filament LEDs but placed in a plastic bottle so it will have a more vintage nixie look. To control the LEDs I’m using the MAX7219 driver that could control 4 x 7-segment displays. To get the real time, I’m using the DS3231 module that works with an I2C communication so it’s easy to use. The project also has 2 push buttons to set the hour and minute. All is inside a wood case painted with varnish so it will look more vintage.

Check it out in the video below, or see the build write-up for more info.

Arduino Mega + former nuclear indicator = coolest Nixie clock ever?

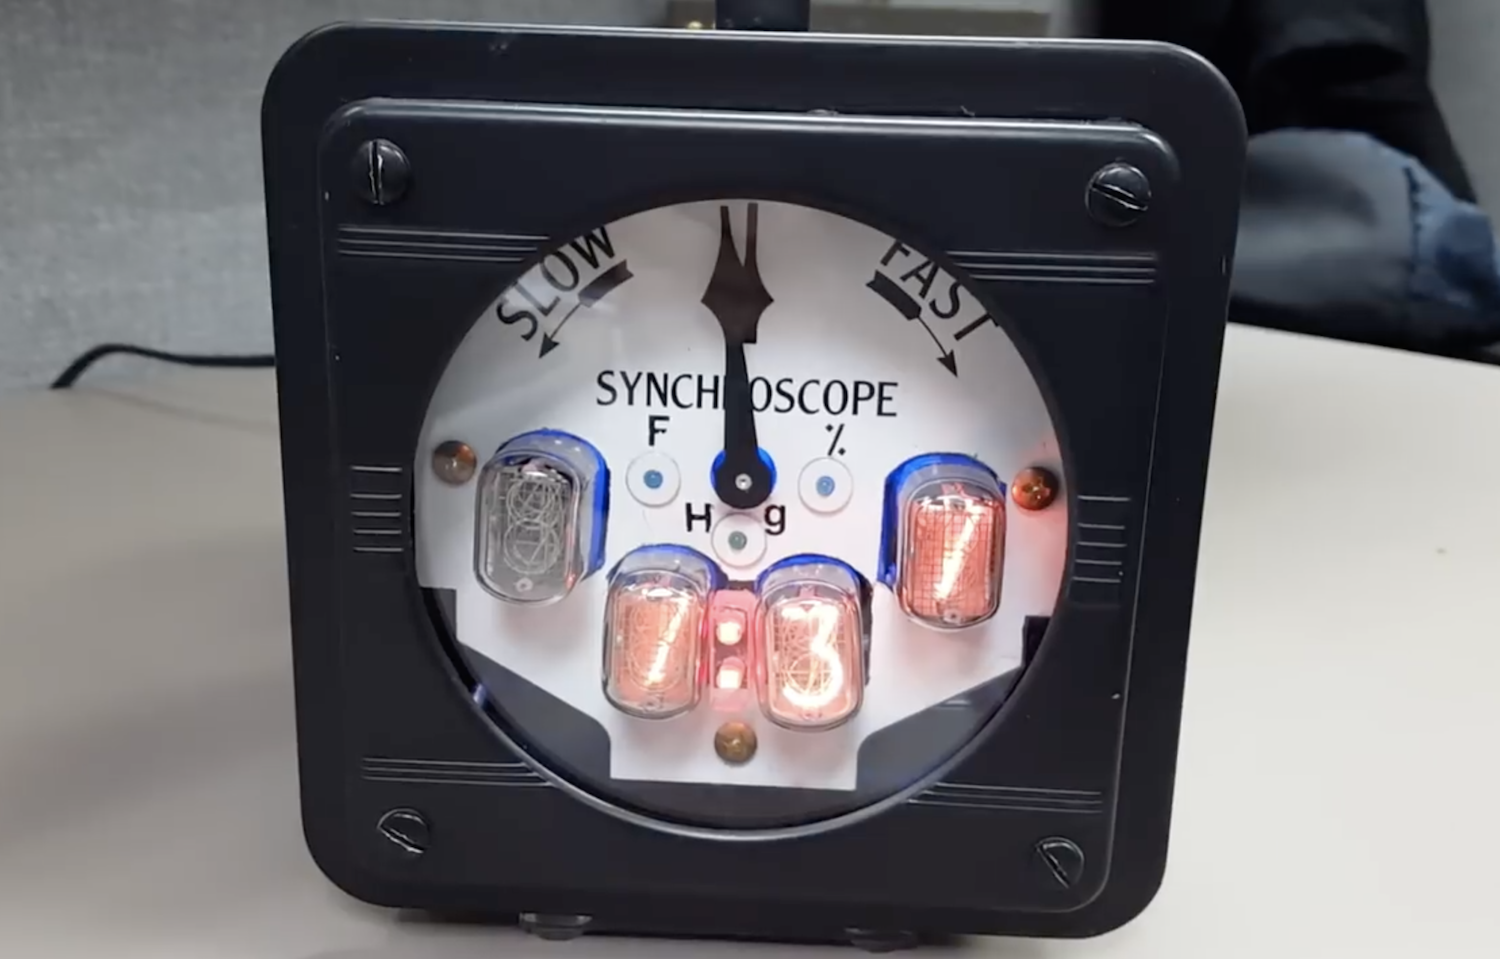
There have been countless clocks made using Arduino boards, but you’ve likely never seen anything quite like this display. It features four Nixie tubes that alternate between the time, temperature, pressure, and relative humidity, in addition to a clock-like hand as a secondary indication of atmospheric pressure. That is interesting in itself, but to top it off, the synchroscope display housing used is actually recycled from a nuclear power plant!

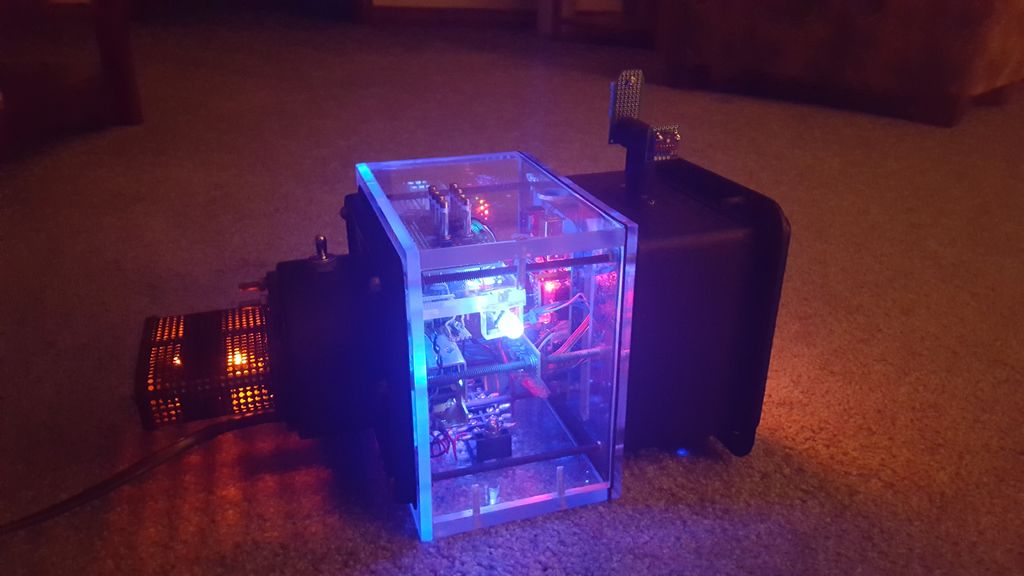
An Arduino Mega coordinates data from the sensors and an RTC module to control the Nixie tubes via driver ICs, along with a micro servo to move the pressure indicator. Power for the electronics is provided by three separate transformers in order to accommodate the tubes. 

The clock displays the time from the top of the minute to 15 sec in, and then displays the temperature (F), then back to time until the bottom of the minute (30 sec.), then it displays atmospheric pressure (mm Hg), then back to time until 45 sec into the minute and displays relative humidity. Upon reaching 60 sec. it increments the time and repeats the cycle. The BMP280 has a very poor temperature sensing capability and is not nearly as accurate as a DS18B20 waterproof temperature sensor that I used in another project of mine. I may just swap this out. Also I had a nice mesh cage around the sensors to protect them from damage and this too led to inaccurate results so I modified that as well. The indicator arrow is scaled for the low and highest pressures found in my state. the indicator arrow does a good job of showing changes in the pressure when a storm or clear skies are developing.

A full write-up on the build can be found here and the Arduino code in this repository.