These Makers built a gesture-controlled robotic arm
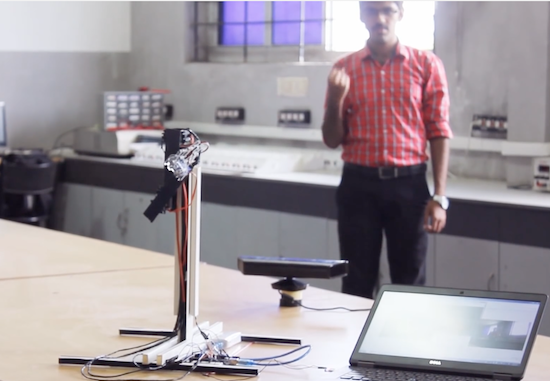
Using a Kinect sensor with MATLAB/Simulink and an Arduino, B.Avinash and J.Karthikeyan made a robotic arm to mimic their every move.
If you need a robotic arm to follow your movements, the Kinect sensor is a great place to start. On the other hand, it’s a long leap programming-wise to go from sensor input to coordinated movement of servo motors. Through a toolchain stretching from the sensor itself, to a computer, and finally to an Arduino Mega controlling the servos directly, Avinash and Karthikeyan did just that.
For their process, the computer takes data from the Kinect sensor, then translates it into servo angles using the MATLAB and Simulink computer programs. Resulting data is then fed into the Arduino via a serial connection, which controls the robot’s movements appropriately with a slight delay.
Be sure to check out the project’s Instructables page to learn more about this awesome build!


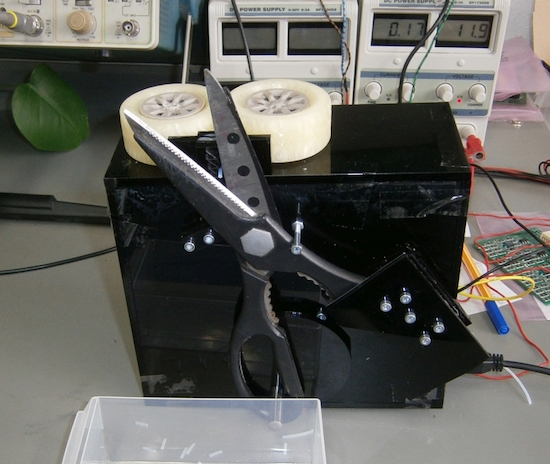

 The first thing the team had to do was to mount the scissors so they would cut reliably. One of the stepper motors was attached to a drive wheel that had a bolt mounted on it. This went through one of the scissors’ handles, the other handle was held in place on the machine using screws. The second stepper motor was used to rotate the wheels that drives the cable through to the correct length. [2PrintBeta] used a