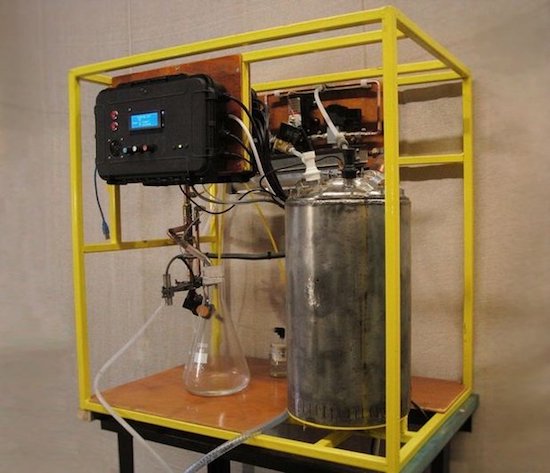
RooBee One is an open-source SLA/DLP 3D printer
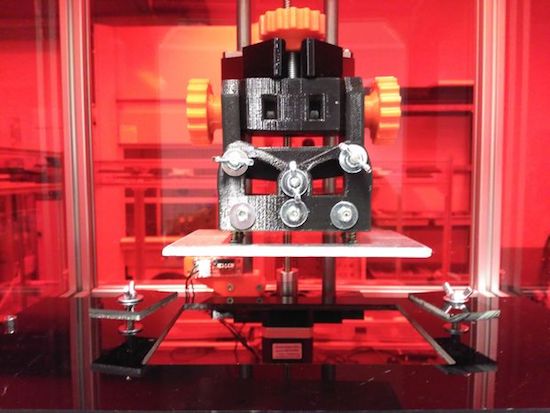
Aldric Negrier, a Portuguese Maker and owner of RepRap Algarve, has created an SLA 3D printer named RooBee One.
Most desktop 3D printers that you’ll see in Makerspaces or advertised for home use drop material onto a bed using a hot extrusion head. The open-source RooBee One, however, employs a DLP projector along with an Arduino Mega to light up each layer in a vat of resin. This causes each layer to solidify, thus making a complete object. You can see this process at around 0:30 in the video below.
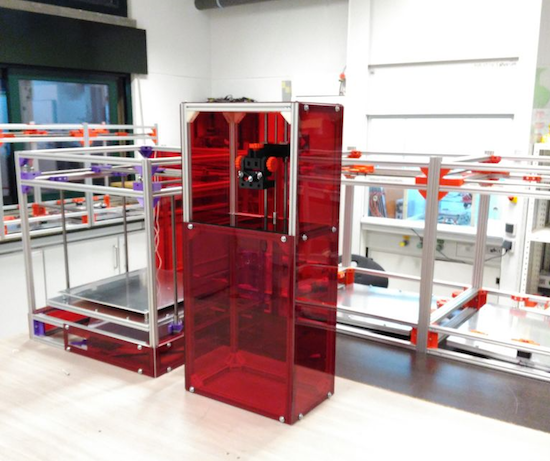
RooBee One features an aluminum frame with an adjustable print area of 80x60x200 mm, with up to a 150x105x200mm build volume. Aside from the Arduino, additional electronics consist of a RAMPS 1.4 shield, a NEMA 17 stepper motor, a microstepping driver, an endstop, and a 12V transformer. Negrier also installed a fan on top of the printer to help guide the toxic vapors outside and away from the machine’s operator.
This process may be unfamiliar to those used to “normal” 3D printers, as it “magically” pulls a complete part out of a bath. The project is fairly involved, but the resulting ruby-red machine looks quite impressive. You can find out how to build one on its Instructables page.