Build your own life-size, multipurpose robot with Arduino

If you’ve always wanted a bot for a friend, personal assistant or butler, you’re in luck. John Choi, a Carnegie Mellon University computer science and arts student, has managed to build his own life-size robotics platform for about $2,000. Sure, a price tag like that may not seem “cheap” but in comparison to other research-grade platforms out there, it’s a bargain.
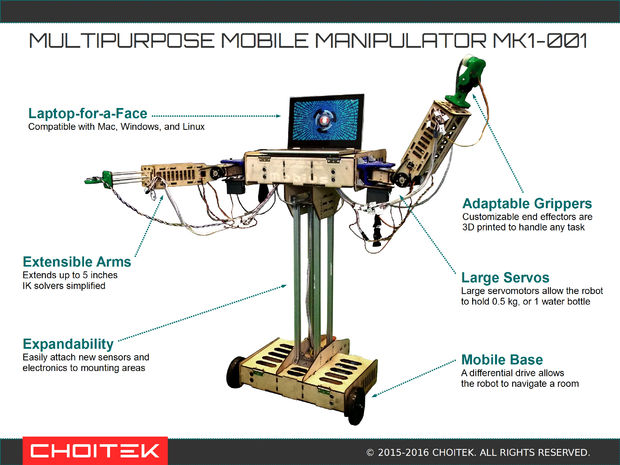
Ideal for Makers, students, educators, artists and researchers alike, the Multipurpose Mobile Manipulator Mk 1 is capable of playing the piano, drawing pictures, preparing meals, watering plants, and engaging in toy sword duels, among many other things.
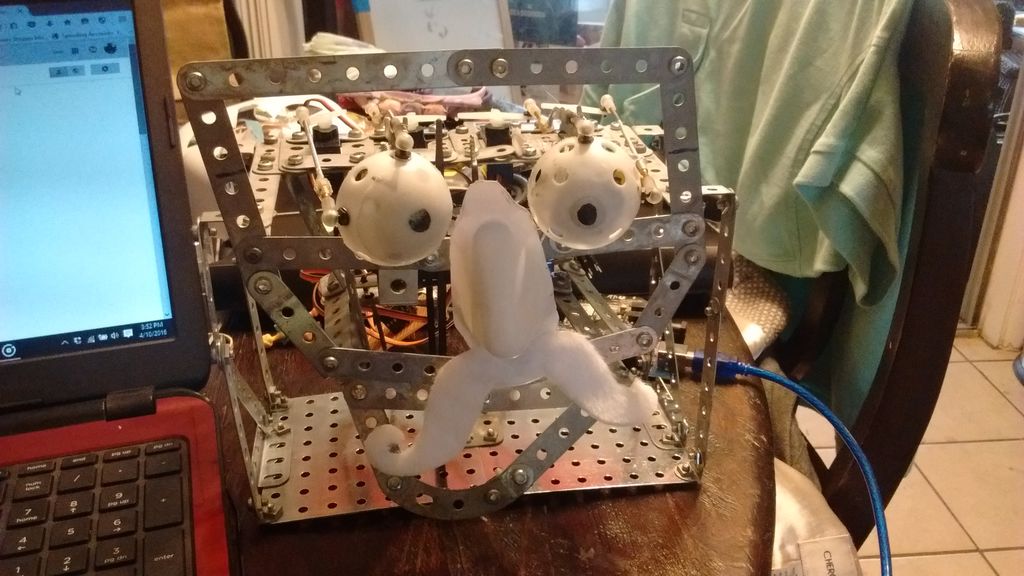
The Multipurpose Mobile Manipulator is divided into three major parts: the base, the arms, and the chest. The base contains motors for mobility and batteries to power the robot, enabling it to navigate around. The arms contain adaptable grippers, shoulder and elbow joints, and an extensible limb for grabbing and moving things with its environment. Meanwhile, the chest connects all of these together with control electronics and serves as a platform for an intelligent laptop-for-a-face. An Arduino Mega at its heart makes interfacing with sensors and actuators super easy, while the robot’s functionality can also be expanded by simply attaching new electronics and sensors to its mounting areas.
The open-source platform is compatible with Windows, Mac and Linux, and supports Python 2.7 and Arduino libraries. According to Choi, libraries for Unity, Processing, ROS, MATLAB, C++, and Scratch are also in the works.
Those interested in building their own should check out Choi’s incredibly-detailed 80-step tutorial, and watch the robot take on some tasks below. Prepare to be amazed!