Self-Playing Whistle While You Work From Home
In ridiculous times, it can help to play ridiculous instruments such as the slide whistle to keep your bristles in check. But since spittle is more than a little bit dangerous these days, it pays to come up with alternative ways to play away the days during lockdown life.
Thanks to some clever Arduino-driven automation, [Gurpreet] can maintain a safe distance from his slide whistle while interacting with it. Slide whistles need two things — air coming in from the top, and actuation at the business end. The blowing force now comes from a focused fan like the ones that cool your printed plastic as soon as the hot end extrudes it. A stepper motor moves the slide up and down using a printed rack and pinion.
Here’s a smooth touch — [Gurpreet] added a micro servo to block and unblock the sound hole with a cardboard flap to make the notes more distinct. Check out the build video after the break, which includes a music video for “My Heart Will Go On”, aka the theme from Titanic. It’s almost like the ship herself is playing it on the steam whistles from the great beyond.
Speaking of, did you hear about the effort to raise and restore the remains of her radio room?
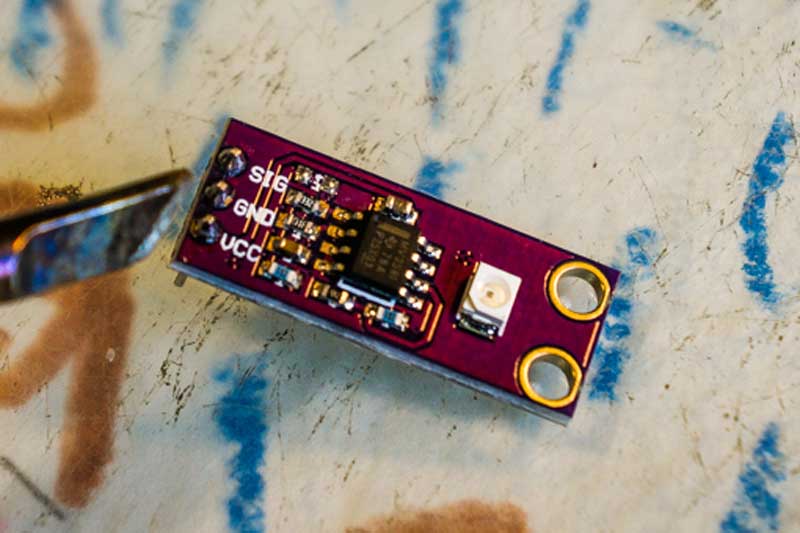 The NukeMeter is built around a GUVA-S12SD UV sensor breakout board.