Posts with «am» label

Detect Lightning Strikes with an Arduino
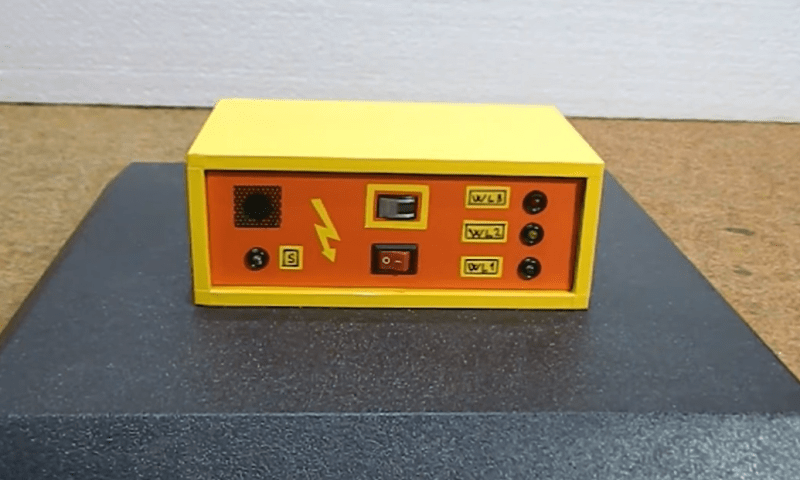
Lightning is a powerful and seemingly mysterious force of nature, capable of releasing huge amounts of energy over relatively short times and striking almost at random. Lightning obeys the laws of physics just like anything else, though, and with a little bit of technology some of its mysteries can be unraveled. For one, it only takes a small radio receiver to detect lightning strikes, and [mircemk] shows us exactly how to do that.

When lightning flashes, it also lights up an incredibly wide spectrum of radio spectrum as well. This build uses an AM radio built into a small integrated circuit to detect some of those radio waves. An Arduino Nano receives the signal from the TA7642 IC and lights up a series of LEDs as it detects strikes in closer and closer proximity to the detector. A white LED flashes when a strike is detected, and some analog circuitry supports an analog galvanometer which moves during lightning strikes as well.

While this project isn’t the first lightning detector we’ve ever seen, it does have significantly more sensitivity than most other homemade offerings. Something like this would be a helpful tool to have for lifeguards at a pool or for a work crew that is often outside, but we also think it’s pretty cool just to have around for its own sake, and three of them networked together would make triangulation of strikes possible too.

CB Radio + Arduino = 6 Meter Ham Band

Somehow [hvde] wound up with a CB radio that does AM and SSB on the 11 meter band. The problem was that the radio isn’t legal where he lives. So he decided to change the radio over to work on the 6 meter band, instead.

We were a little surprised to hear this at first. Most radio circuits are tuned to pretty close tolerances and going from 27 MHz to 50 MHz seemed like quite a leap. The answer? An Arduino and a few other choice pieces of circuitry.

In particular, [hvde] removed much of the RF portion of the radio, leaving just the parts that dealt with the intermediate frequency at 7.8 MHz. Even the transmitter generates this frequency because it is easier to create an SSB signal at a fixed frequency. The Arduino drives a frequency synthesizer and an OLED display. A mixer combines the IF signal with the frequency the Arduino commands.

The radio had a “clarifier” which acts as a fine tuning control. With the new setup, the Arduino has to read this, also, and make small adjustments to the frequency. The RF circuits in the radio took some modifications, too. It is all documented, although we will admit this probably isn’t a project for the faint of heart.

As much as we admired this project, we think we will just stick with SDR. If you want to learn more about the digital synthesis of signals, check out [Bil Herd’s] post.

Hack a Day 06 Aug 03:00