Circular Knitic: An Open Hardware Knitting Machine
 Artist duo Varvara Guljajeva & Mar Canet designed and built an open hardware automated knitting machine called Circular Knitic.

 Artist duo Varvara Guljajeva & Mar Canet designed and built an open hardware automated knitting machine called Circular Knitic.
 Recently I switched careers from designing industrial food and dairy equipment to teaching industrial technology in a high school. While planning this move and taking night classes, I read quite a bit about authentic instruction where the students engage in real projects that end with something tangible and with real […]
 If you’re familiar with Super Mario Brothers, you’re certainly familiar with this character, the fire-breathing Piranha Plant. If you would like to have a replica of one in real life, you can build your own following instructions found here. The plant, which could probably double as a prop for Little […]
We can’t miss the chance to play with some LEDs now that holidays are coming and mix some electronics with 3d printing on Materia 101.
In the tutorial of this Kristoffer is experimenting on Xmas decorations, Arduino Micro and some code to play around with.
The result is what you see in the picture below!
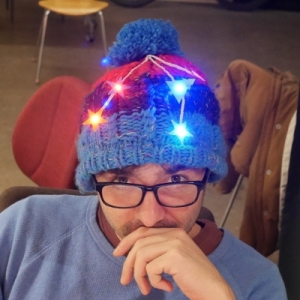
Do you want to make it too? Follow the steps on Scuola >>
Check the previous tutorials on 3d printing with Material 101
Interested in getting in touch and showing your experiments? Join Kristoffer on the Arduino forum dedicated to Materia 101 and give us your feedback.

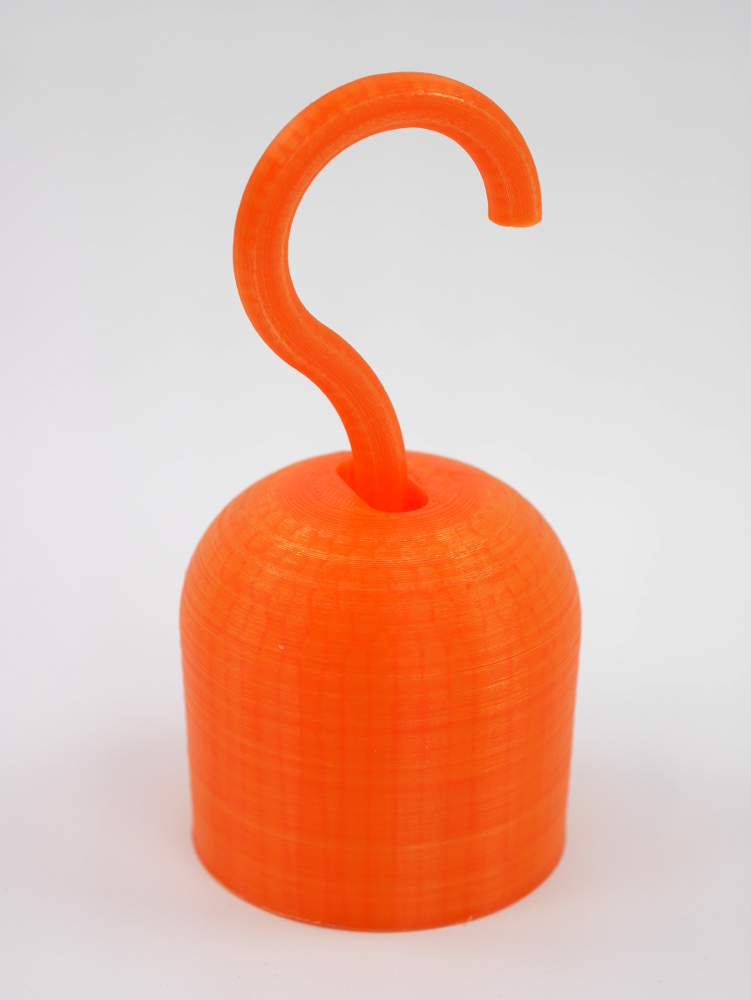
Using a 3d printer means playing with some hardware but especially some softwares. In the tutorial of this week, the fourth tutorial of our series , Kris is going to introduce you how to work with Slic3r, a G-Code generator for 3d printers and basically a tool you need to convert a digital 3D model into printing instructions for your 3D printer. Slic3r is an open source software able to cut the model into horizontal slices (layers), generates toolpaths to fill them and calculates the amount of material to be extruded so that you can reach good results.
The object you’ll be able to print with your Materia 101 is a pirate hook !
Follow the 12 steps on Scuola and print yours >>
Check the previous tutorials on 3d printing with Material 101
Interested in getting in touch and showing your experiments? Join Kristoffer on the Arduino forum dedicated to Materia 101 and give us your feedback.
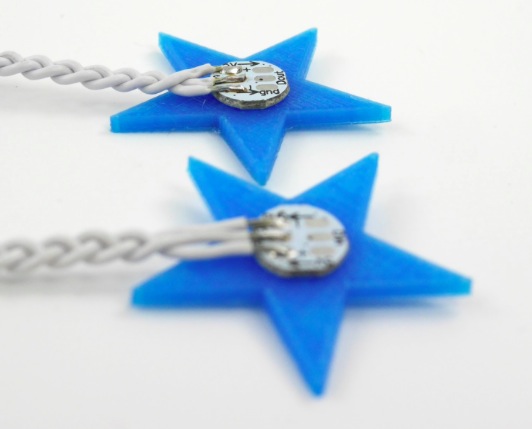
 3D-print these soft, flexible spikes and light them up with full-color programmable LEDs
When you become a happy owner of a Materia 101 3d printer, the first days are really important to start experimenting with the right attitude. Understanding quickly how to get what you want from it means becoming aware of the potential applications of the 3d printing technology in your environment.
Last week we published the tutorial on “Getting started with Materia 101″ created by Kristoffer and kicking off a series of step-by-step guides to explore different topics, softwares and settings for your 3d printer.
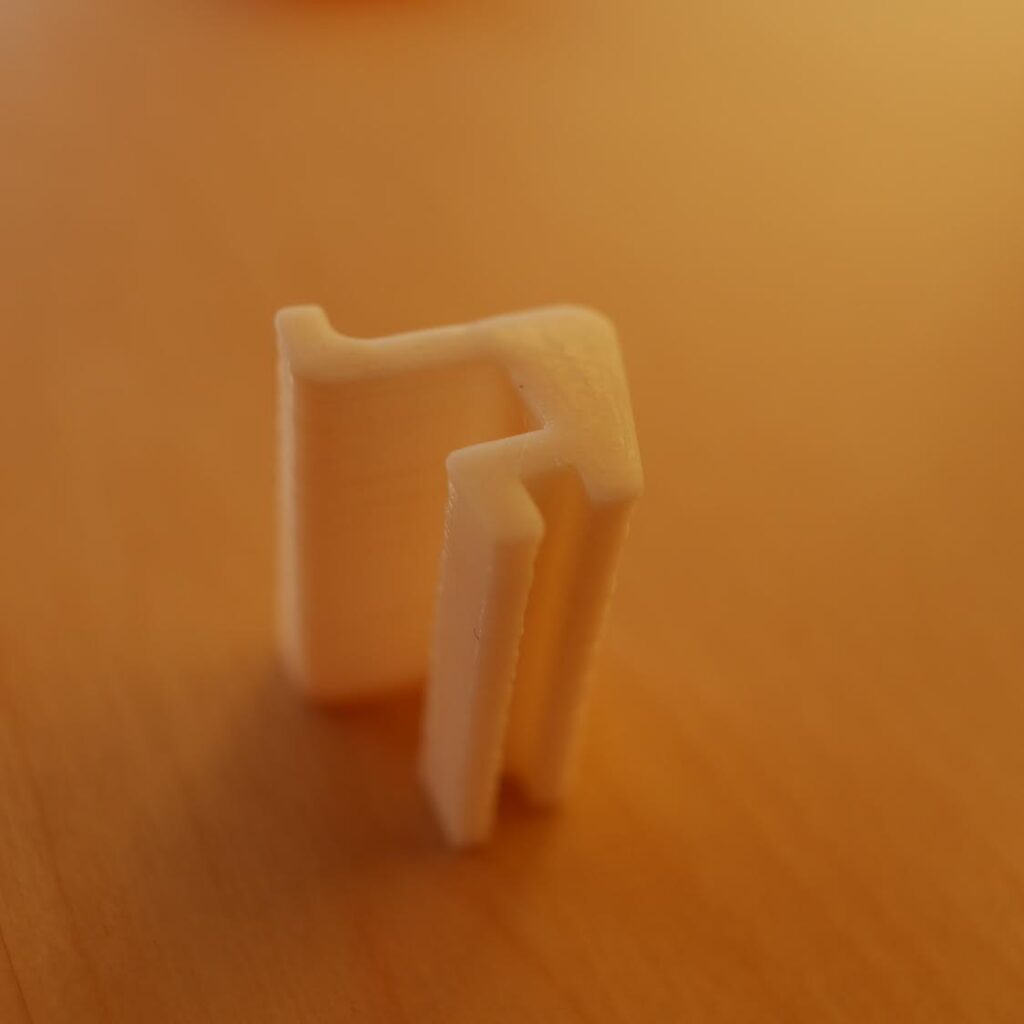
Take a look at the second tutorial focused on fixing things at home: “Making something useful” tutorial shows you how to start from a need, to design and print a solution. It feels great to be able to fix what’s broken!
Interested in getting in touch and showing your experiments? Join Kristoffer on the Arduino forum and give us your feedback.
Next week we are going to post a tutorial on how to create 3d-printed cases for Arduino boards. Stay tuned.
Hashtag: #Materia101
 Late Friday night I saw what may be the future of toys, or at least something completely unique at my local Toys'R'Us.


