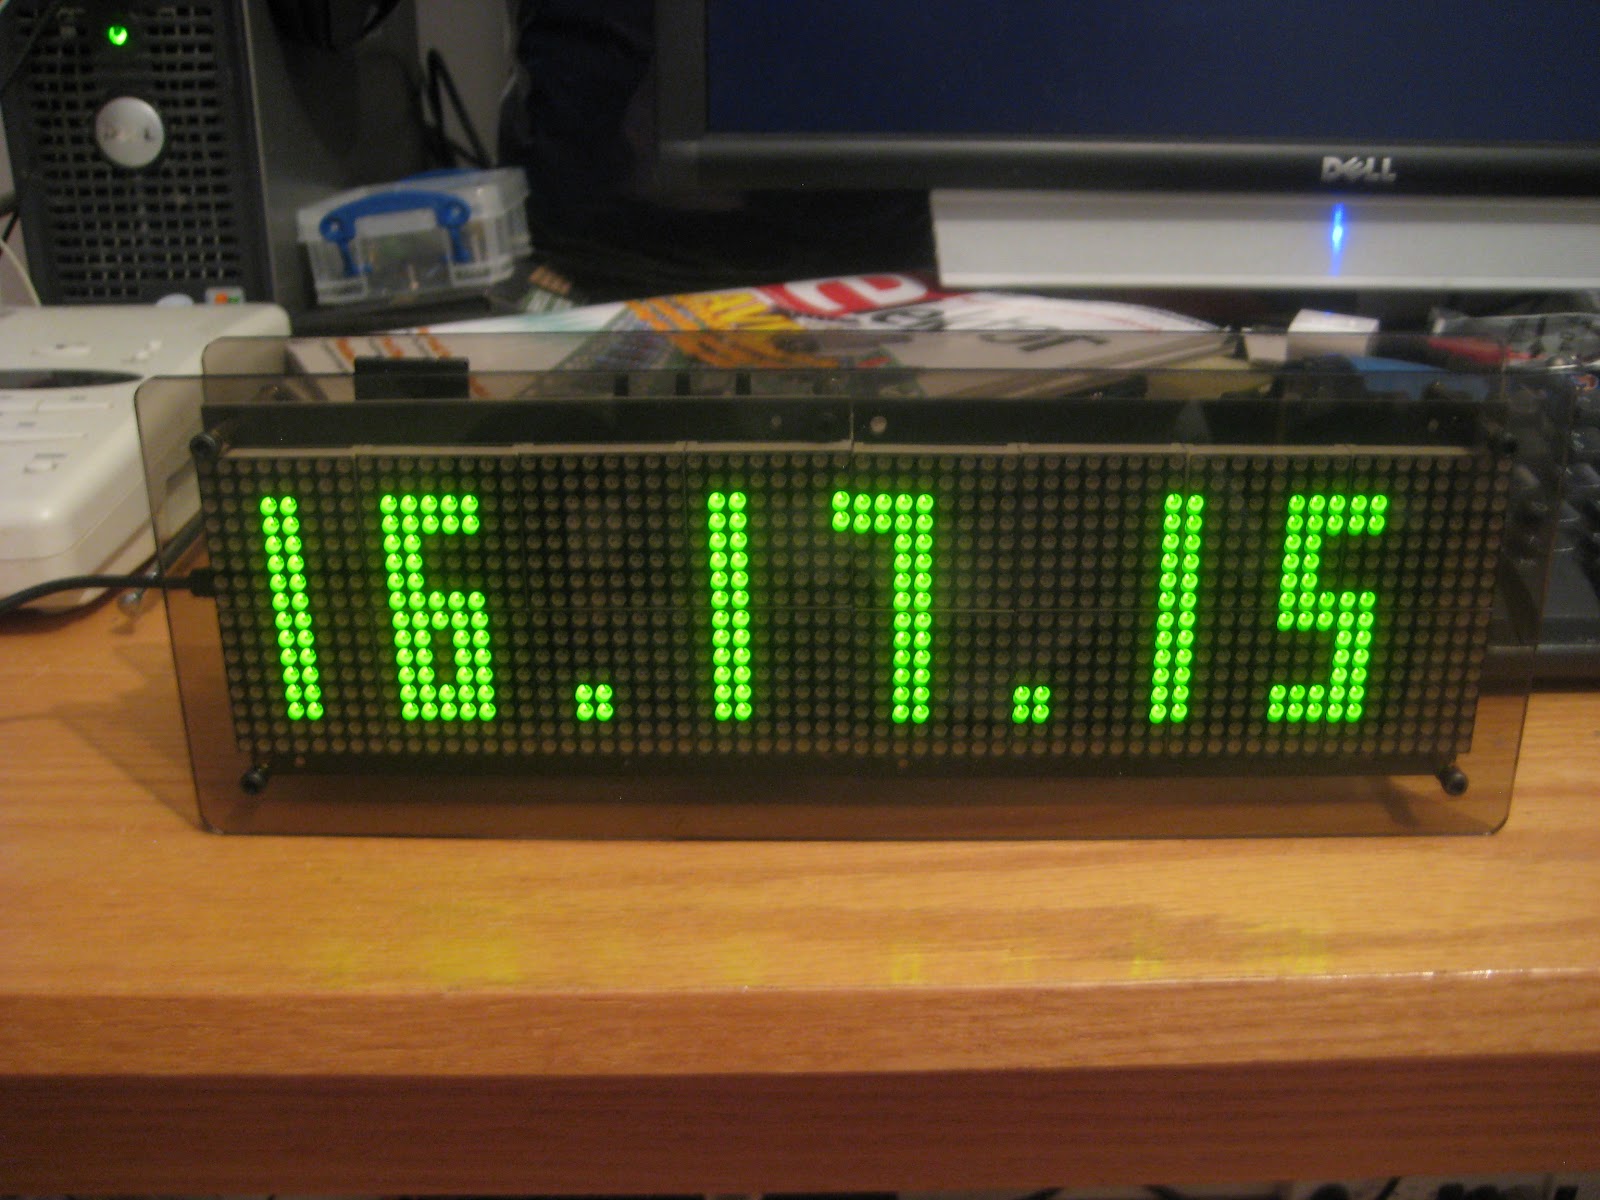
Wise Clock 4 with the new 3mm 3216 LED display from Sure
My inventory of "old" 3216 3mm displays from Sure Electronics is now depleted. As everybody already knows by now, Sure redesigned the display to be powered with 12V instead of 5V (plus a few other cosmetic changes). The Wise Clock 4 board cannot be plugged into the new display's connectors anymore, since they are now different (10 pins instead of 16), and the assignment of signals to pins has changed as well.
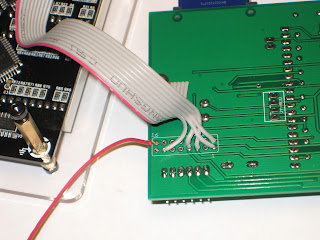
Making a seamless Wise Clock 4 with the new display is still possible, with a little more soldering work. The board will be connected to the display using the ribbon cable provided. To do this, cut one connector off the ribbon cable, then solder 5 wires (4 signal + ground) from the cut end of the ribbon in the place of the header, as shown in the photo below.
The 5V power line from the clock's board (red wire in the photo) will be soldered separately from the ribbon cable, bypassing the display's 5V regulator, as shown in the next photo.

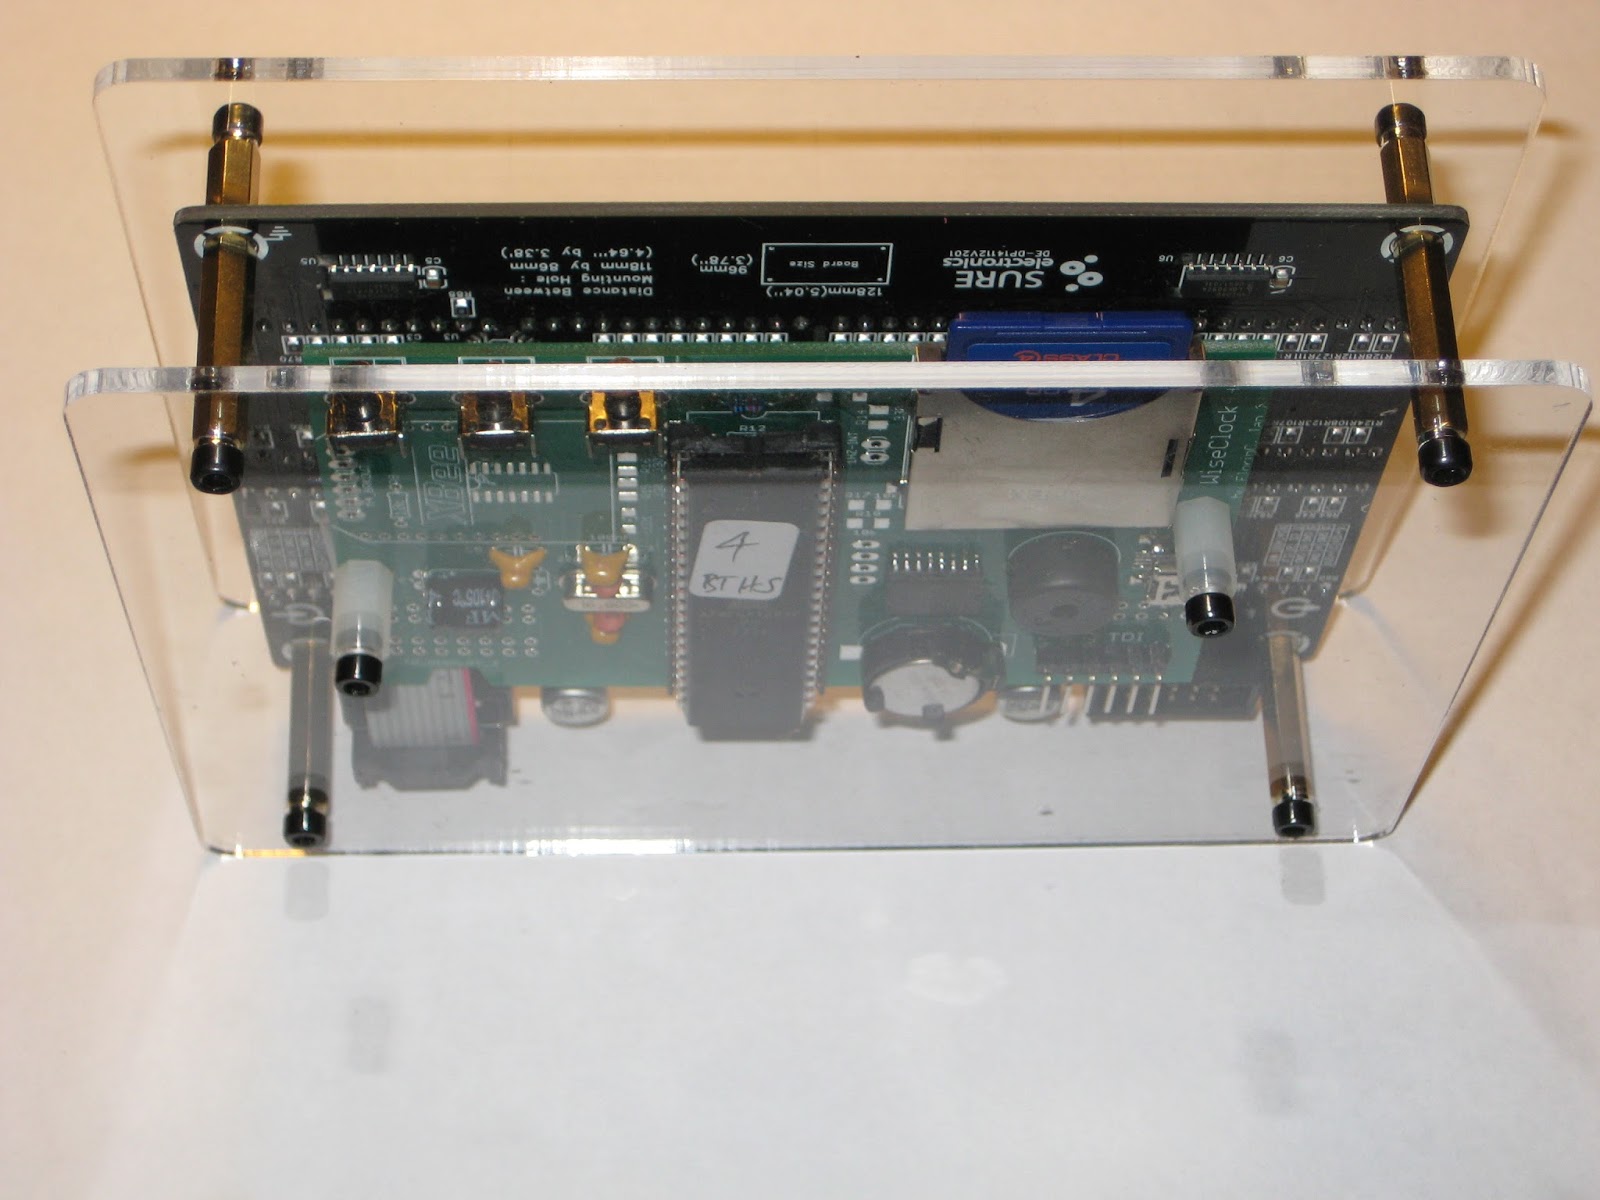
The new display is "top heavy", that is, it has the connectors and the 5V regulator (with large capacitors and inductors) at the top. These may interfere with the clock's buttons and the SD card. To avoid touching them accidentally, it is a better idea to position the display upside down, as shown in the next photo.

For this reason, the sketch needs a little tweaking: all pixel-related functions in HT1632.cpp file will have to change the coordinates, like this:
void ht1632_plot (coord_t x, int8_t y, byte color)
{
#ifdef WANT_UPSIDE_DOWN
x = X_MAX-1 - x;
y = Y_MAX-1 - y;
#endif
The macro WANT_UPSIDE_DOWN is defined in UserConf.h.
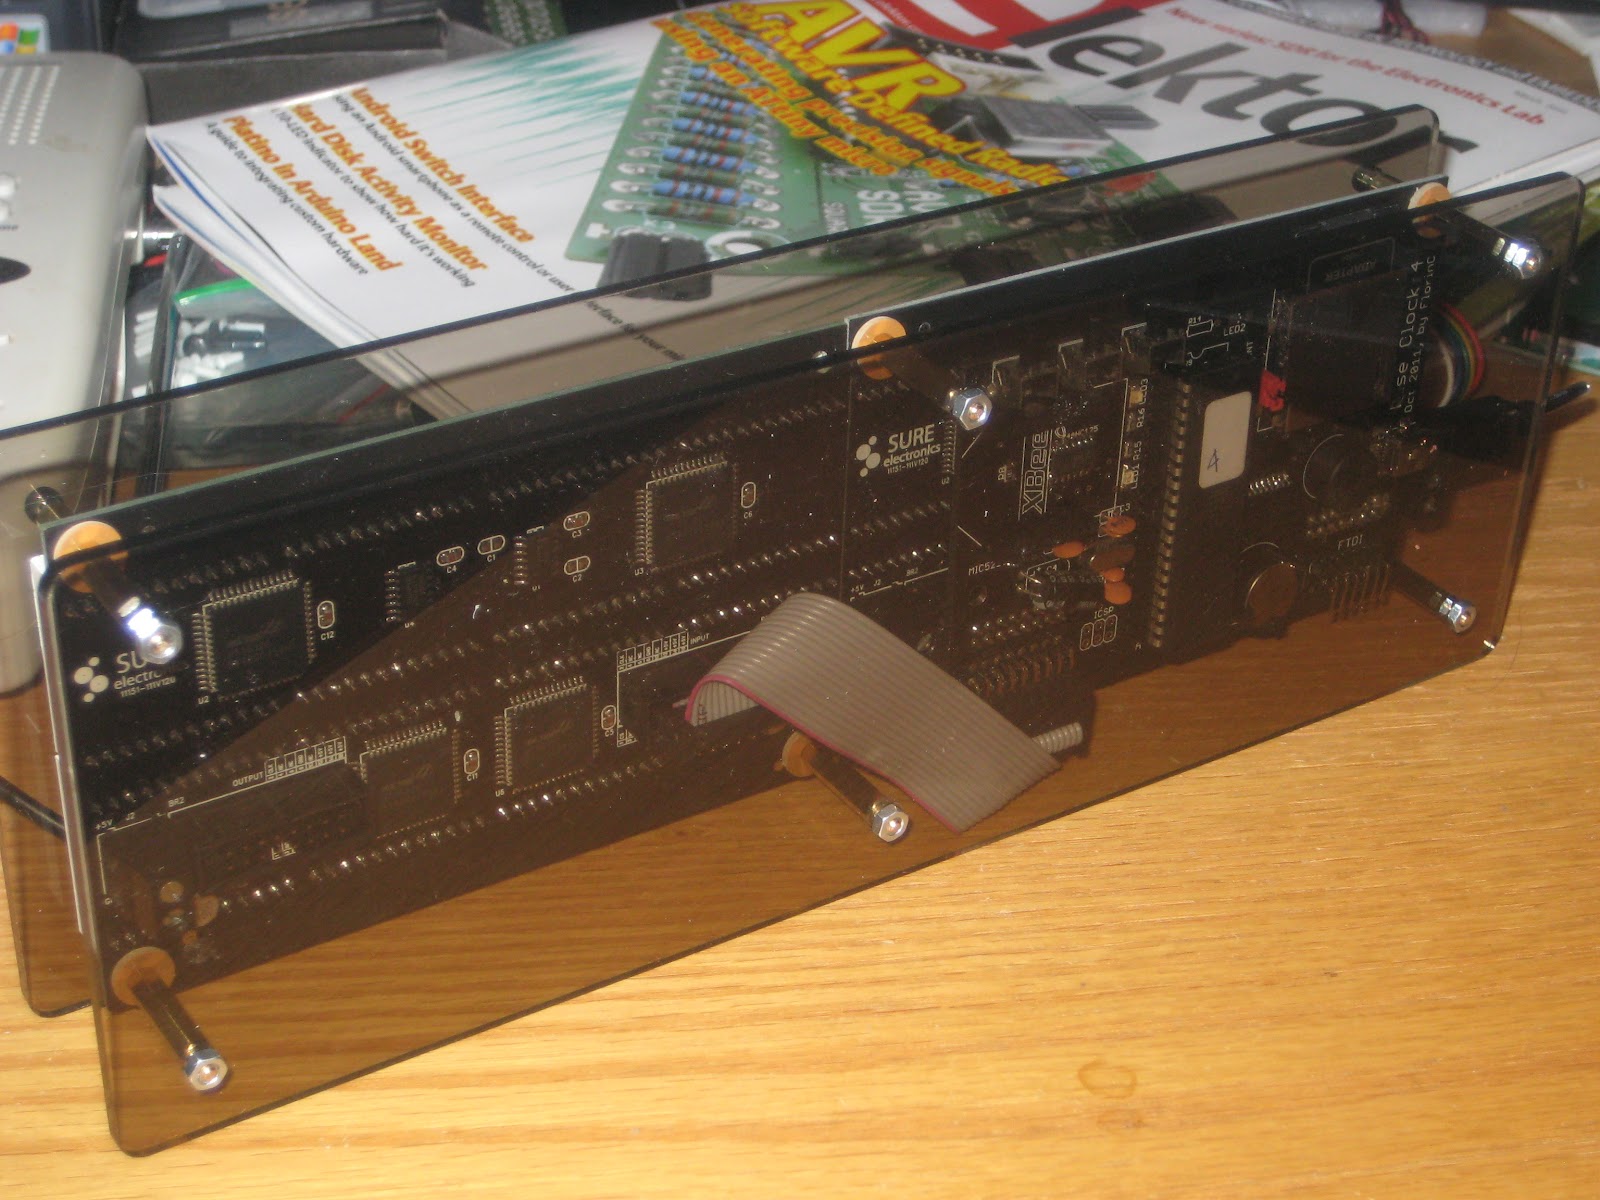
Also notice that the Wise Clock 4 board is now mechanically fixed to the back panel (because it's not plugged in the display's connectors anymore).
I will continue to provide a "complete kit" that includes the new display, the 2 plates, and the screws + standoffs. The back plate won't have the 2 holes (for the board) drilled though. This complete kit may not even have the two 2x8 female headers (since they are not needed, and will even be detrimental). In case the headers are in the kit, DO NOT SOLDER THEM if you use the new display.
The processor in the "complete kit" will be loaded with the sketch for the new display, with the software modification mentioned above.

Making a seamless Wise Clock 4 with the new display is still possible, with a little more soldering work. The board will be connected to the display using the ribbon cable provided. To do this, cut one connector off the ribbon cable, then solder 5 wires (4 signal + ground) from the cut end of the ribbon in the place of the header, as shown in the photo below.

The 5V power line from the clock's board (red wire in the photo) will be soldered separately from the ribbon cable, bypassing the display's 5V regulator, as shown in the next photo.

The new display is "top heavy", that is, it has the connectors and the 5V regulator (with large capacitors and inductors) at the top. These may interfere with the clock's buttons and the SD card. To avoid touching them accidentally, it is a better idea to position the display upside down, as shown in the next photo.
For this reason, the sketch needs a little tweaking: all pixel-related functions in HT1632.cpp file will have to change the coordinates, like this:
void ht1632_plot (coord_t x, int8_t y, byte color)
{
#ifdef WANT_UPSIDE_DOWN
x = X_MAX-1 - x;
y = Y_MAX-1 - y;
#endif
...
}
The macro WANT_UPSIDE_DOWN is defined in UserConf.h.
Also notice that the Wise Clock 4 board is now mechanically fixed to the back panel (because it's not plugged in the display's connectors anymore).
I will continue to provide a "complete kit" that includes the new display, the 2 plates, and the screws + standoffs. The back plate won't have the 2 holes (for the board) drilled though. This complete kit may not even have the two 2x8 female headers (since they are not needed, and will even be detrimental). In case the headers are in the kit, DO NOT SOLDER THEM if you use the new display.
The processor in the "complete kit" will be loaded with the sketch for the new display, with the software modification mentioned above.